WGS ClientX – Client Area & Register page Layout Guide
How to Change the Layout of the Register Page
ClientX provides multiple registration page layouts with flexible customization options, allowing you to control the look and feel of the client registration experience.
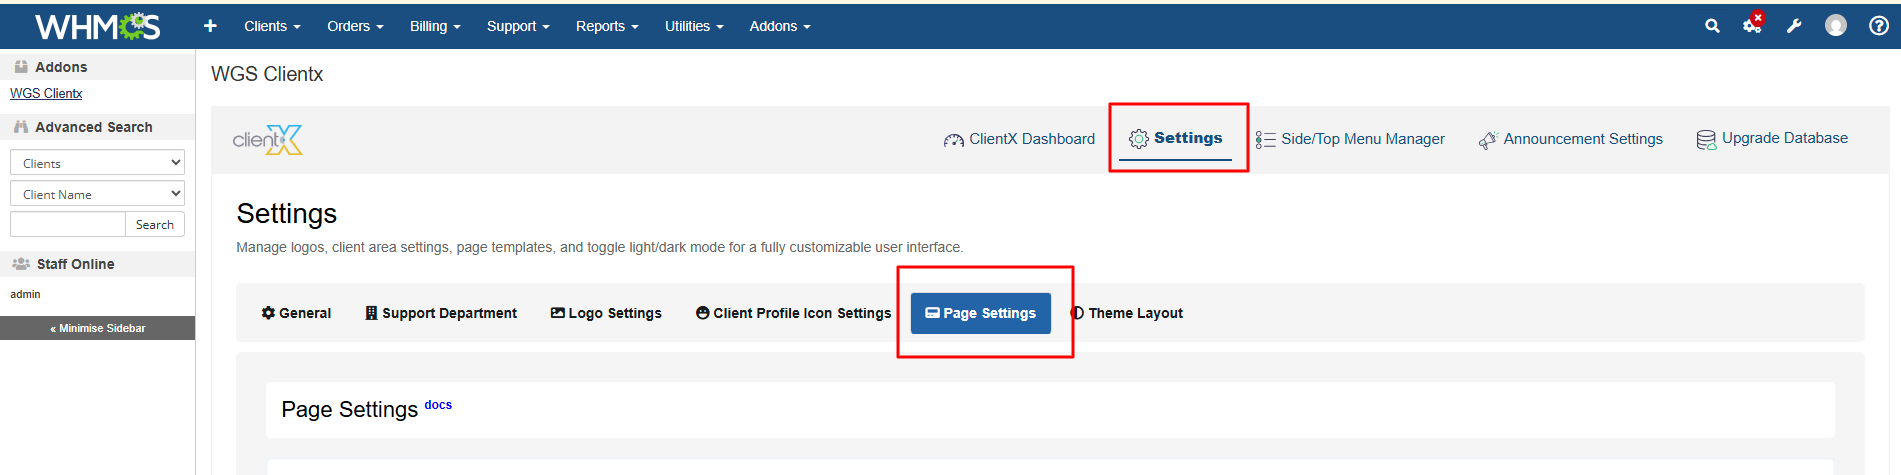
Accessing Register Page Settings
Before modifying the Register page layout, follow these steps:
-
Log in to your WHMCS Admin Panel.
-
Navigate to Addons > WGS ClientX > Settings.
-
Click Settings and open the Page Settings tab.
Managing Register Page Layout
-
Under the Page Settings tab, locate the Register section.
-
Click the Manage button.
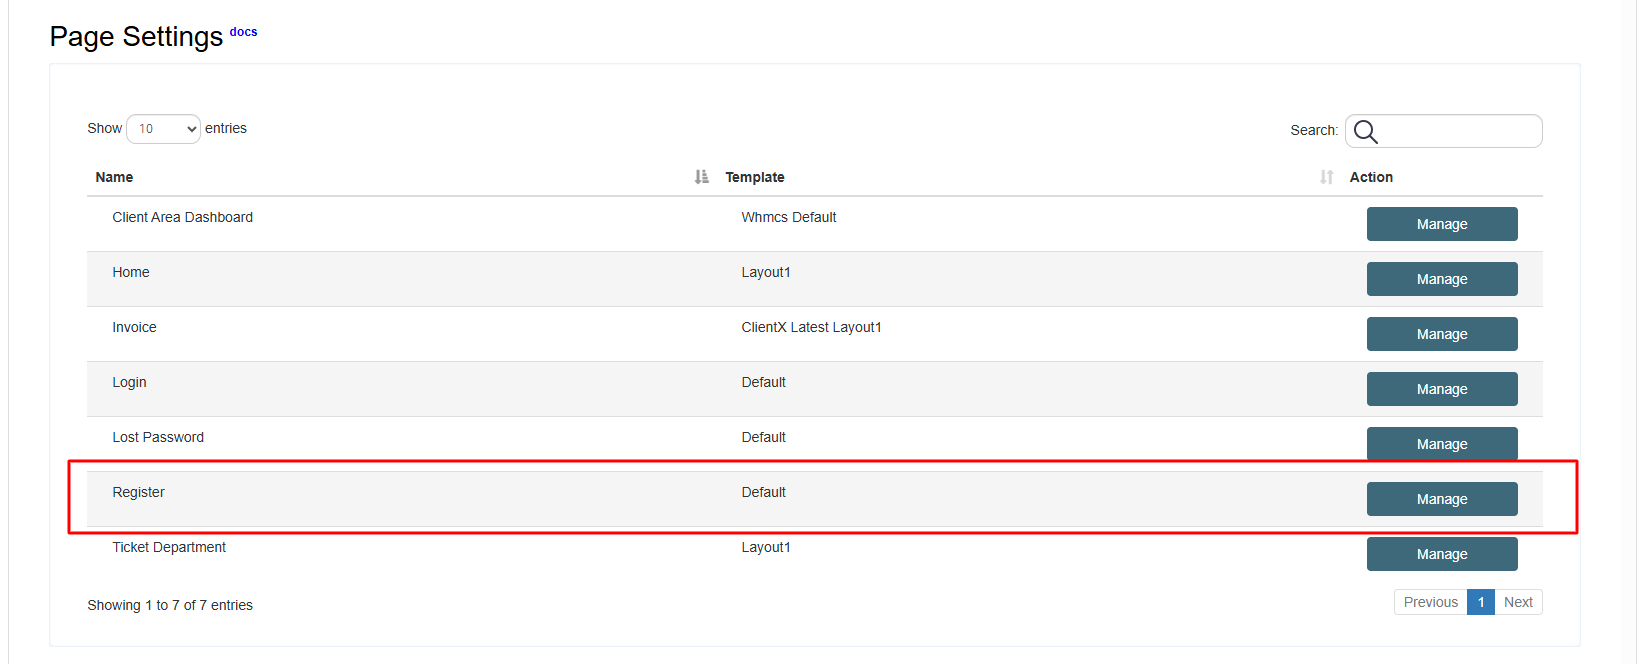
-
You will be redirected to the Register Page Template screen.
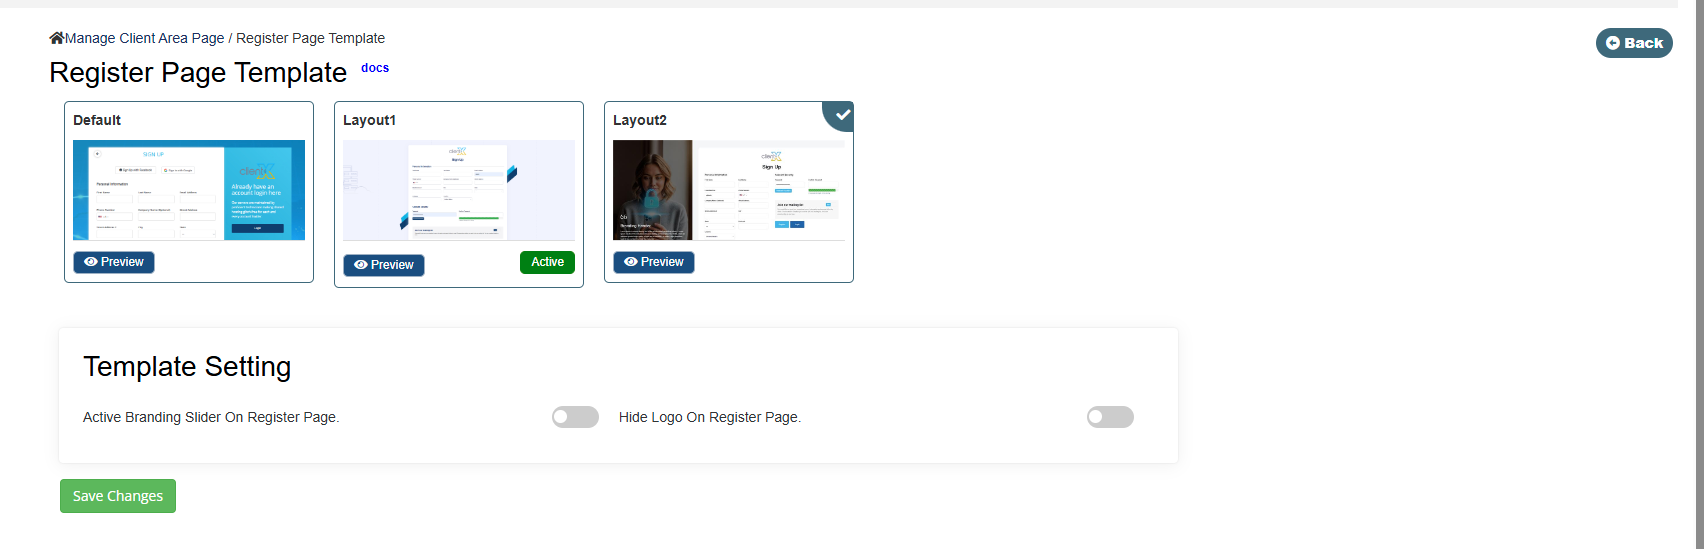
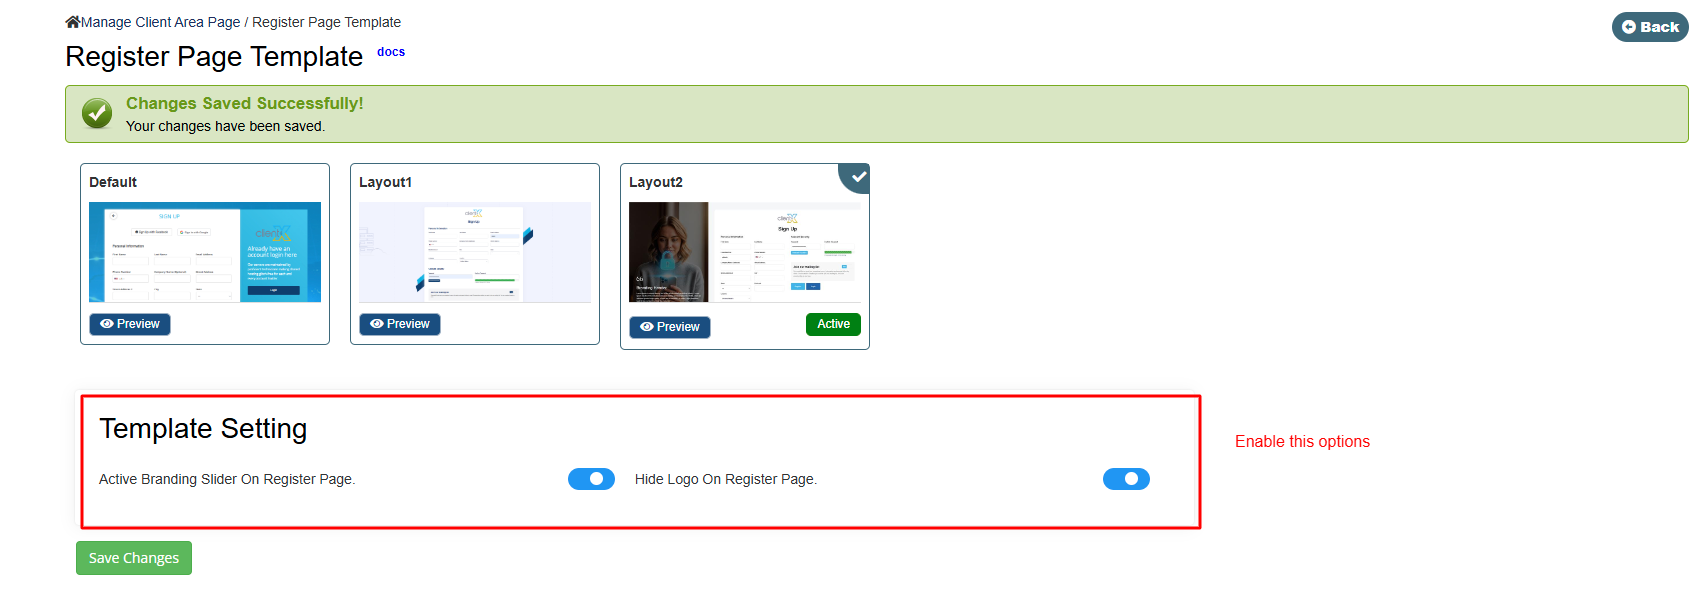
Available Register Page Layout Options
On the Register Page Template screen, you will find the following layout options:
-
Default Layout
-
Layout 1
-
Layout 2
Select your preferred layout and click Save Changes to apply it.
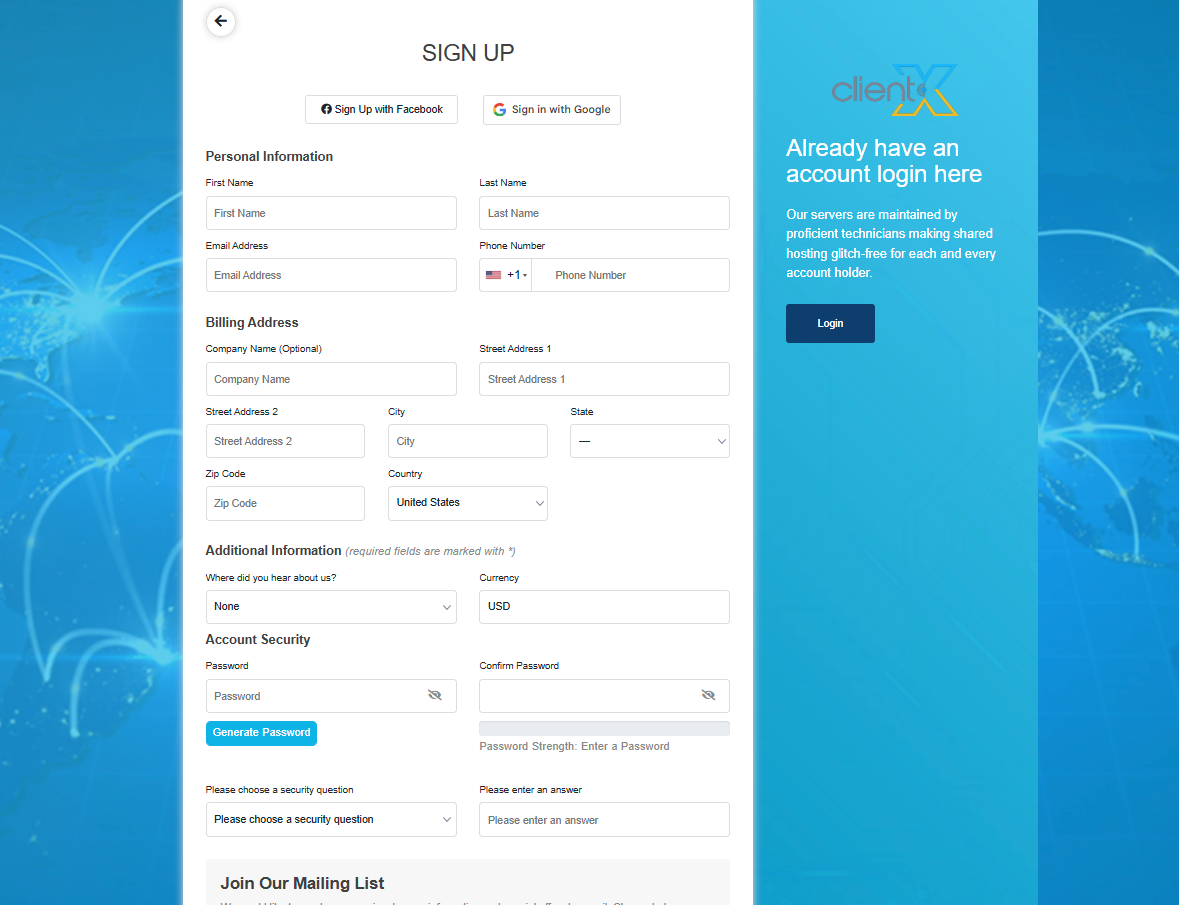
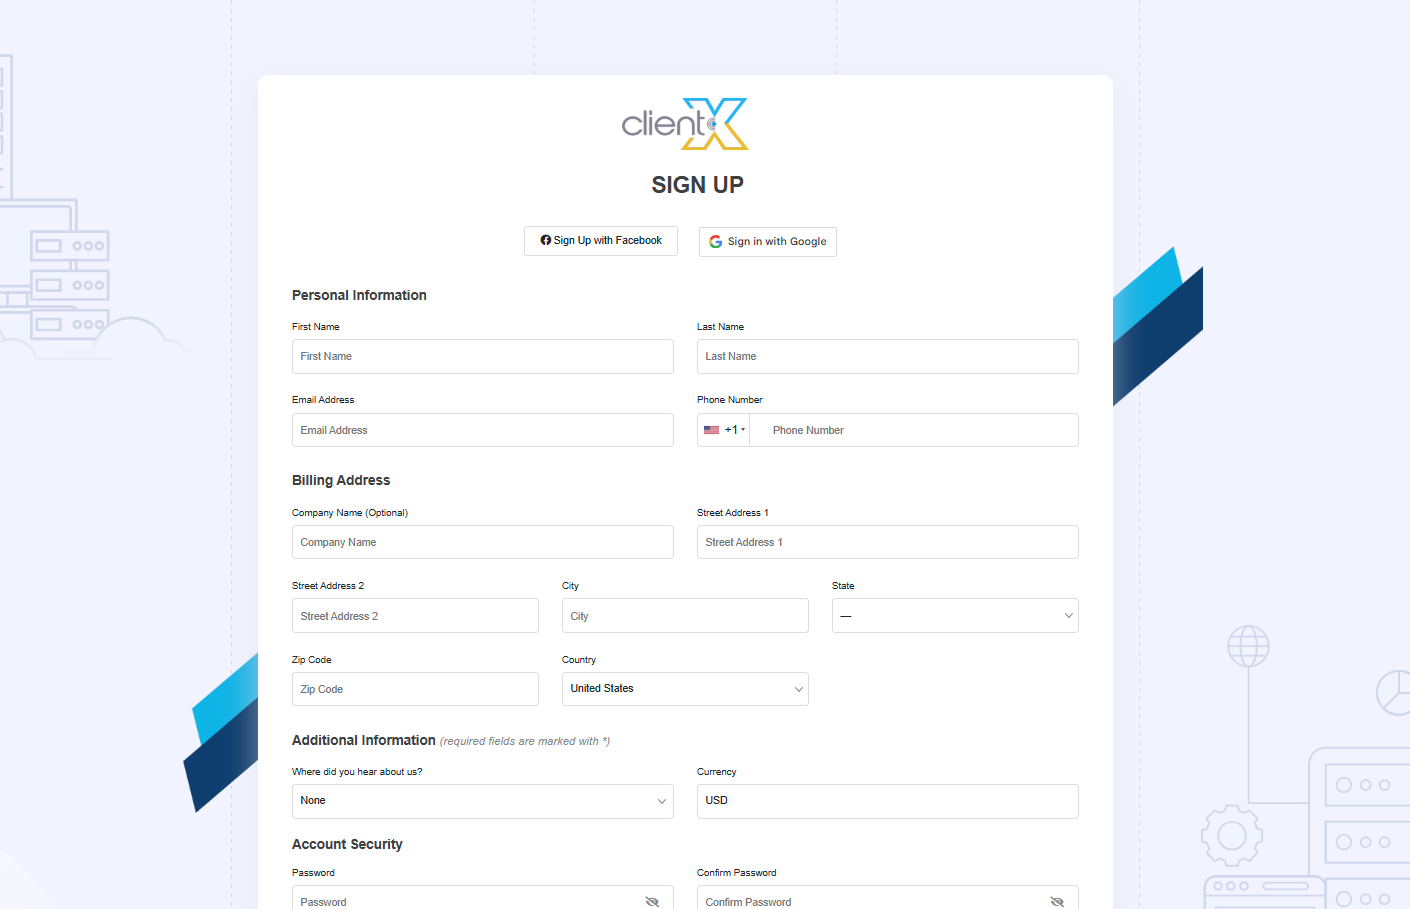
Default Layout
Frontend Preview
-
When Default Layout is selected, the Register page will appear on the frontend as shown below.
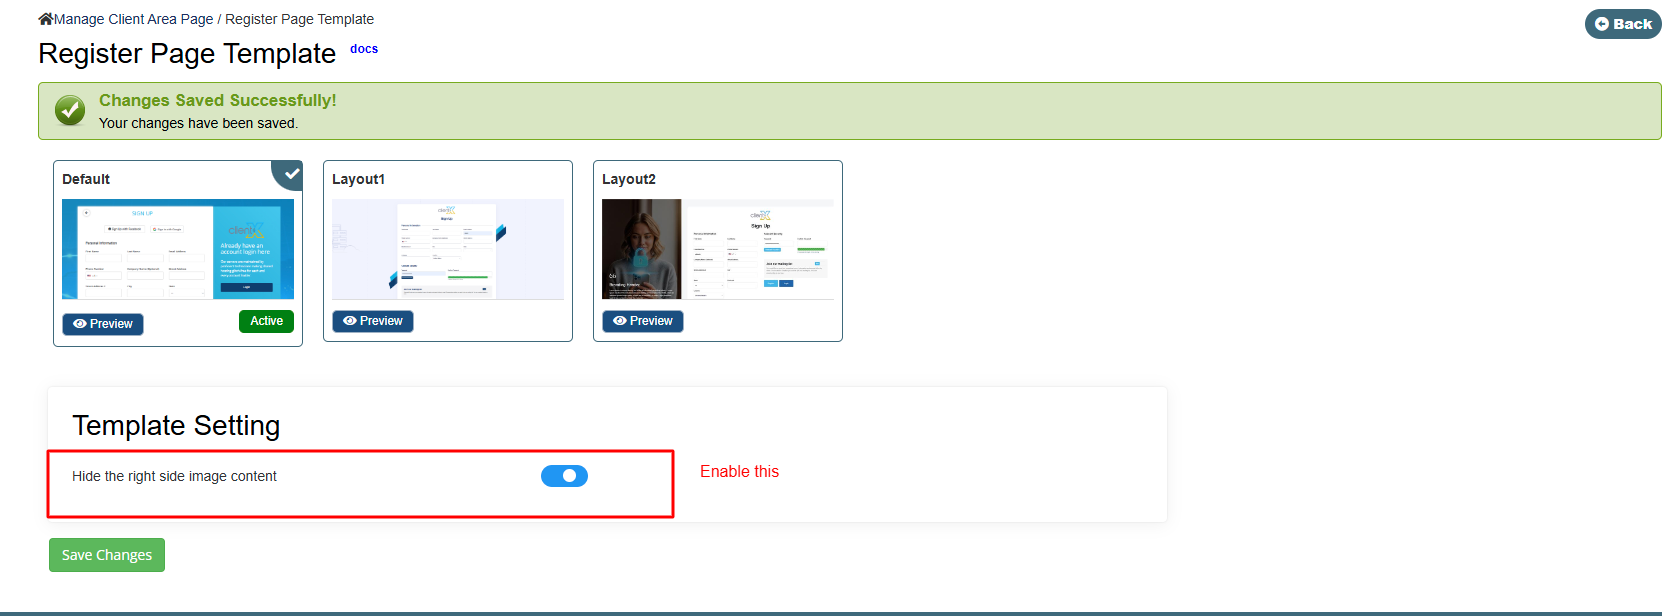
Template Settings
This layout includes dedicated Template Settings:
-
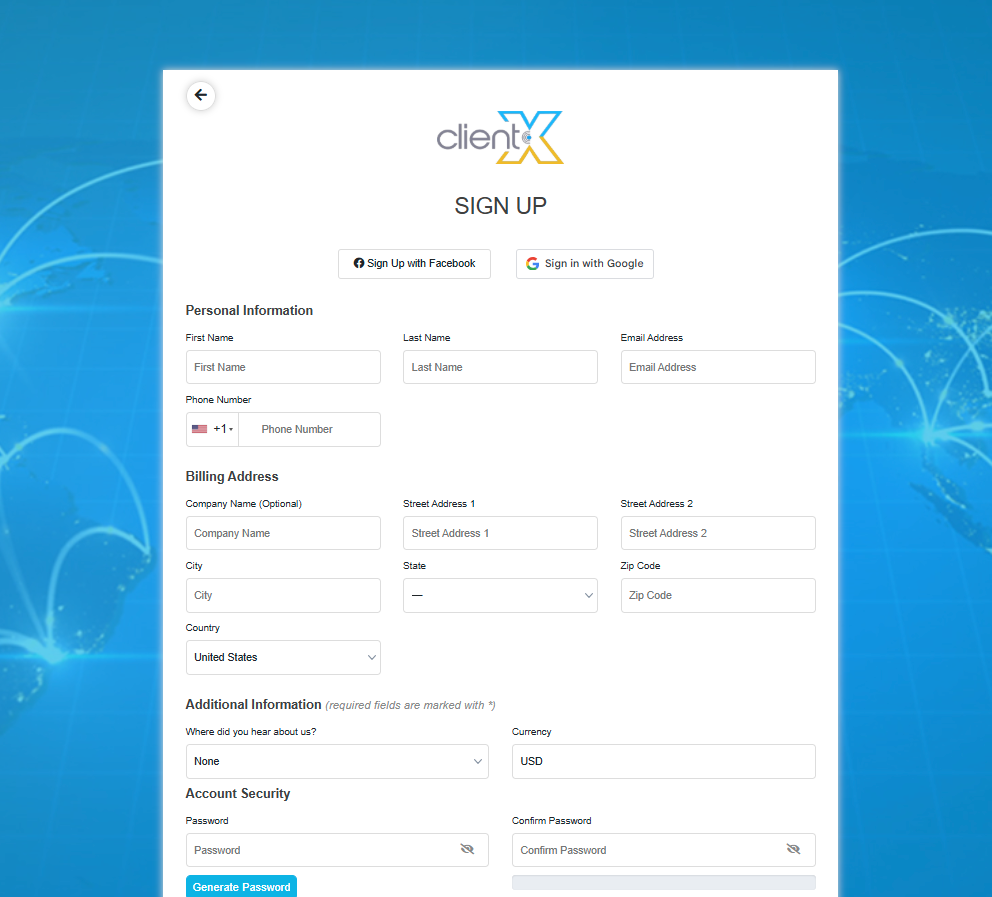
Hide Right Side Content
When enabled, the content on the right side of the registration page will be removed for a cleaner layout.
Layout 1
Frontend Preview
-
When Layout 1 is selected, the Register page will appear as shown below.
This layout provides a clean and minimal registration interface without additional configuration options.
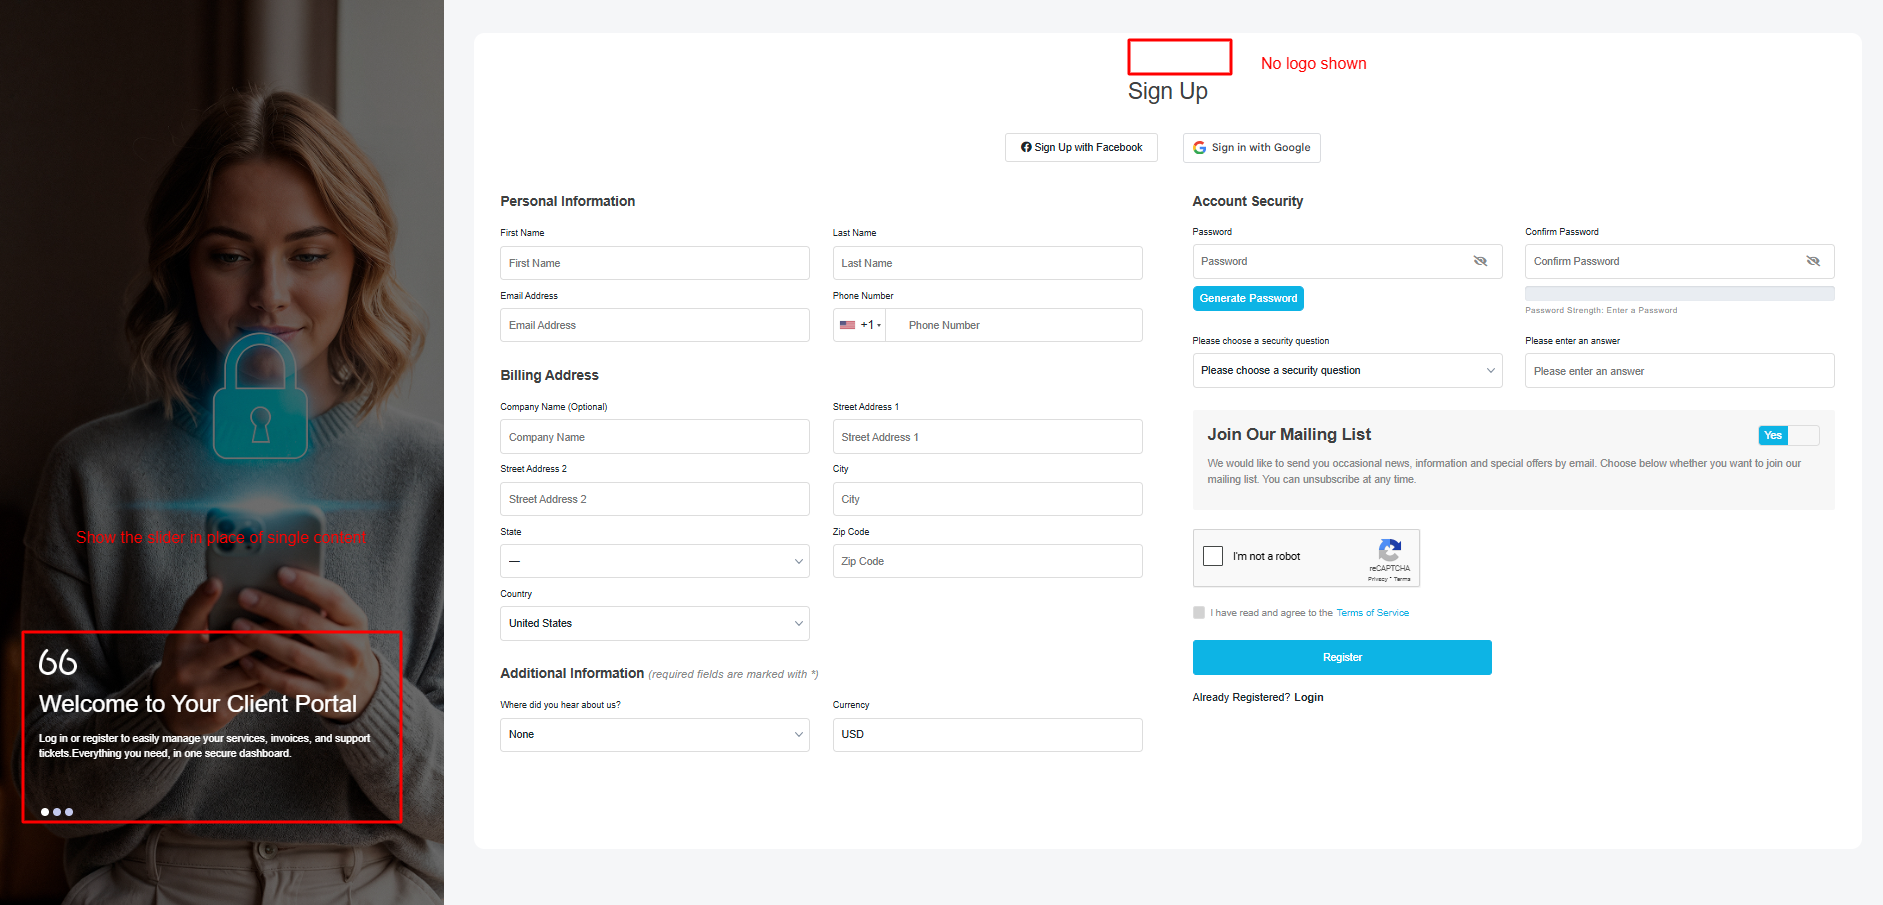
Layout 2
Frontend Preview
-
When Layout 2 is selected, the Register page will appear on the frontend as shown below.
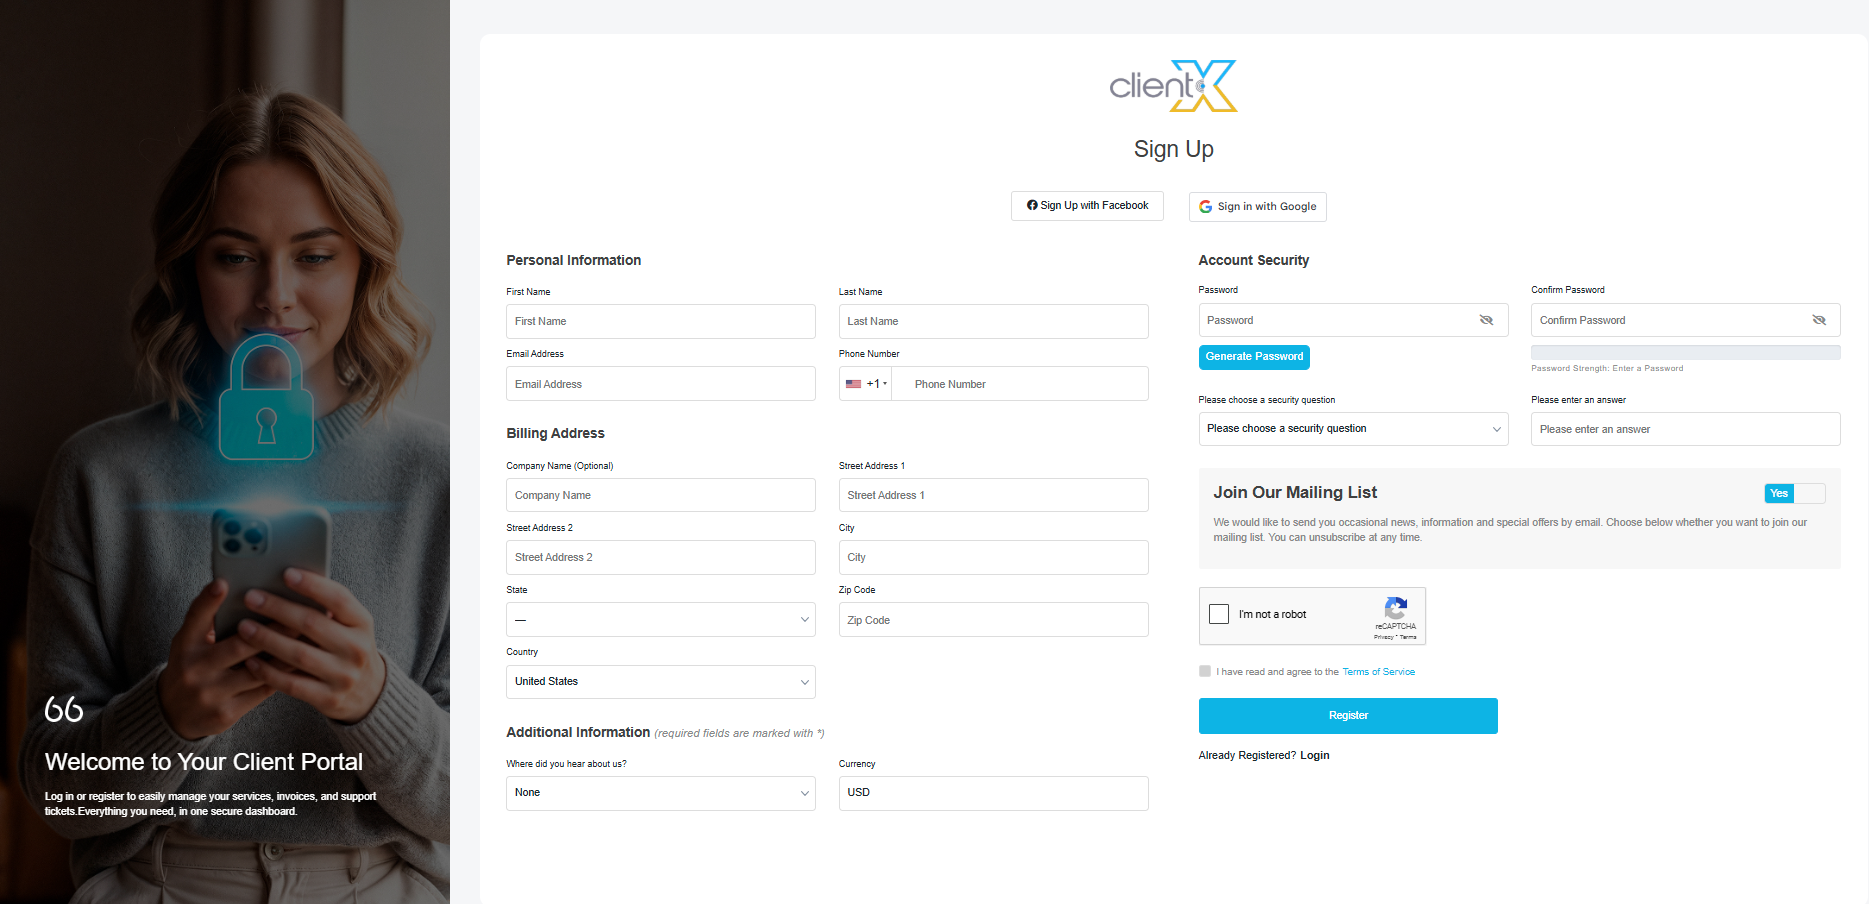
Template Settings
Layout 2 includes advanced Template Settings, allowing you to:
-
Enable a slider in place of the left-side content
-
Hide the logo for a minimal registration experience