WGS ClientX – Client Area & Enable a Custom Header and Footer Guide
This guide explains how to customize the header and footer in the WGS ClientX Addon Module.
Before proceeding, ensure the addon module is installed and activated.
How to Enable a Custom Header and Footer
-
In the General tab, scroll to Other Settings.
-
Enable Custom Header and Footer.
-
Click Save Changes.

File Configuration
-
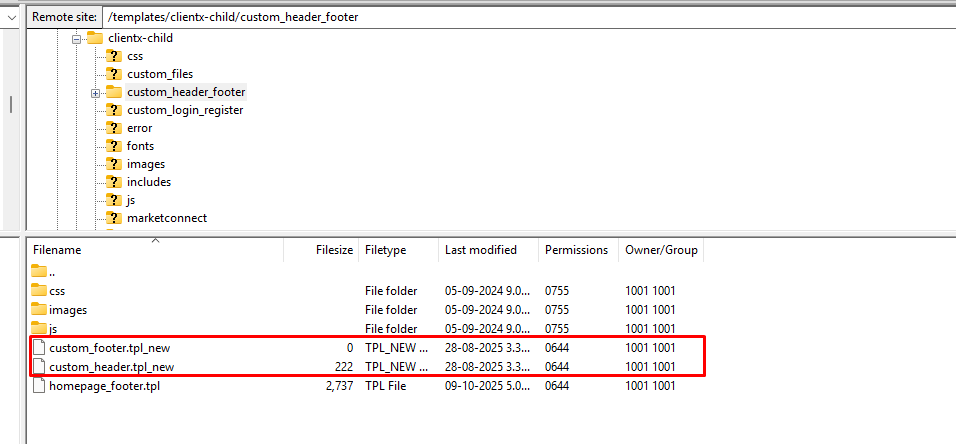
Open FTP and navigate to: /templates/clientx-child/custom_header_footer/
-
Locate the files with the
_newsuffix and rename them as follows:-
custom_header_new.tpl→custom_header.tpl -
custom_footer_new.tpl→custom_footer.tpl
-
- Edit
custom_header.tpland add your custom HTML.
CSS Configuration
-
Open the css folder.
-
Rename the file by removing
_newso it becomescustom-header_footer.css. -
Add your custom header and footer CSS to this file.
JavaScript Configuration
-
Open the js folder.
-
Rename the file by removing
_newso it becomescustom-header_footer.js. -
Add any required JavaScript code to this file.
The custom header and footer will be automatically loaded on the frontend, as shown in the attached screenshot below.