WGS ClientX – Client Area & Theme Layout Settings Guide
Before configuring any of the options below, follow these steps once:
-
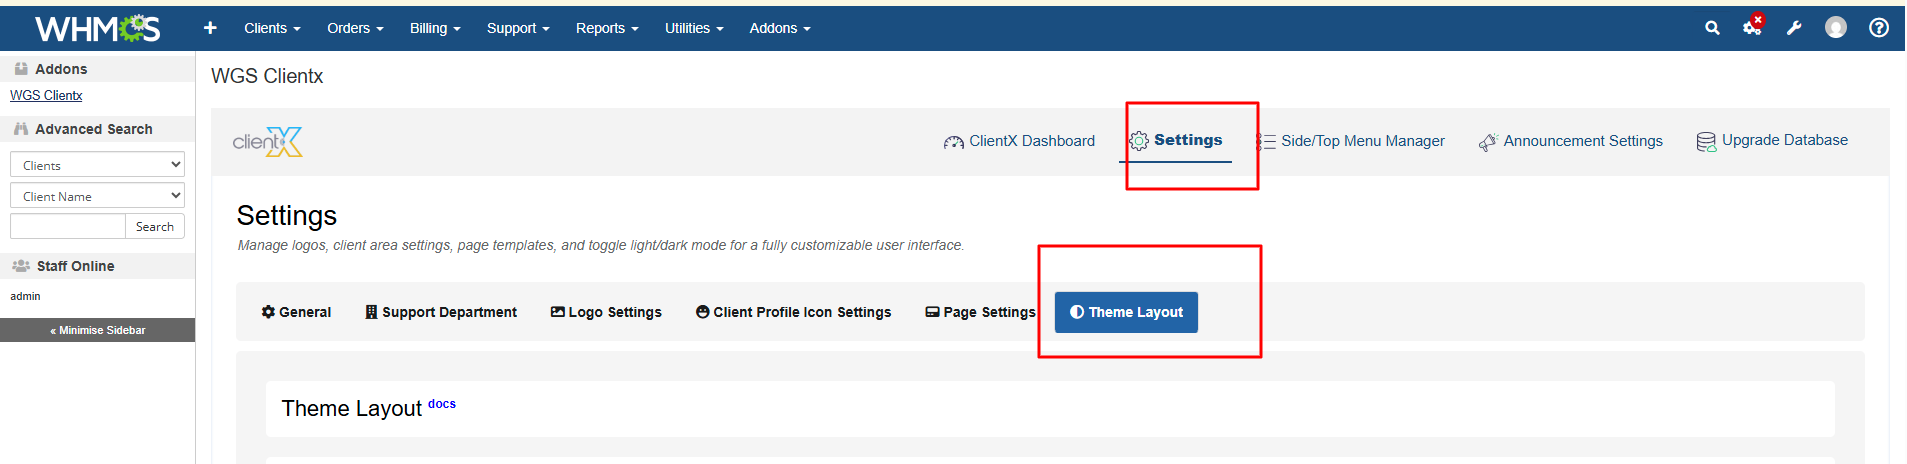
Log in to your WHMCS Admin Panel.
-
Navigate to Addons > WGS ClientX > Settings.
-
Click Settings to open the Theme Layout tab.
How to Switch Between Light and Dark Theme Modes?
-
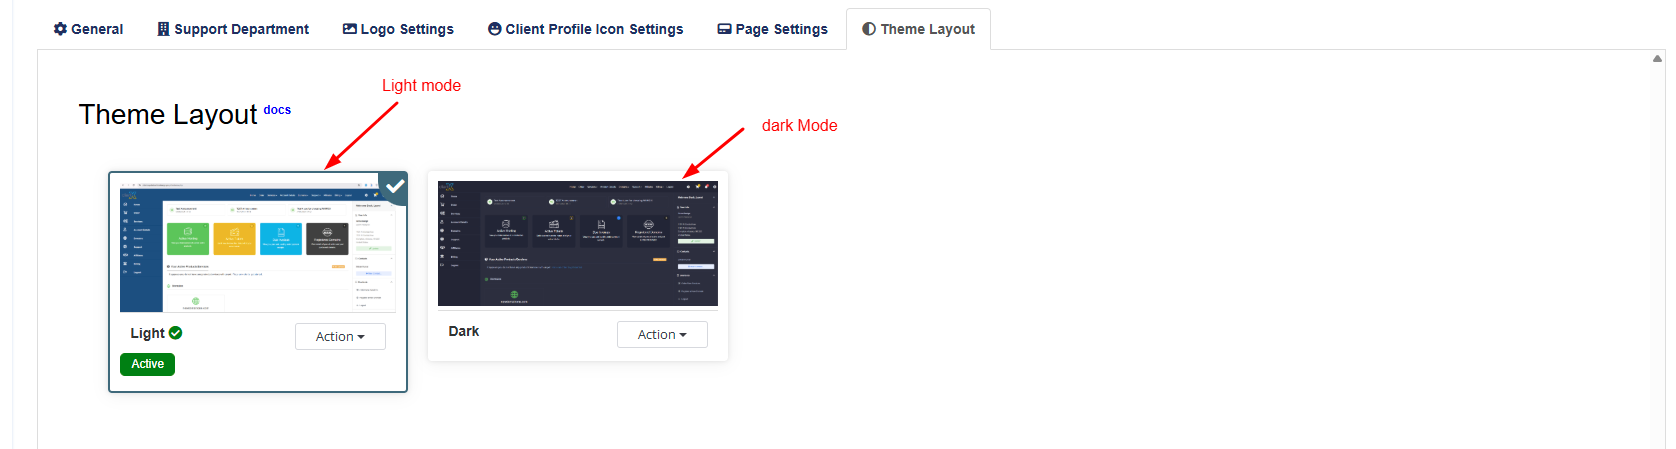
In the Theme Layout tab, locate the Theme Mode option.
-
Choose one of the following modes:
-
Light Mode
-
Dark Mode
-
-
Click Save Changes to apply the selected theme.
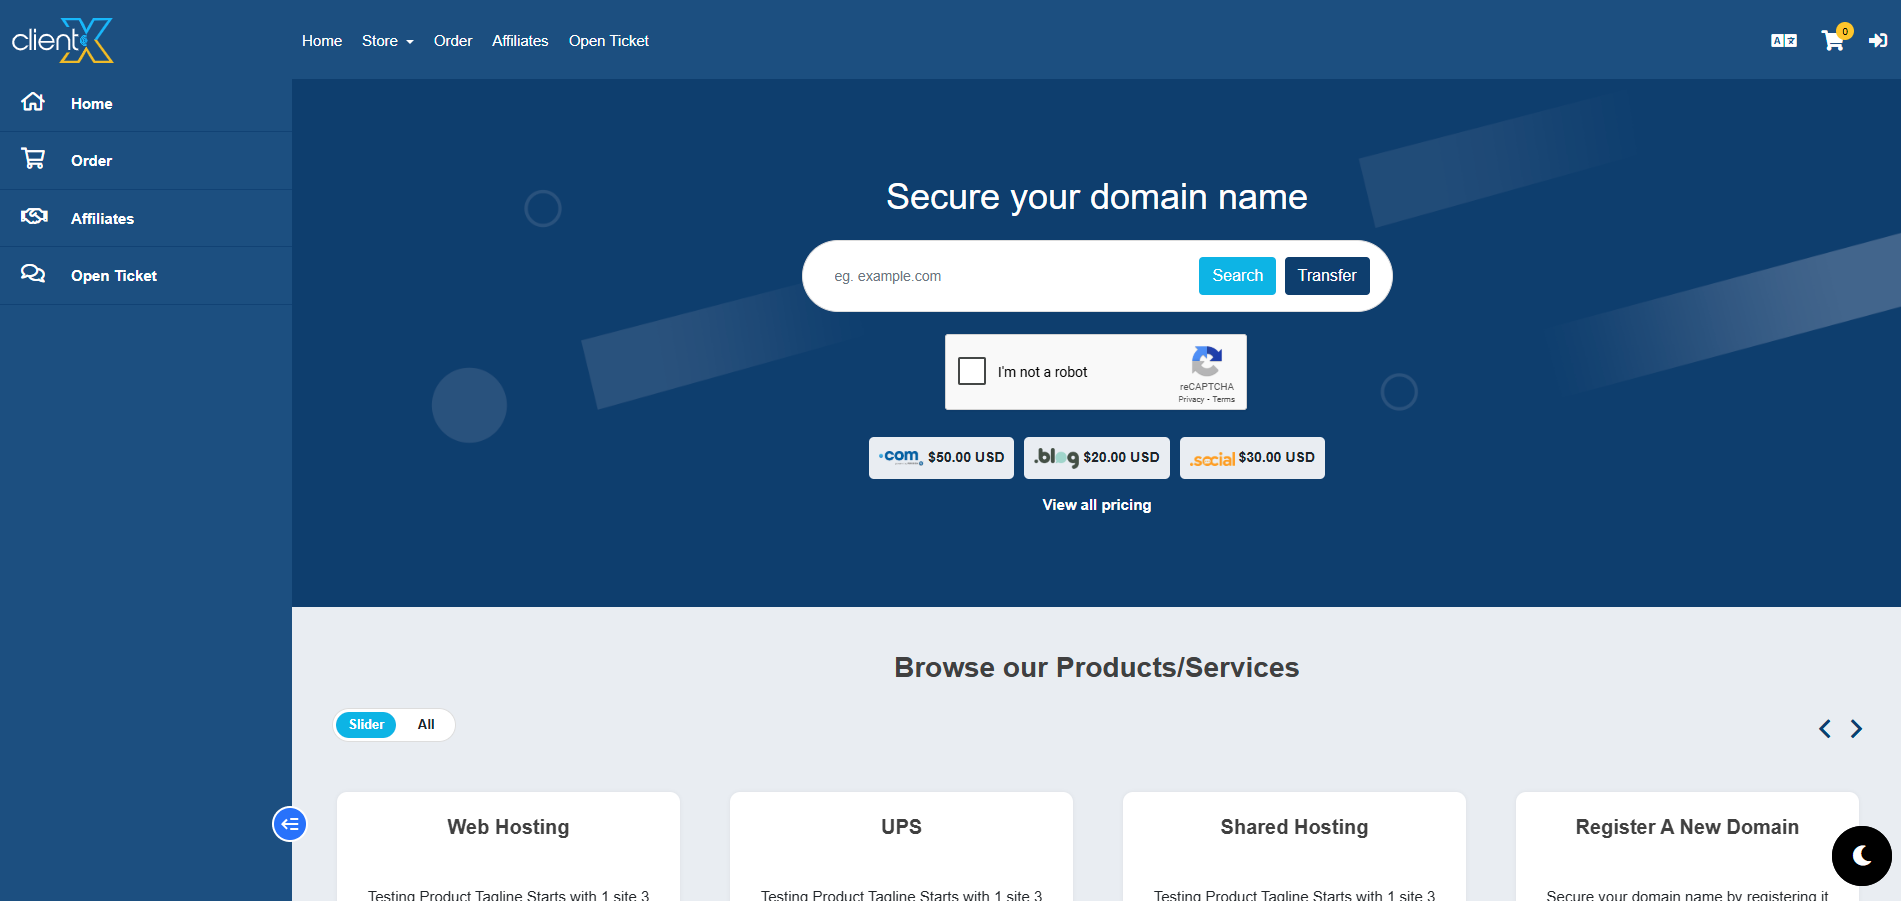
Light Mode
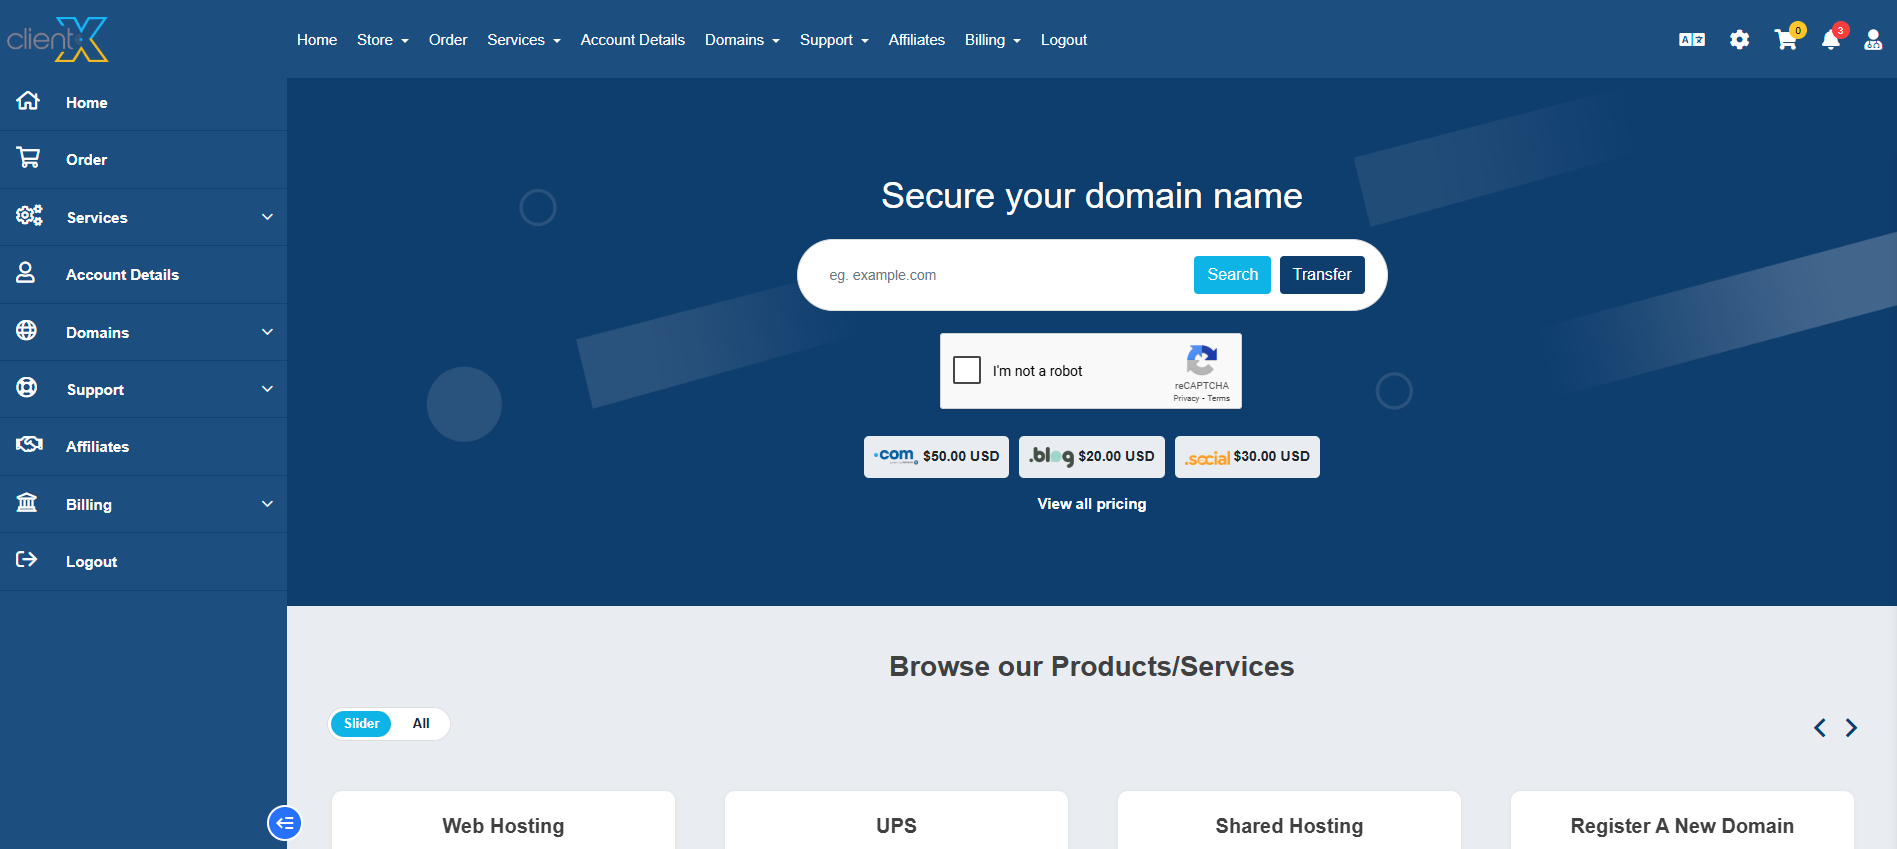
When Light Mode is selected, the light theme will be applied across the entire Client Area. The interface will appear bright and clean, as shown in the attached screenshot below.
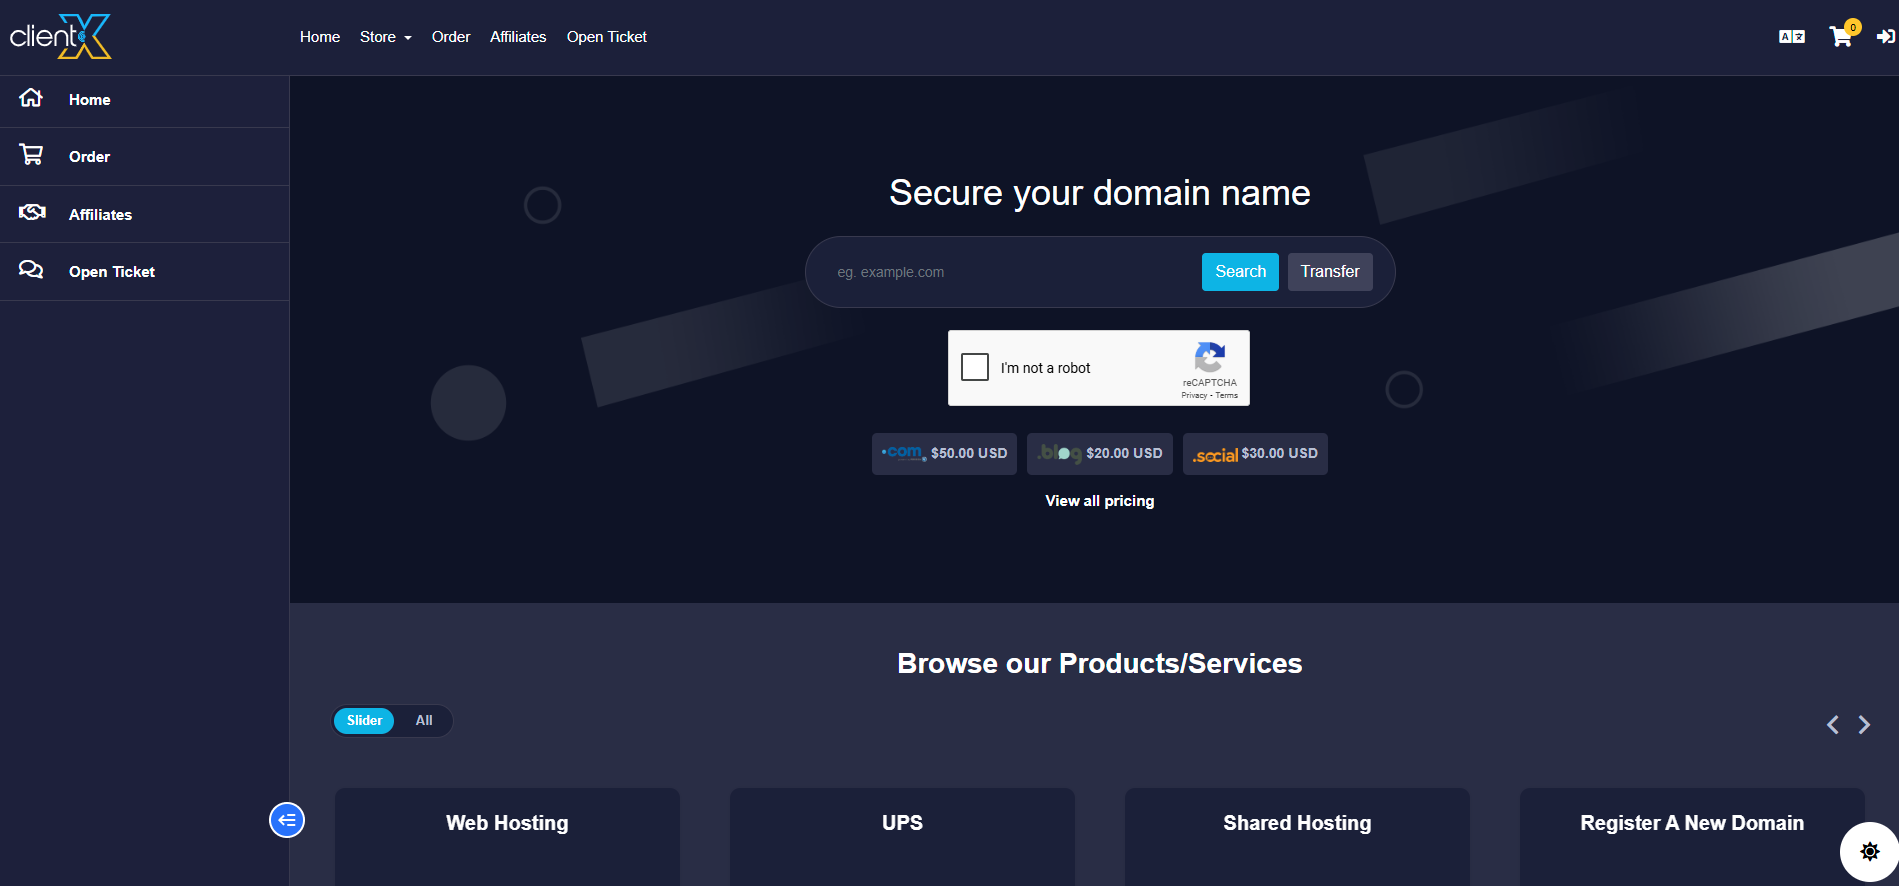
Dark Mode
When Dark Mode is selected, the dark theme will be applied across the entire Client Area. The interface will appear in a modern, dark-style layout, as shown in the attached screenshot below.
How to Customize Theme Colors for Light Mode?
-
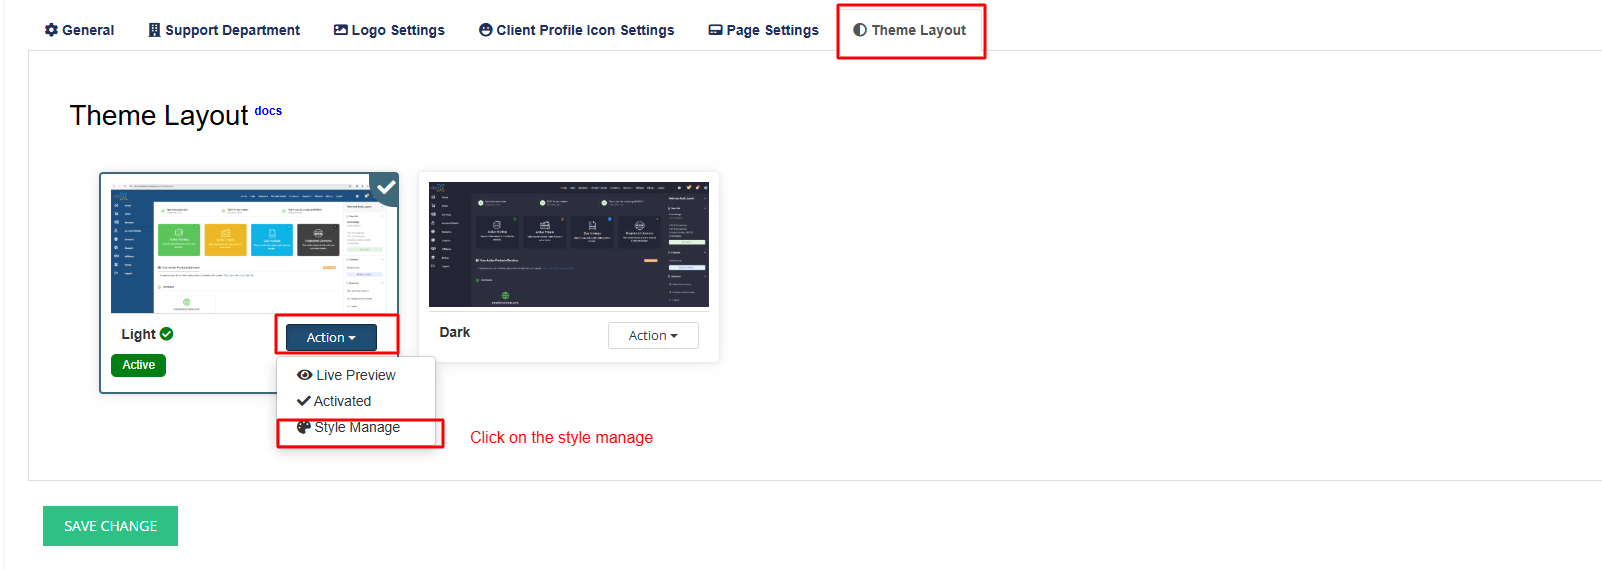
In the Theme Layout tab, select Light Mode as the active theme.
-
Under the Action column, click Style Manage.
-
You will see the option Enable Custom Settings (Theme Color Manager).
Before Enabling Custom Settings
When Enable Custom Settings is disabled, the Light theme uses the default ClientX color scheme, as shown in the attached screenshot below.
After Enabling Custom Settings
-
Enable the Custom Settings checkbox.
-
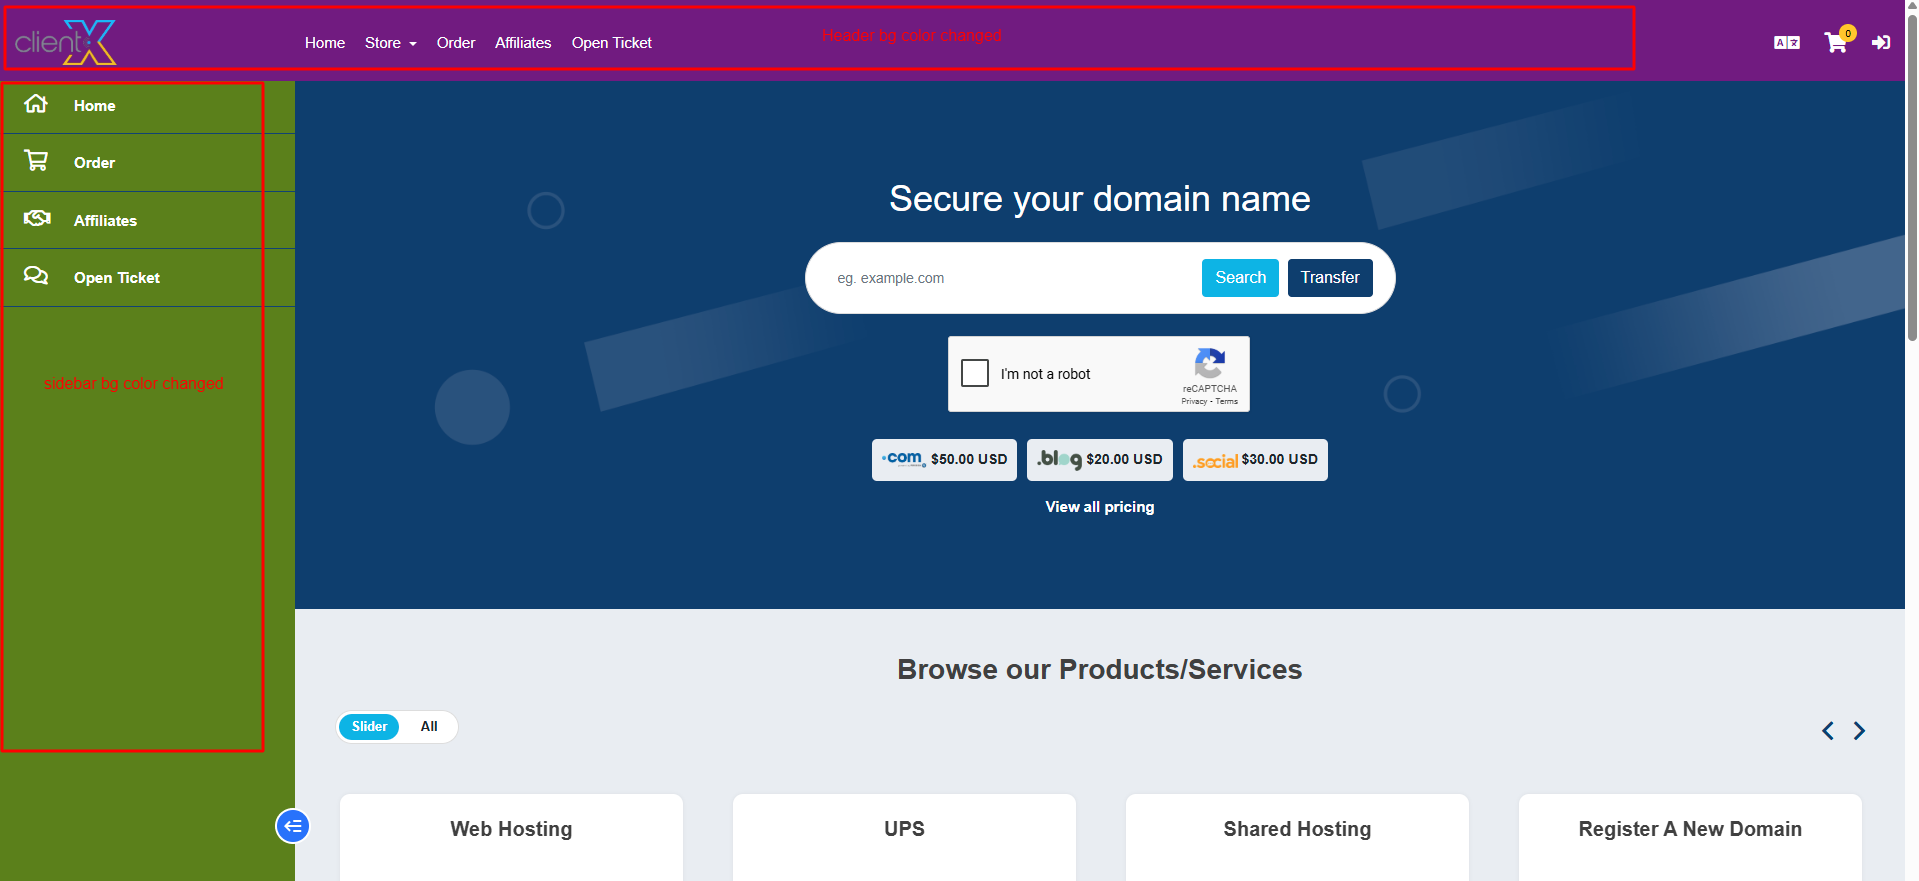
Once enabled, you can modify the colors of available fields
-
Header Background Color
-
Sidebar Background Color
-
Button Colors
-
Text and Accent Colors
-
-
Adjust the colors according to your branding requirements.
-
Click Save Changes to apply the customized color settings.

The updated Light theme with custom colors will be displayed across the Client Area, as shown in the attached screenshot below.
Restore Default Theme Colors
If you want to revert the Light theme back to its original ClientX color scheme:
-
Click the Restore button.
-
All customized colors will be reset to the default values.
After restoring, the Light theme will appear in its original design
How to Customize Theme Colors for Dark Mode?
-
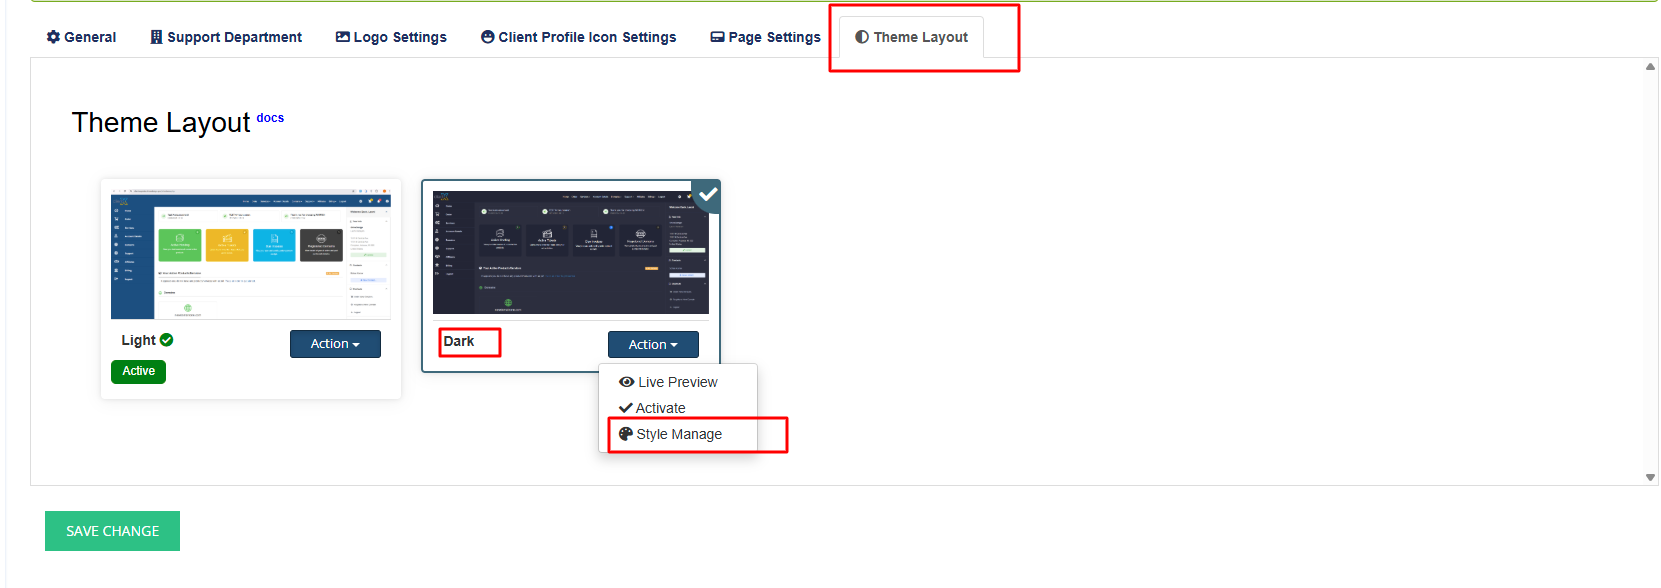
In the Theme Layout tab, select Dark Mode as the active theme.
-
Under the Action column, click Style Manage.
-
You will see the option Enable Custom Settings (Theme Color Manager).
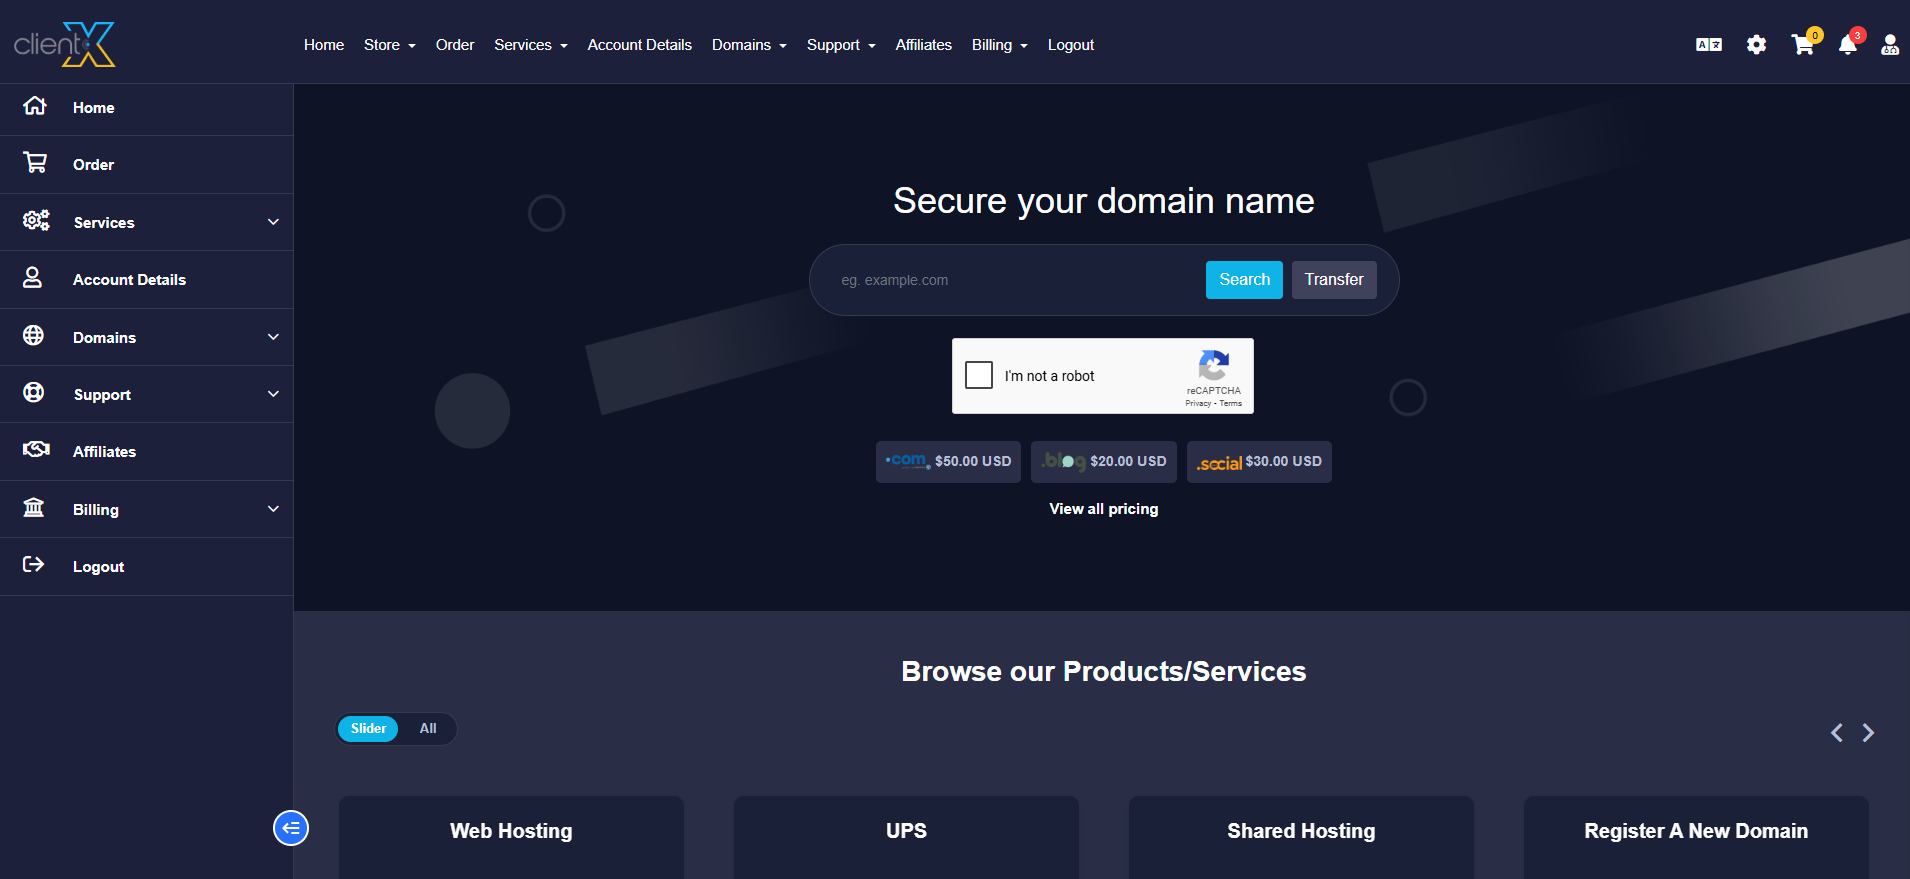
Before Enabling Custom Settings
When Enable Custom Settings is disabled, the Dark theme uses the default ClientX color scheme, as shown in the attached screenshot below.
After Enabling Custom Settings
-
Enable the Custom Settings checkbox.
-
Once enabled, you can modify the colors of available fields
-
Header Background Color
-
Sidebar Background Color
-
Button Colors
-
Text and Accent Colors
-
-
Adjust the colors according to your branding requirements.
-
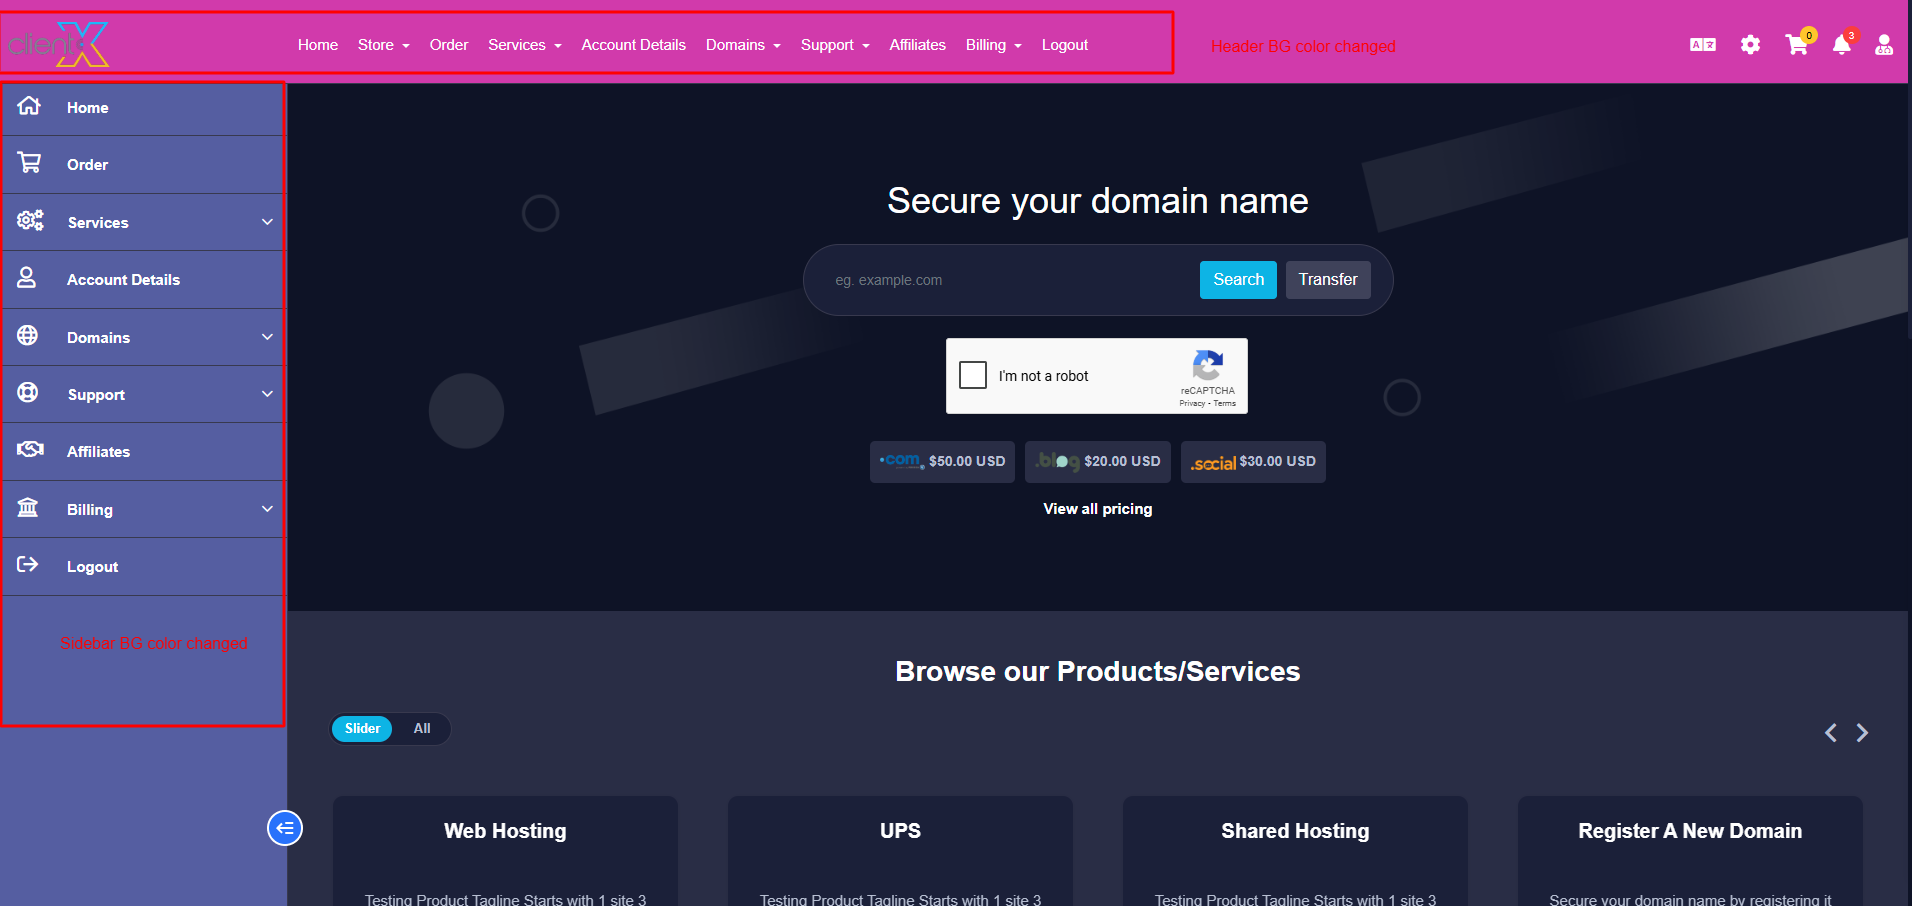
Click Save Changes to apply the customized color settings.

The updated Dark theme with custom colors will be displayed across the Client Area, as shown in the attached screenshot below.
Restore Default Theme Colors
If you want to revert the Dark theme back to its original ClientX color scheme:
-
Click the Restore button.
-
All customized colors will be reset to the default values.
After restoring, the Dark theme will appear in its original design
