WGS ClientX – Client Area & Logo Settings Guide
Before configuring any of the options below, follow these steps once:
-
Log in to your WHMCS Admin Panel.
-
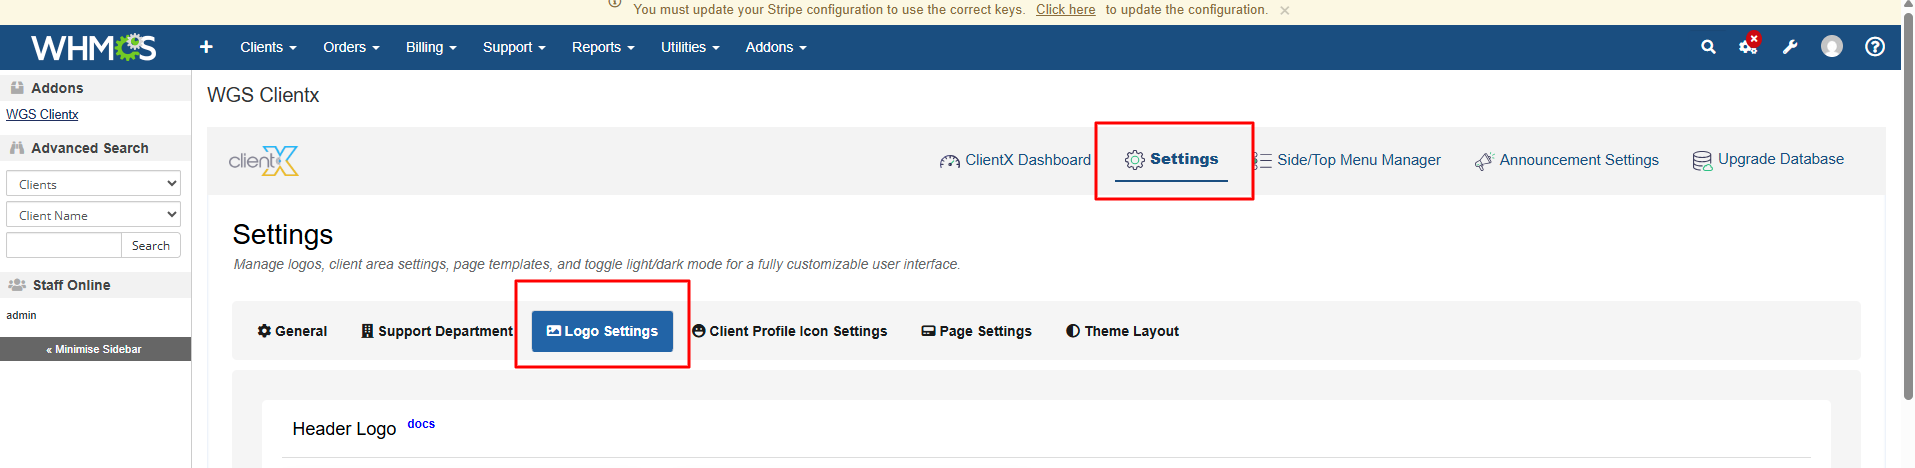
Navigate to Addons > WGS ClientX > Settings.
-
Click Settings to open the Logo Settings tab.
How to Configure Logos in ClientX
Under the Logo Settings tab, you can manage and customize all logo types used across the ClientX theme. Each section below controls a specific logo area.
Header Logo Settings
Available Options
-
Logo – Upload the header logo image for both Dark and Light themes.
-
Header Logo Width & Height – Manually define the logo dimensions in pixels if the logo appears too large or too small.
-
Header Logo Link – Enter the URL where users should be redirected when clicking the header logo.
-
Open Header Logo Link in New Tab – Enable this option to open the link in a new browser tab.

The configured header logo will be displayed across the Client Area based on the selected theme.
Invoice Logo Settings
Available Options
-
Logo – Upload the invoice logo image for both Dark and Light themes.
-
Invoice Logo Width & Height – Specify the required width and height in pixels for proper alignment on invoices.
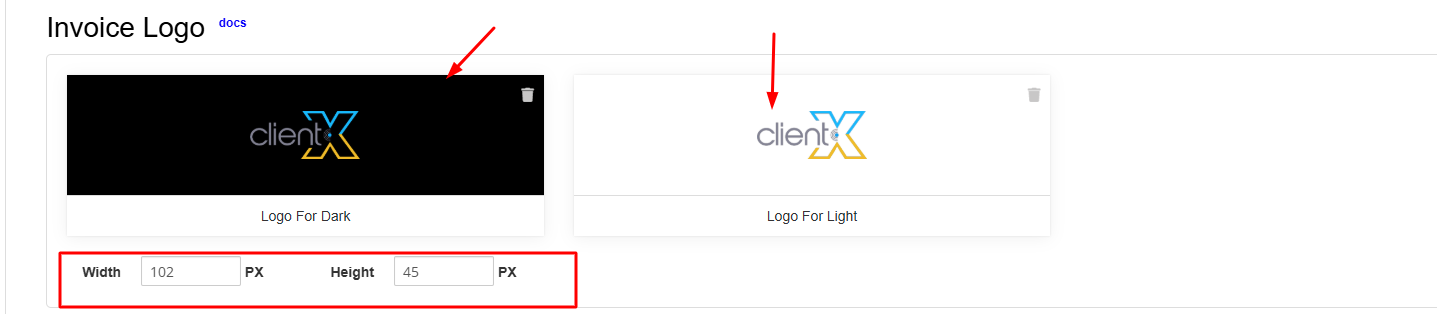
The uploaded invoice logo will appear on all invoices generated through ClientX
Login / Register / Password Reset Logo Settings
Available Options
-
Logo – Upload the logo to be displayed on the Login, Register, and Password Reset pages for both Dark and Light themes.
-
Logo Width & Height – Set the logo dimensions in pixels for authentication-related pages.
-
Login / Register Logo Link – Enter the URL users should be redirected to when clicking the logo.

The selected logo will be displayed consistently across all authentication pages
Favicon Settings
Available Option
-
Favicon – Upload a favicon image to represent your brand in browser tabs and bookmarks. This icon is typically smaller than a standard logo and enhances brand visibility.
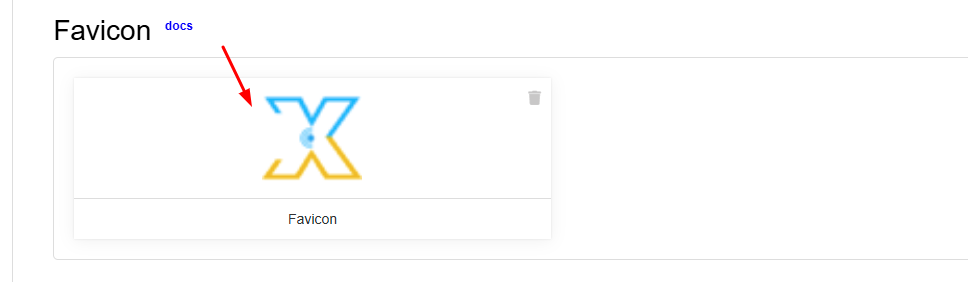
The uploaded favicon will appear in the browser tab for the Client Area
