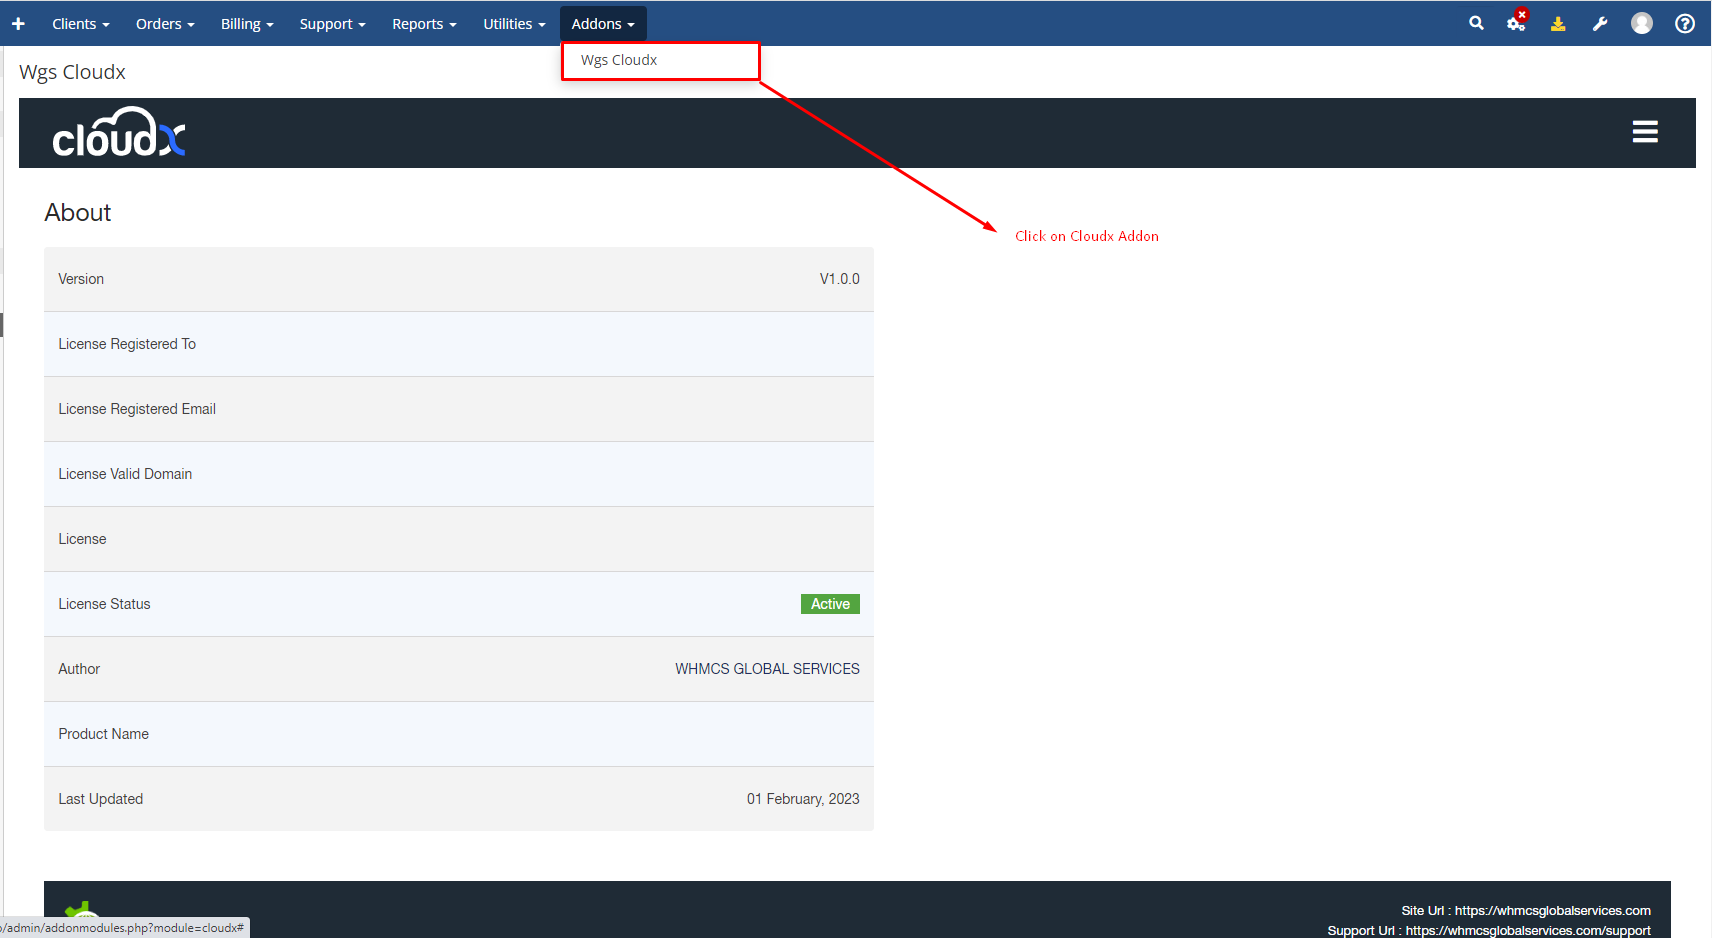
Step 1: Log in to WHMCS Admin and click on Cloudx Addon
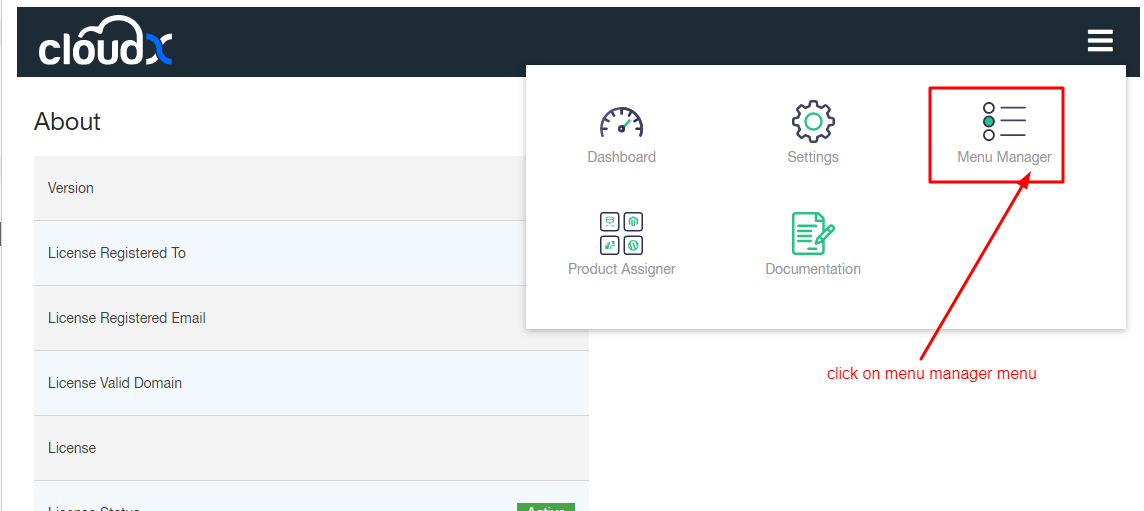
Step 2: The click on Menu Manager Menu
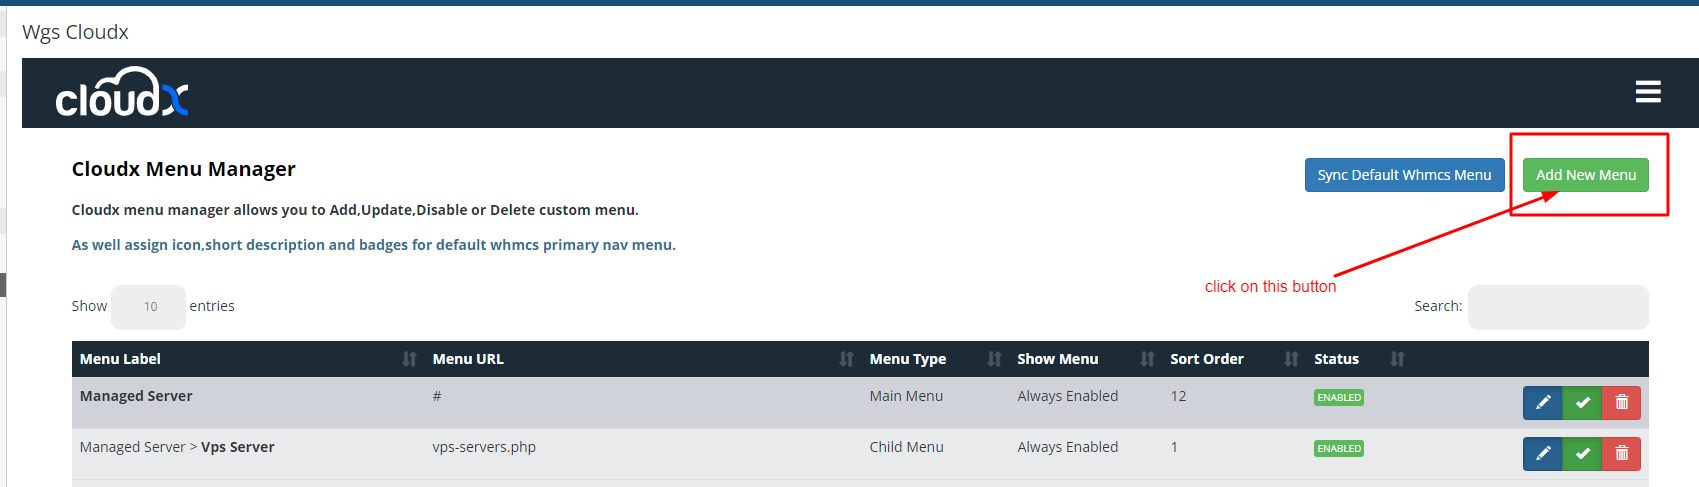
Step 3: Hit the Add New Menu button
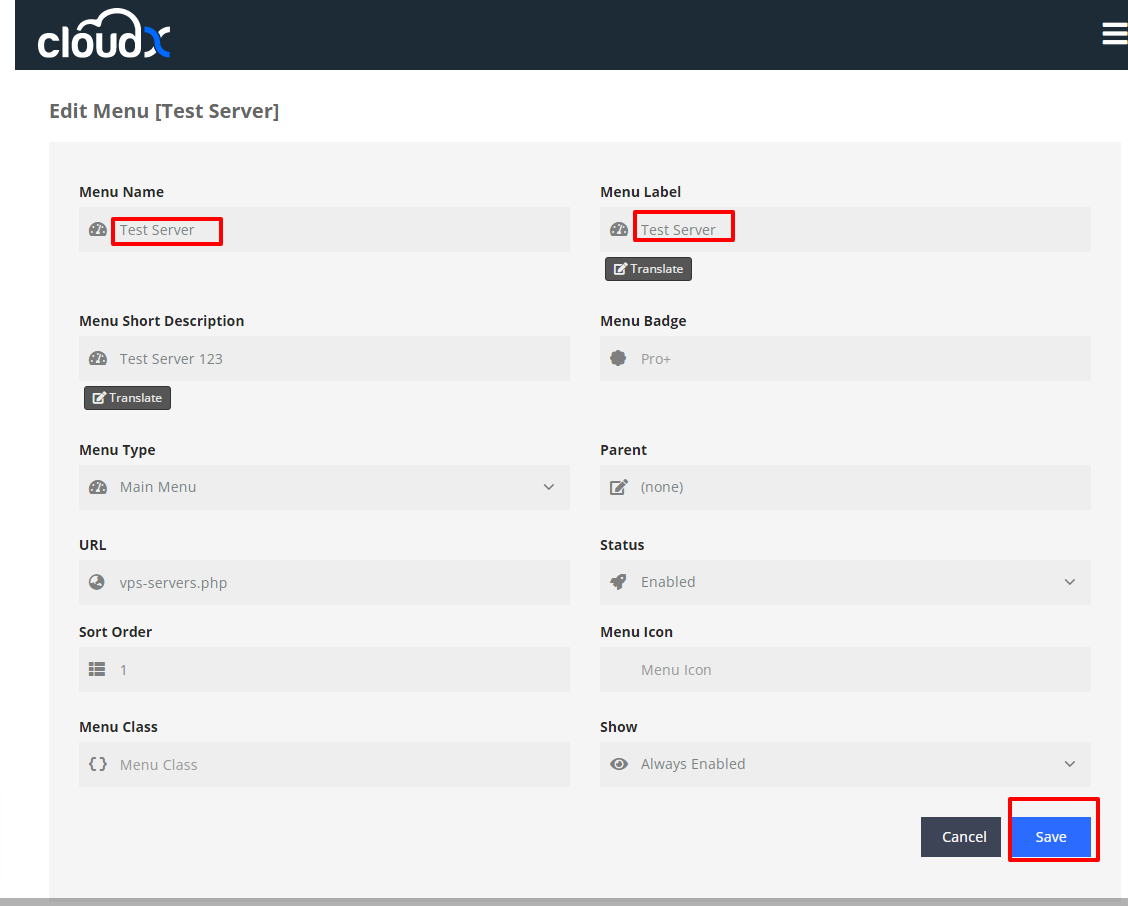
Step 4: After that you can make the changes like for example in this screenshot here we have added Test Server under Menu Name & Menu label similarly you can add as many you want and then click on save button.
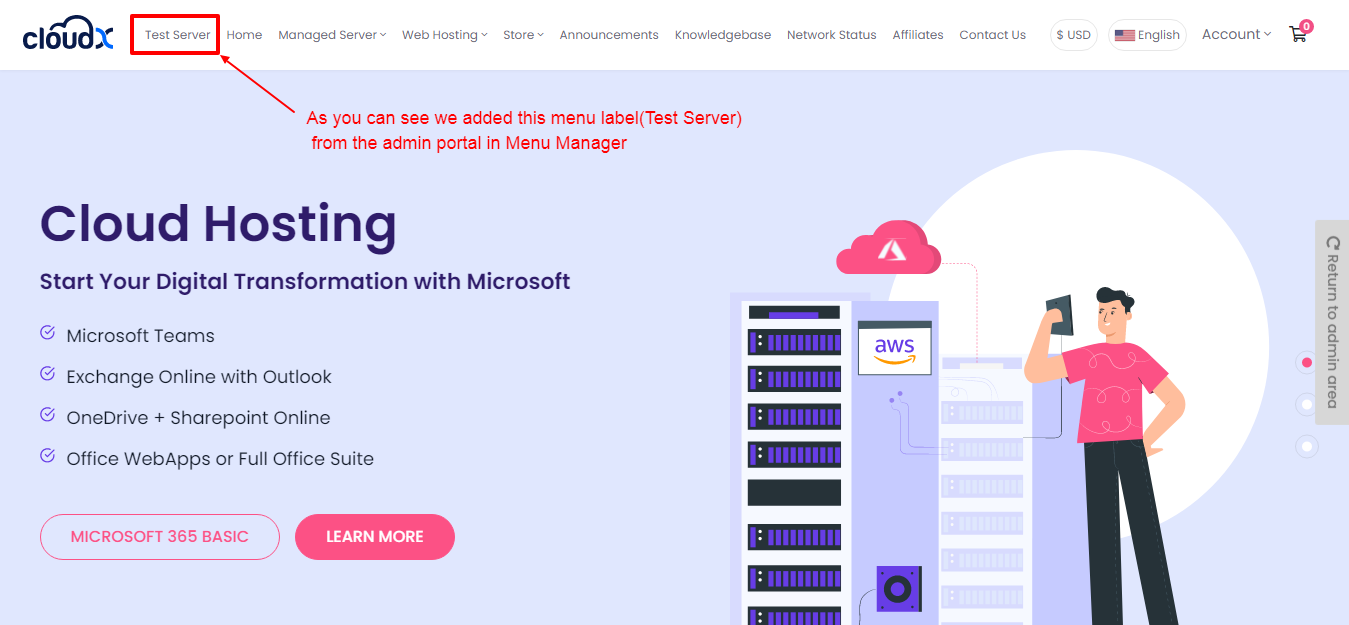
Step 5: In the below screenshot as we added the menu label (Test Server) then we are able to see the Test Server in frontend.
Note: As we added the menu in the above steps from (1 to 5) similarly we will see how to add sub menu.
Step 6: Once the above menu is created click on add menu again to add the sub menu.
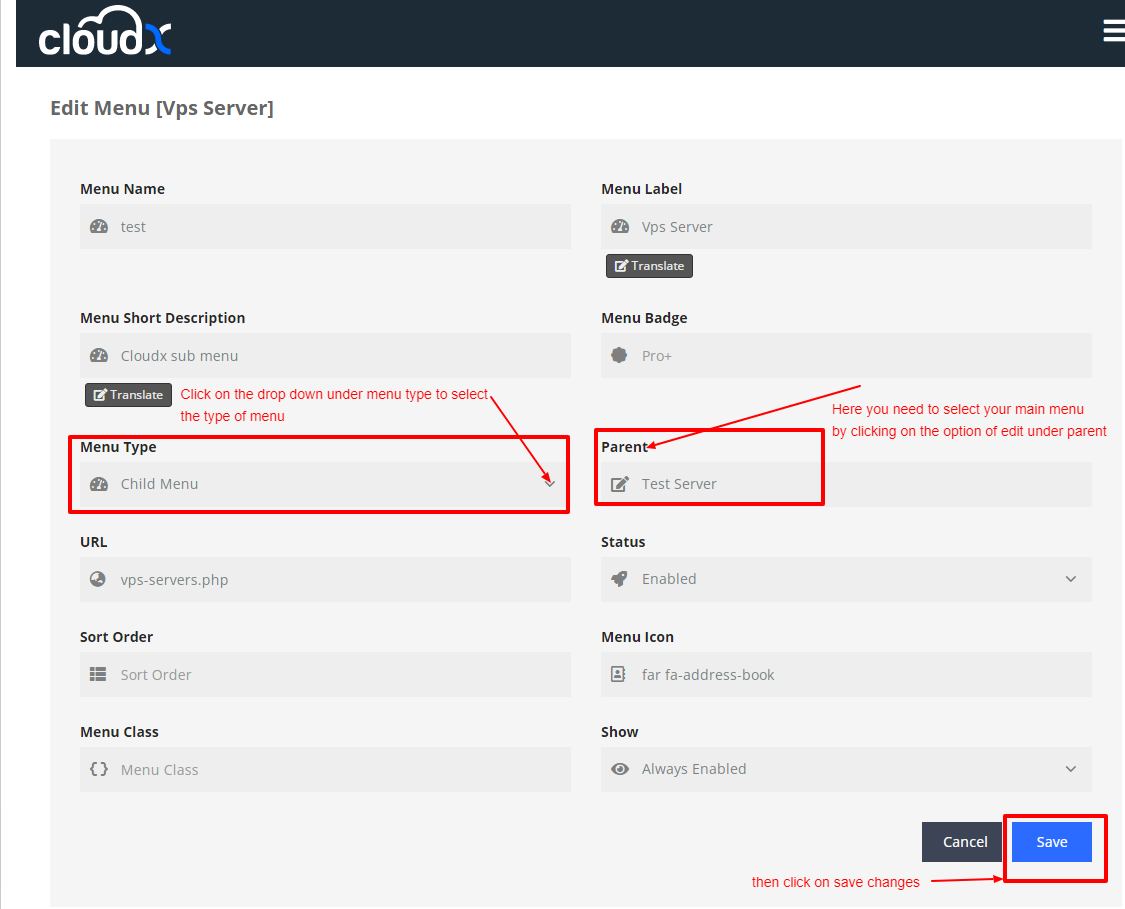
Step 7: Once the page opens you need to select the parent of the menu that you want to add the sub menu of and also select the menu type like child menu as selected in the below screenshot. Here we added the menu type as child menu because you are creating the sub menu of already created menu. After this click on save button.
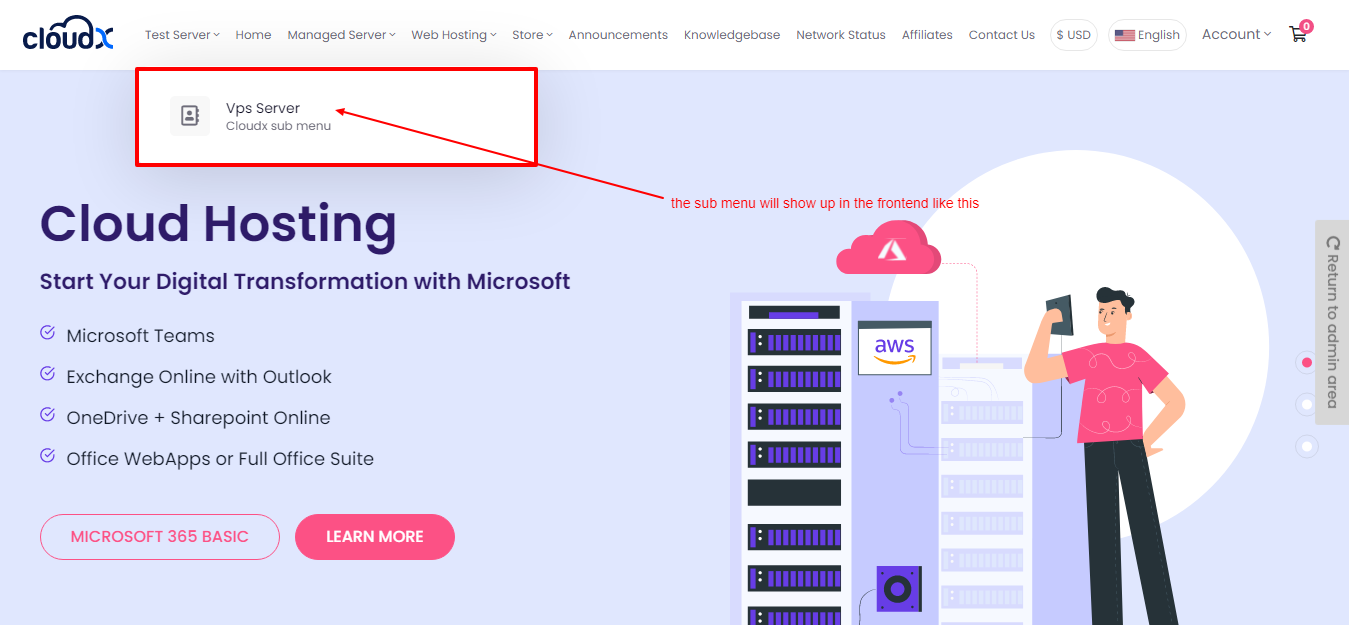
Step 7: The sub menu will show up at the frontend like this.