Hostx - WHMCS Web Hosting Theme
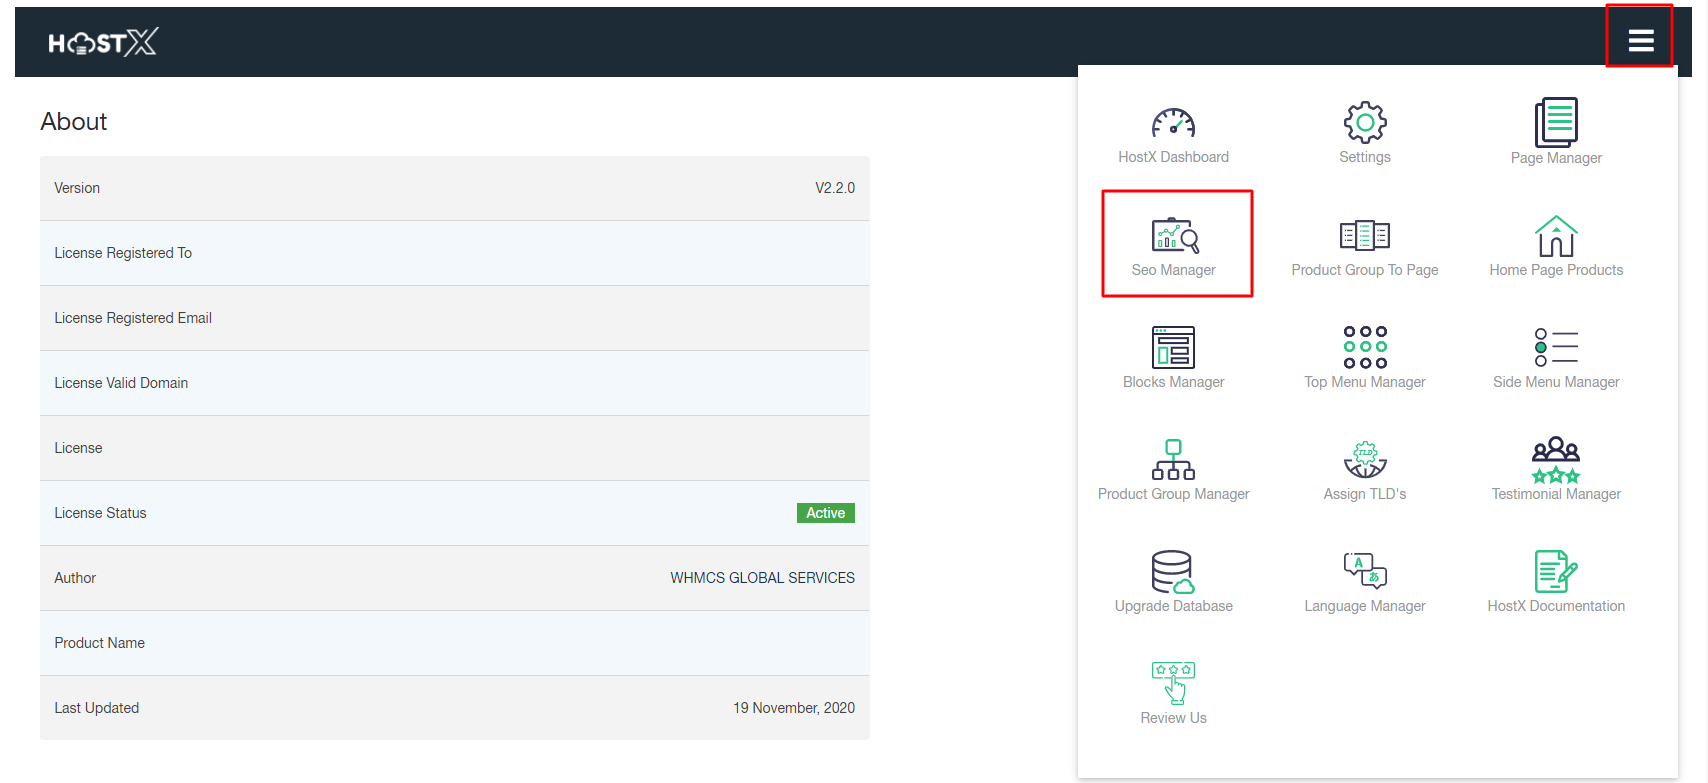
Step 1: Log in to WHMCS Admin
Step 2: Go to Addons > WGS HostX >SEO Manager
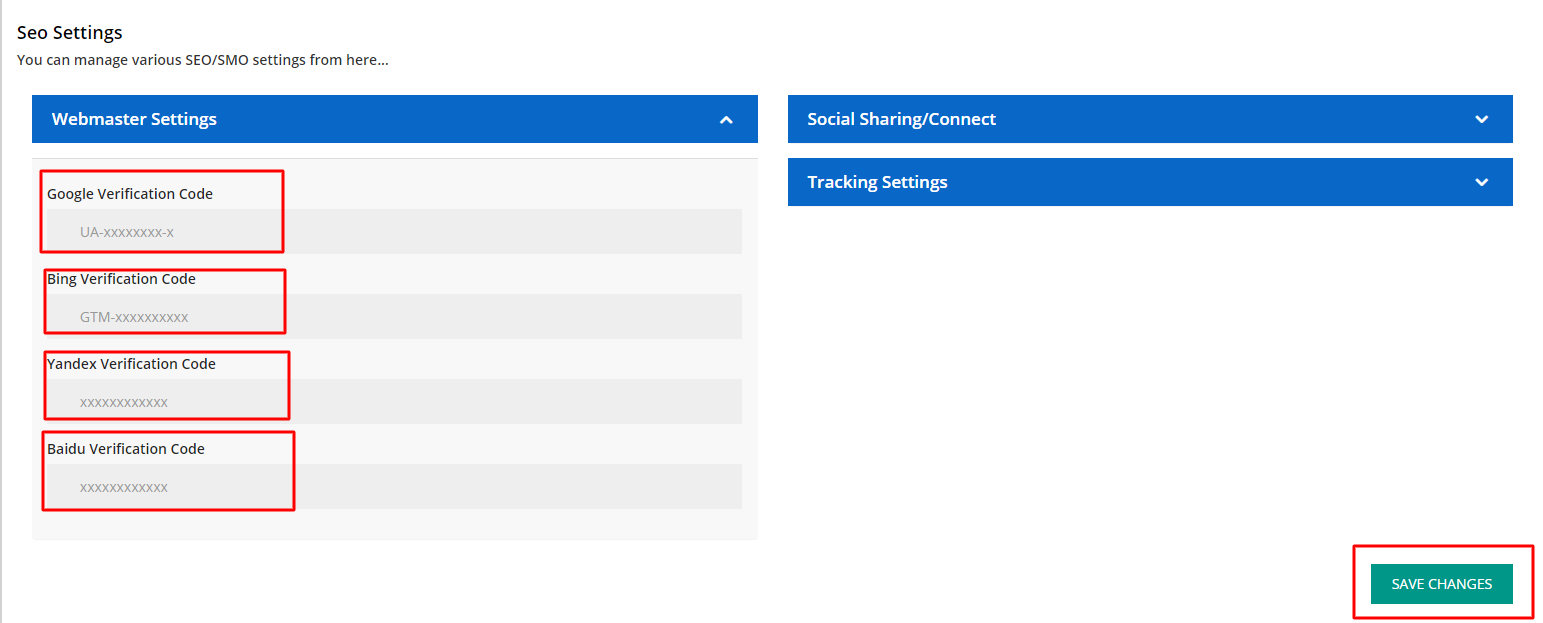
1. Webmaster Settings

- Google Verification Code: Enter your Google Verification Code in this section. For example: UA-xxxxxxxx-x
- Bing Verification Code: Enter your Bing Verification Code here. For example: GTM-xxxxxxxxxx
- Yandex Verification Code: Type your Yandex Verification Code in this section.
- Baidu Verification Code: Enter your Baidu account verification code here.
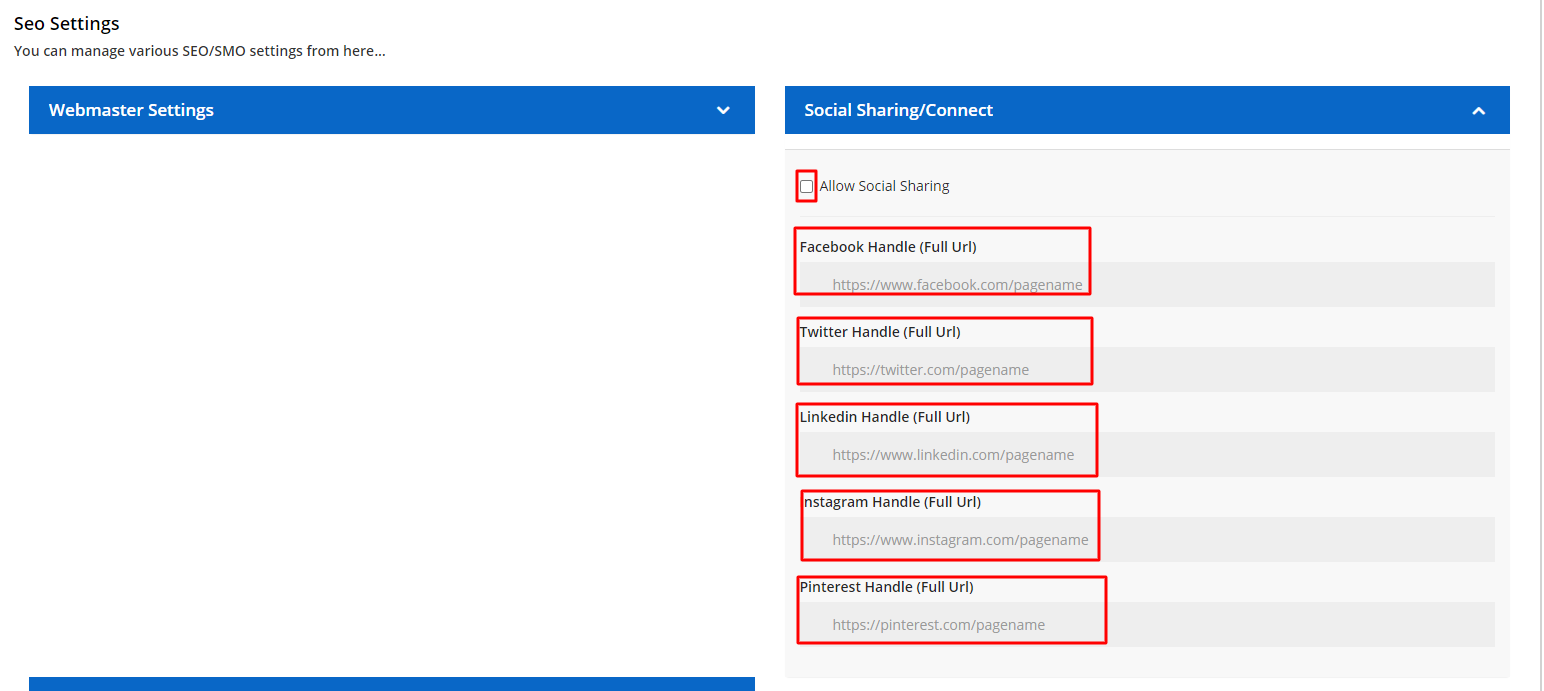
- 2. Social Sharing/Connect
- Allow Social Sharing: Checking this option will create sharing icons on all the existing pages in the client area and will auto create a social sharing link for each web page accordingly.
- Facebook Handle (Full Url): Enter your brand’s Facebook Handle URL here.
- Twitter Handle (Full Url): Type your brand’s Twitter Handle URL here.
- Linkedin Handle (Full Url): Enter your brand’s LinkedIn Handle URL here.
- Instagram Handle (Full Url): Enter your brand’s Instagram Handle URL in this section.
Pinterest Handle (Full Url): Type your brand’s Pinterest Handle URL here.
The Final Result Display like this

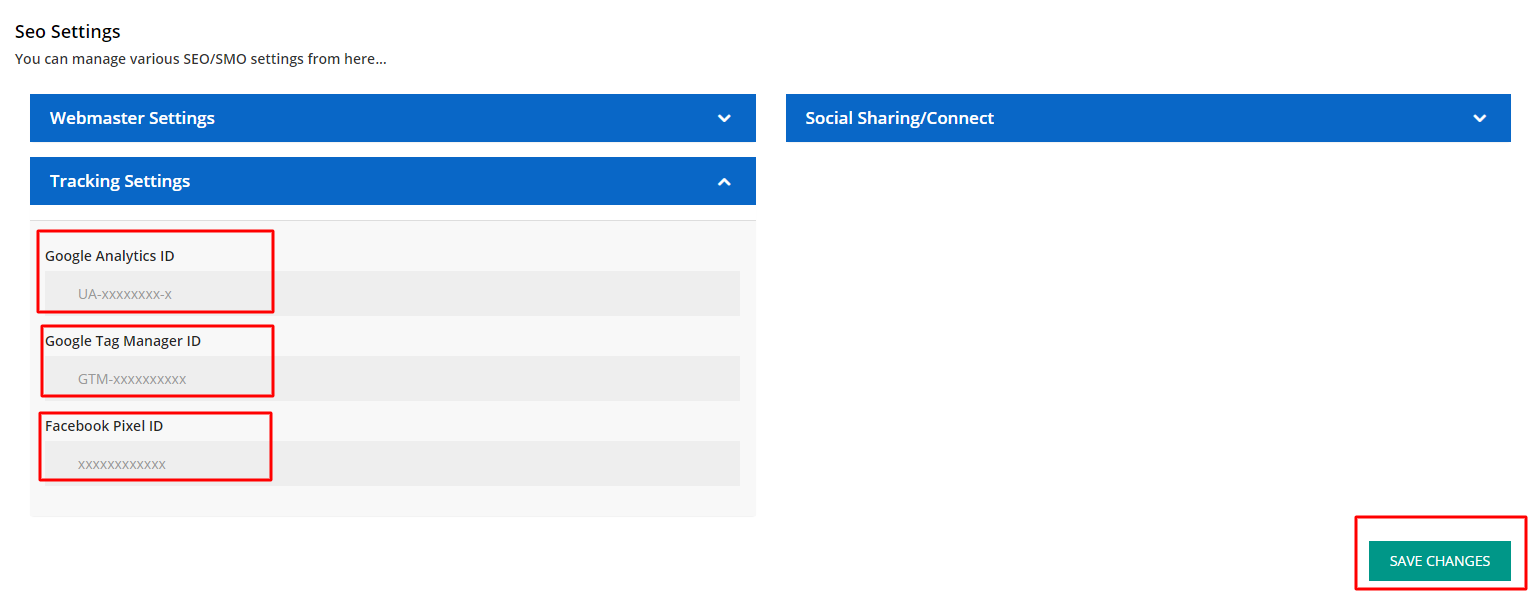
3. Tracking Settings

- Google Analytics ID: Sign in to your Google Analytics account. Click Admin >> Select Account >> Property >> Tracking Info >> Tracking Code. Enter this tracking ID in the WHMCS Google Analytics ID section.
- Google Tag Manager ID: Sign in to your Google Tag Manager account >> Container >> Copy GTM Code (Containing letters/numbers). Paste this code in the WHMCS Google Tag Manager section.
Facebook Pixel ID: Open Facebook >> Go to Navigation menu >> Click on Measure and Report >> Pixels. Copy your Facebook pixel ID and paste this in the WHMCS Facebook Pixel ID section.