Hostx - WHMCS Web Hosting Theme
Step 1: Log in to WHMCS Admin
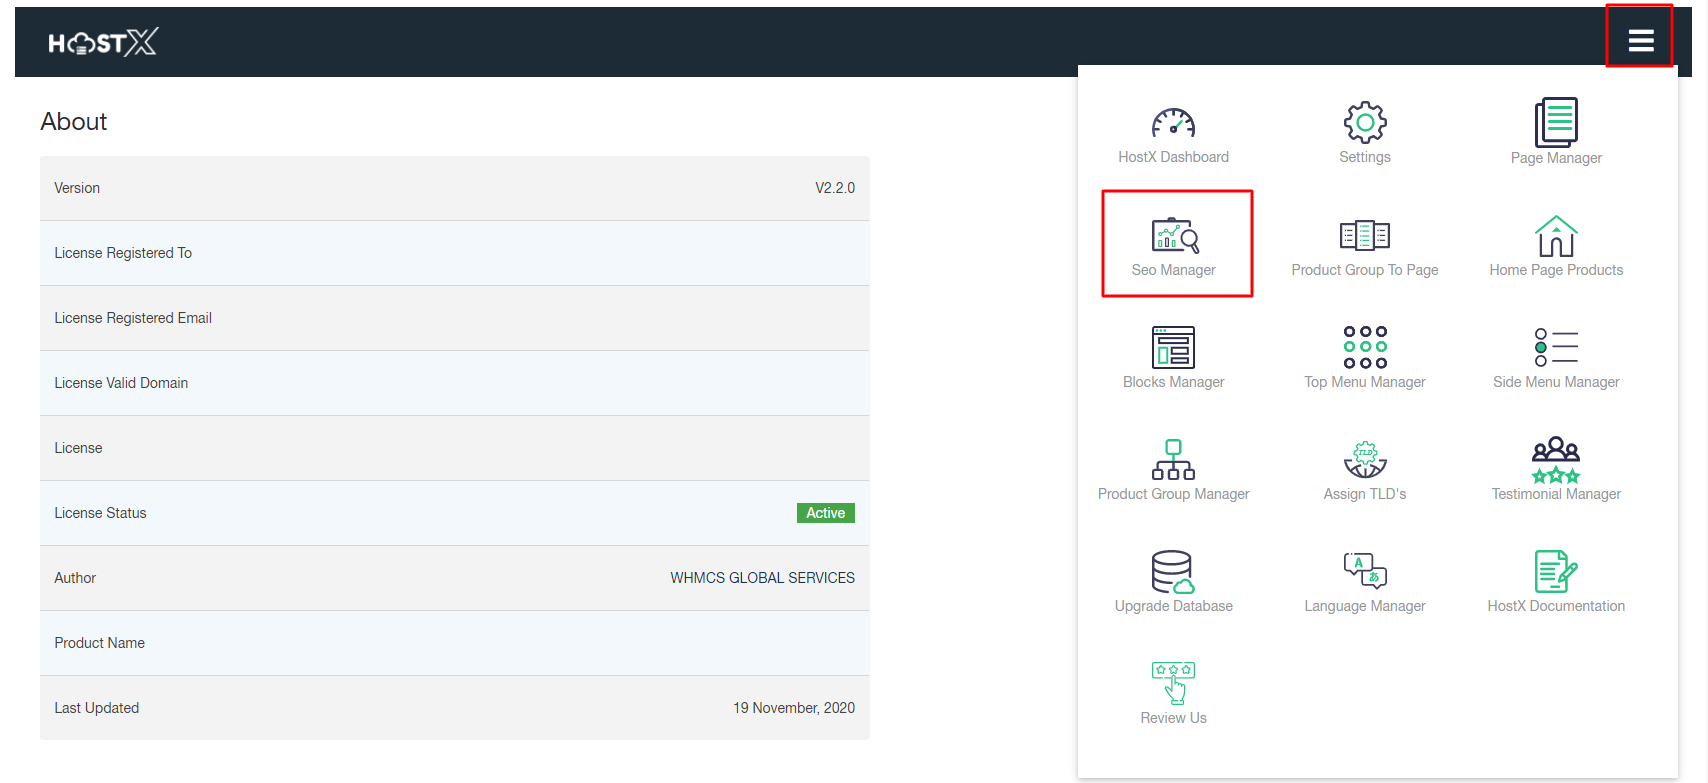
Step 2: Go to Addons > WGS HostX >SEO Manager
With the WHMCS admin panel, you can manage various HostX SEO tags including Meta Tags/OG Tags.
1. Add Tag

To add a new meta tag to an existing page, whether a click on the Add Tag button or just search the page name or click on the Edit Menu button corresponding to the required page.
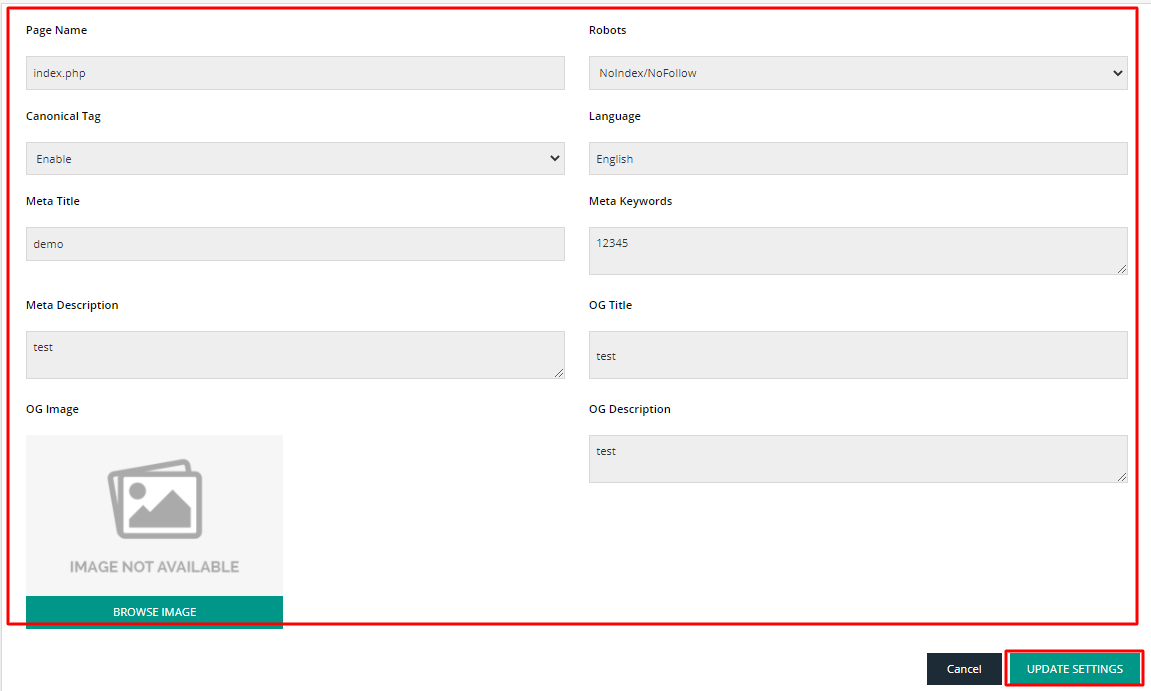
-Select Page Name: Click on the drop-down button under the Select Page Name section and select the desired page in which you want to add the meta tags.
-Canonical Tag: Set this option to Enable if you want to tell the search engines that this specific URL represents the master copy of this page and prevent your page from identical or "duplicate" content issues in future.
-Meta Title: Enter a title for your page that you want users to display on the Search Engine Result Page and at the top of the browser window or in the browser tab.
Note: Your Meta Title should not exceed the 120-160 character word limit.
-Meta Description: Type the description to summarize the page content to display to the next of Meta Title in the Search Engine Result Page.
Note: Make sure your Meta Description contains all the primary keywords and content to summarize your webpage.-
-: Here set your page to Index, Follow, or NoIndex/NoFollow as per your requirement.
-Language: Your page language will be displayed here.
-Keywords: Enter the focus keywords of your page.
-OG Title: Enter the page title you want to display on your Facebook page.
-OG Description: Enter the description for this page to show it on Facebook.
-OG Image: Click on Browse Image and select the webpage image you want to display on Facebook.
Once done with editing all these settings, click on the Update Settings button to apply the effects.
The Final result will display like this

