HostX :
How to change the live chat setting
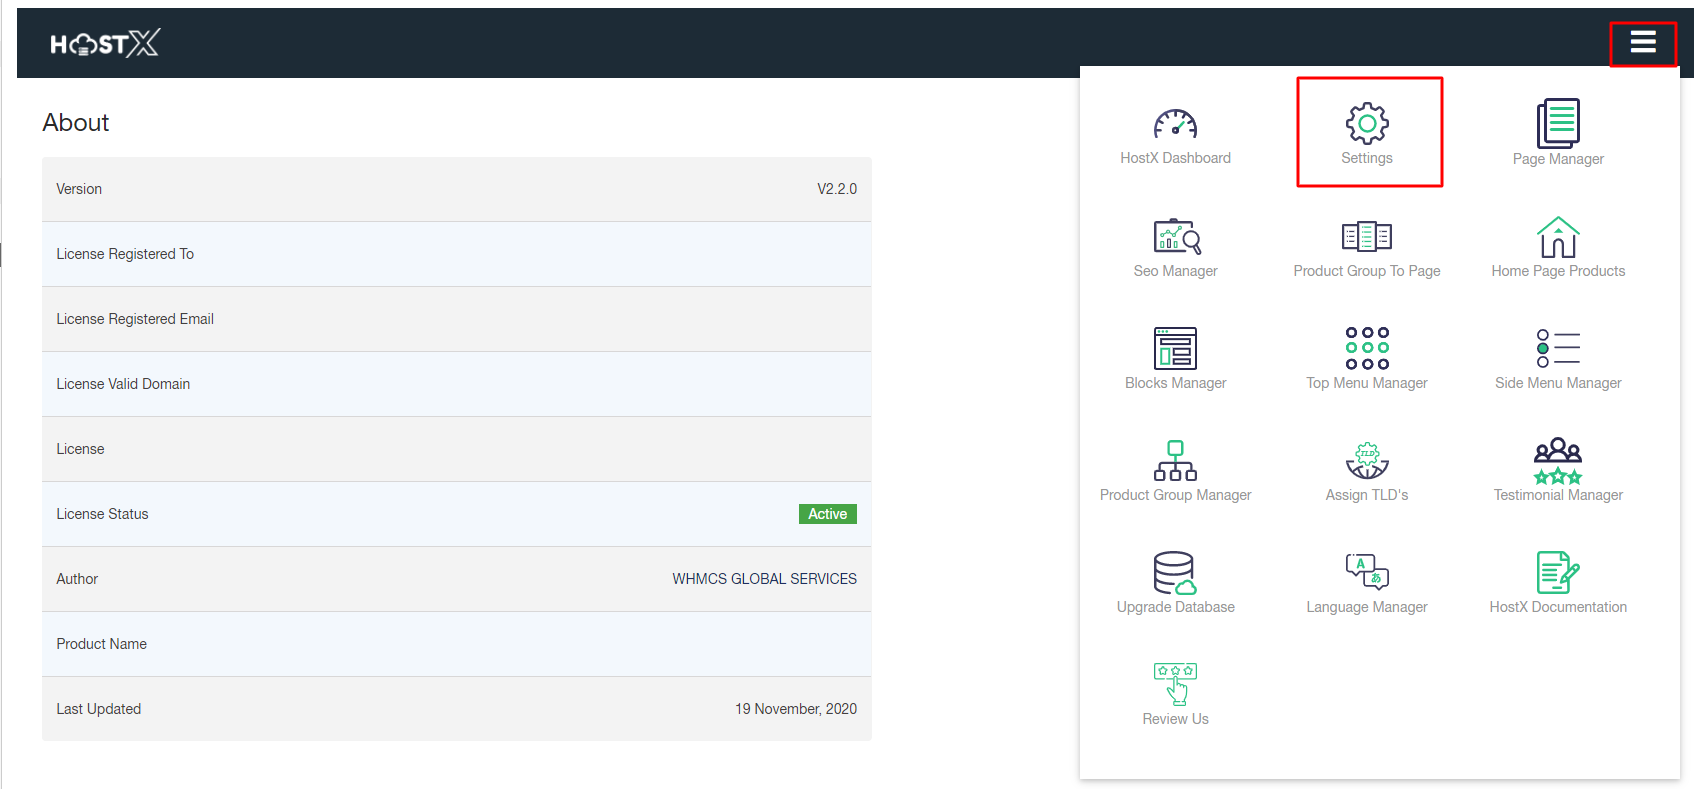
Step 1: Log in to WHMCS Admin
Step 2: Go to Add-ons > WGS HostX >Setting
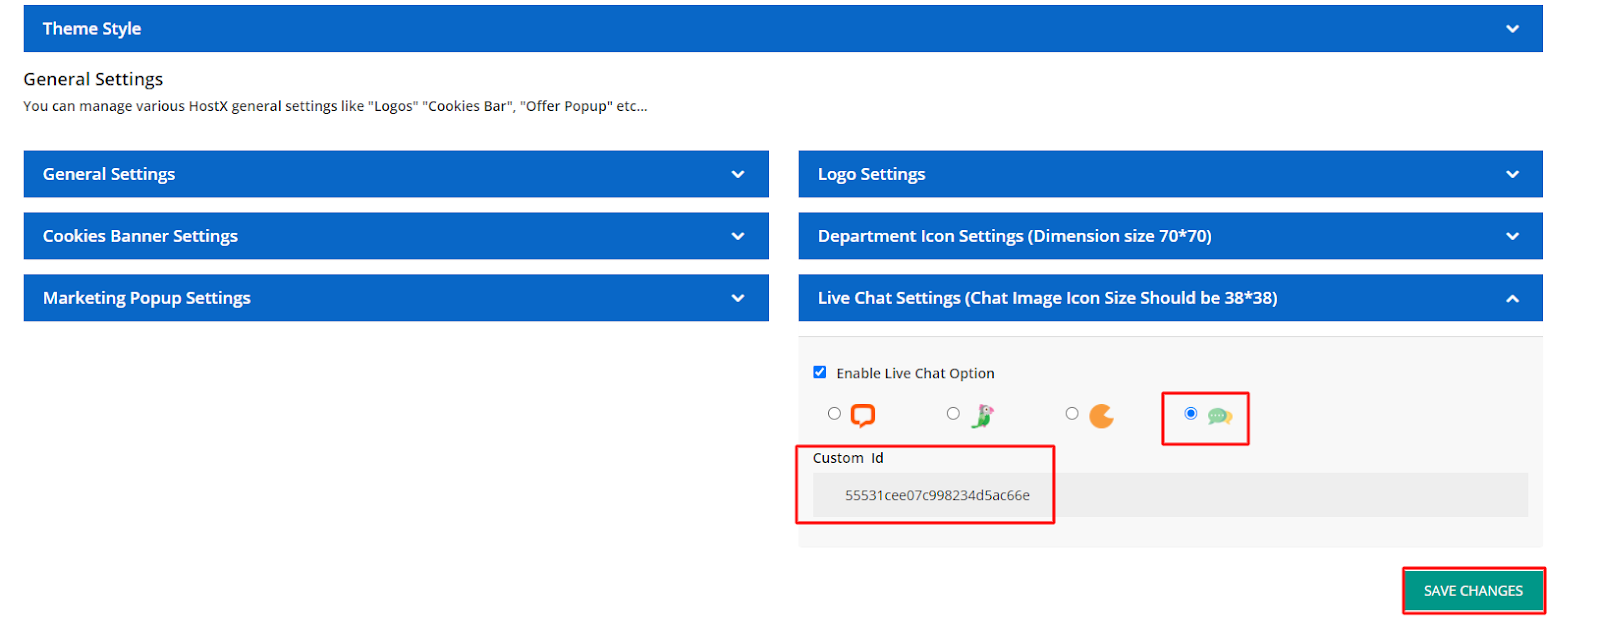
You can change the Live Chat Settings as well by clicking on Live Chat Settings (Chat Image Icon Size Should be 38*38) button.
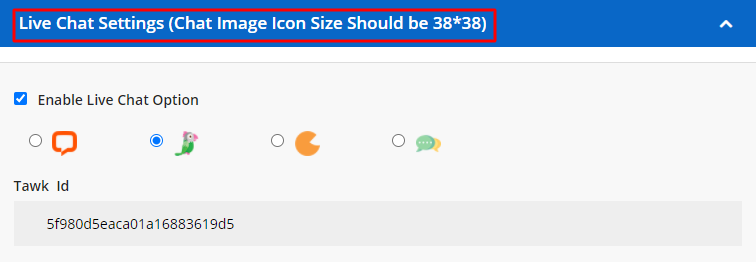
You can choose any of the following options for Live Chat Settings in Client Area and enter the link for the same:
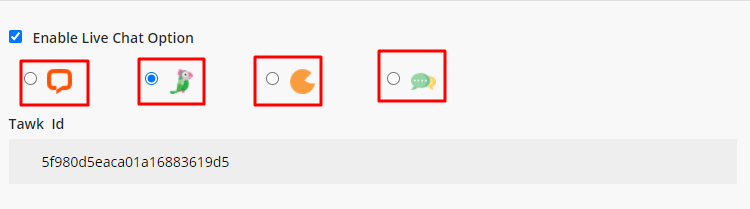
- Live Chat Id
- Tawk Id
- Zopim Id
Custom Id
If you want to add custom chat support, then add your custom chat ID and Save Changes
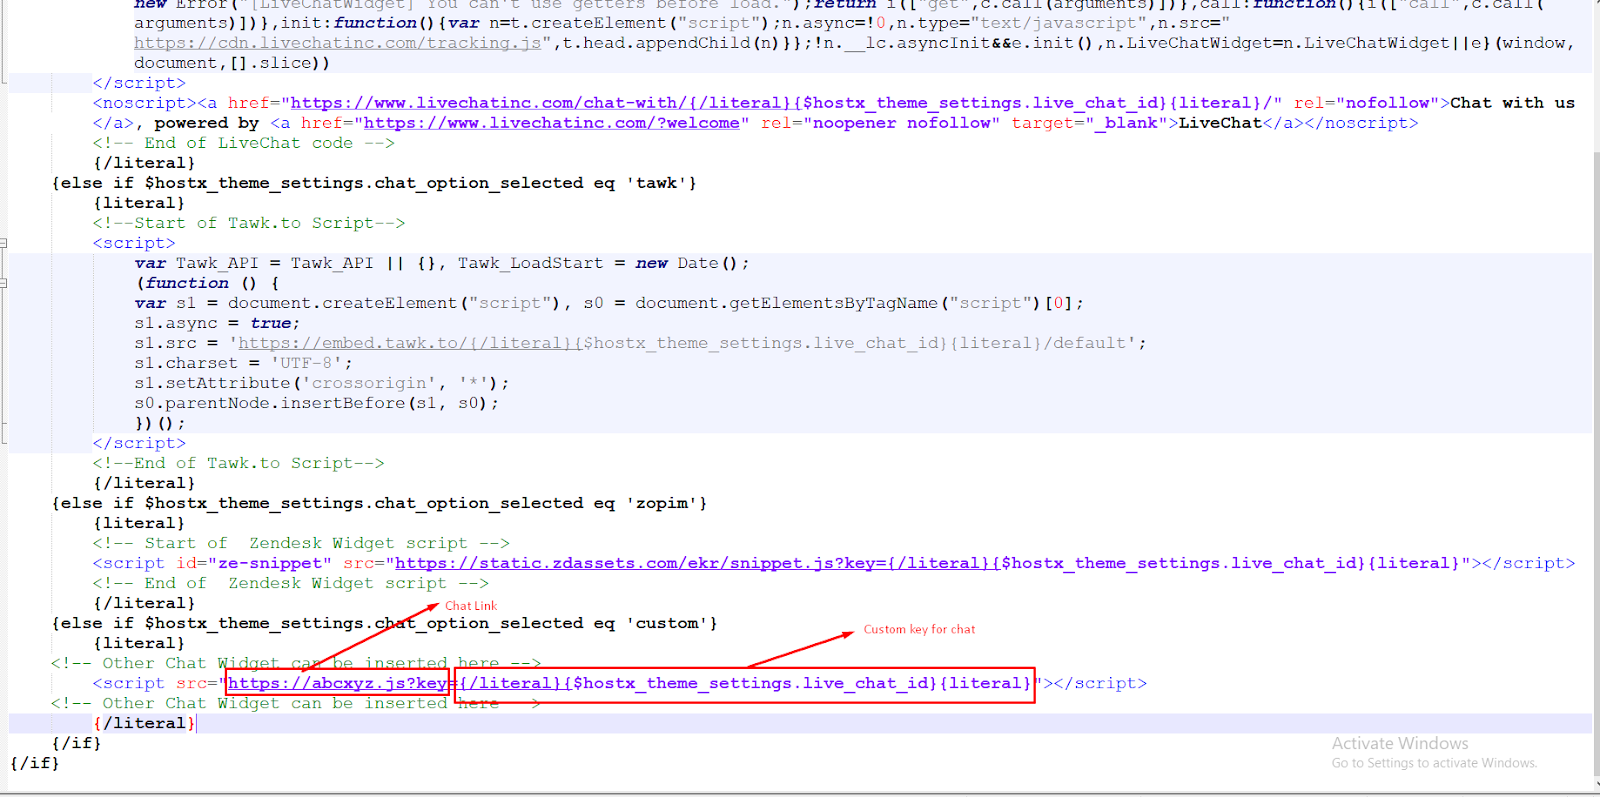
- Now open your FTP and go to "/templates/hostx/hostx_includes/" location and open “livechatoptions.tpl” file an editor like Notepad++
- Search for the word “custom” and you will get space here to paste your custom Chat ID link and Key
Here add your Custom ID link and Custom Key for Chat in Chat Script
Upload this file to FTP and your custom ID will be uploaded into the site and start working right after this
