Step 1: Log in to WHMCS Admin
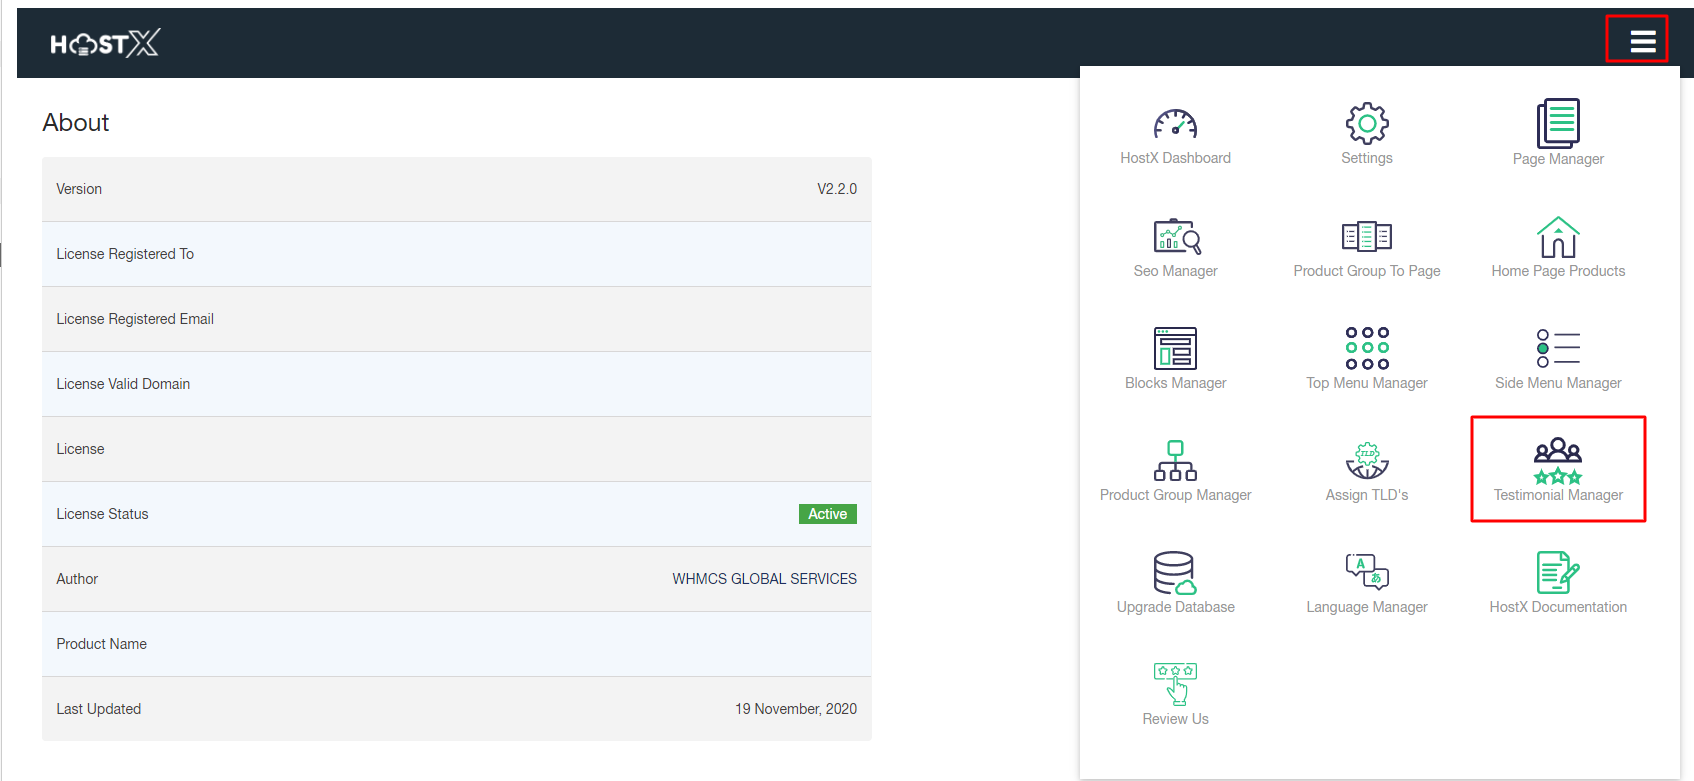
Step 2: Go to Addons > WGS HostX >Testimonial Manager
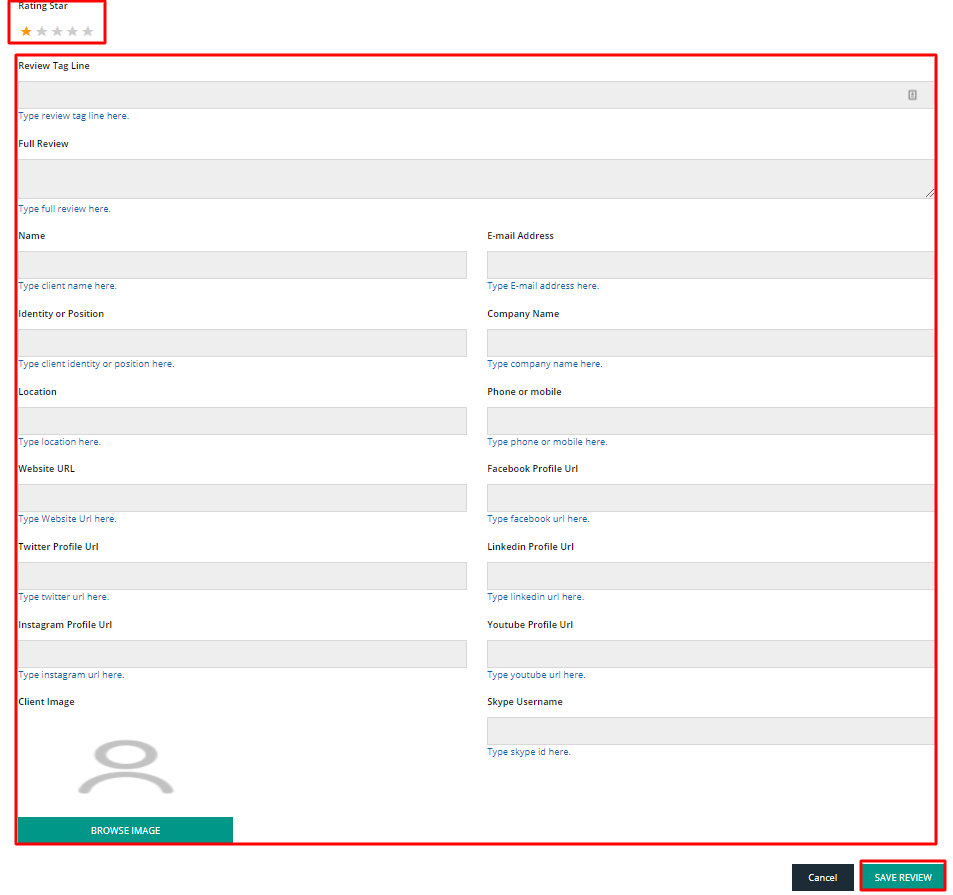
Step 3. Click on the Add New Review button to add a new client review
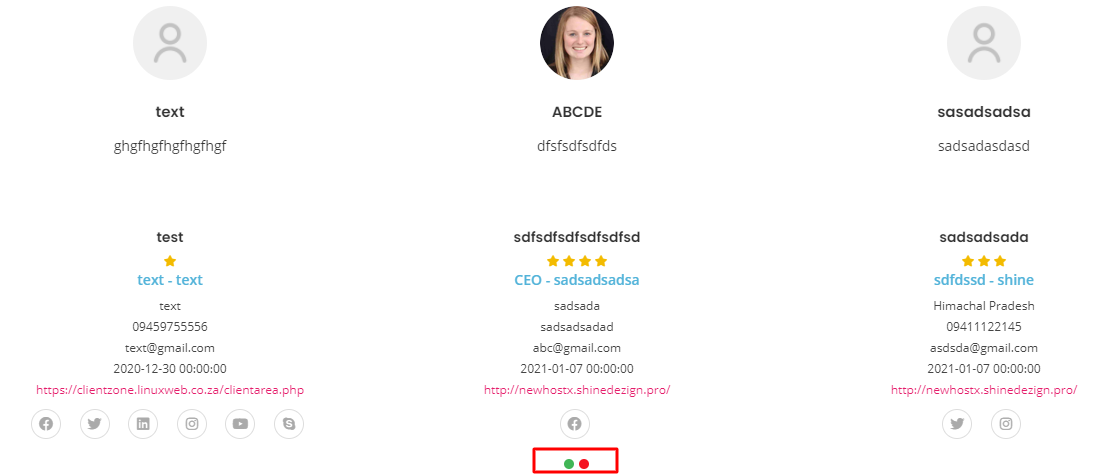
Step 4. Enter the following details: Rating Star, Review Tag Line, Full Review, Client’s Name, Email Address, Identity or Position, Company Name, Location, Phone, Website URLs, Social Media Profiles’ URL, and Client Image. Hit the Save Review button to save the client review details.
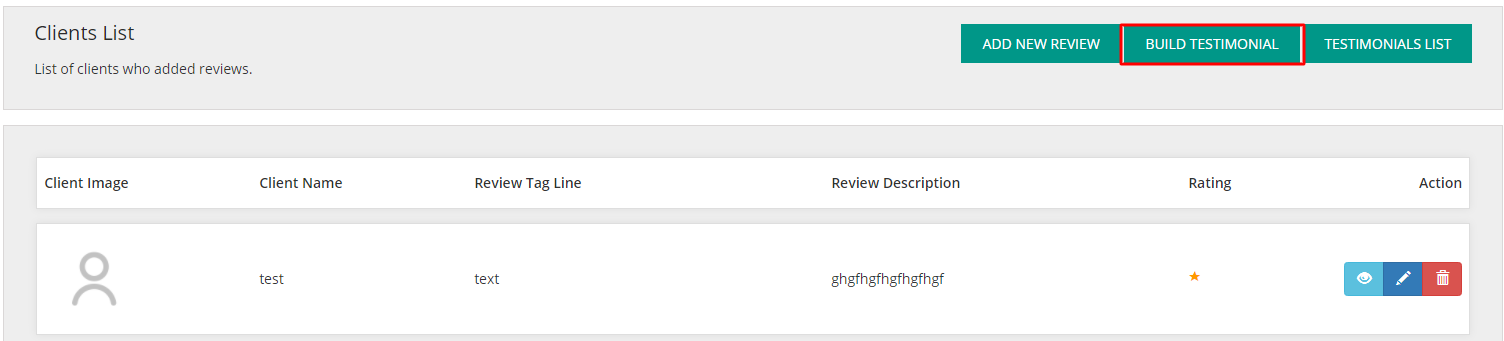
Step 5. Once done with adding reviews, click on Build Testimonial to Build a new testimonial module for a page.
Step 6. Now you need to fill the following details:
Testimonial Name: Give your testimonial a name.

Select Page Name: Select the page for which you want to create the testimonial.

Status: Set the testimonial status to Enable

Enable For Pages: Choose Single Page option to show this testimonial on the selected page only or choose All Page option to show this testimonial on all the pages.

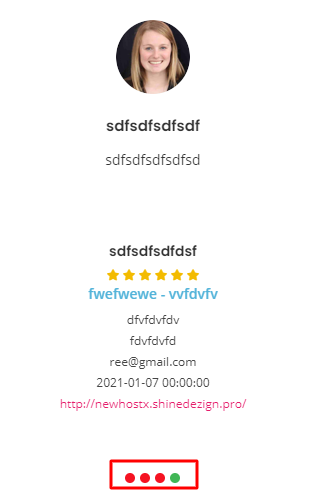
5. Testimonial Style: Now you can display your reviews in two different styles:

- Single Testimonial: Choose this option to display one testimonial at a time in the client area.
Carousel: Choose this option if you want to display multiple testimonials at once in the website. Keep in mind that this option will work only if you will have more than three reviews to show.
Note: The testimonial block will always be displayed above the footer part.
