Step 1: Go to WHMCS Admin Dashboard
Step 2: Go to Addons > WGS HostX > Blocks Manager
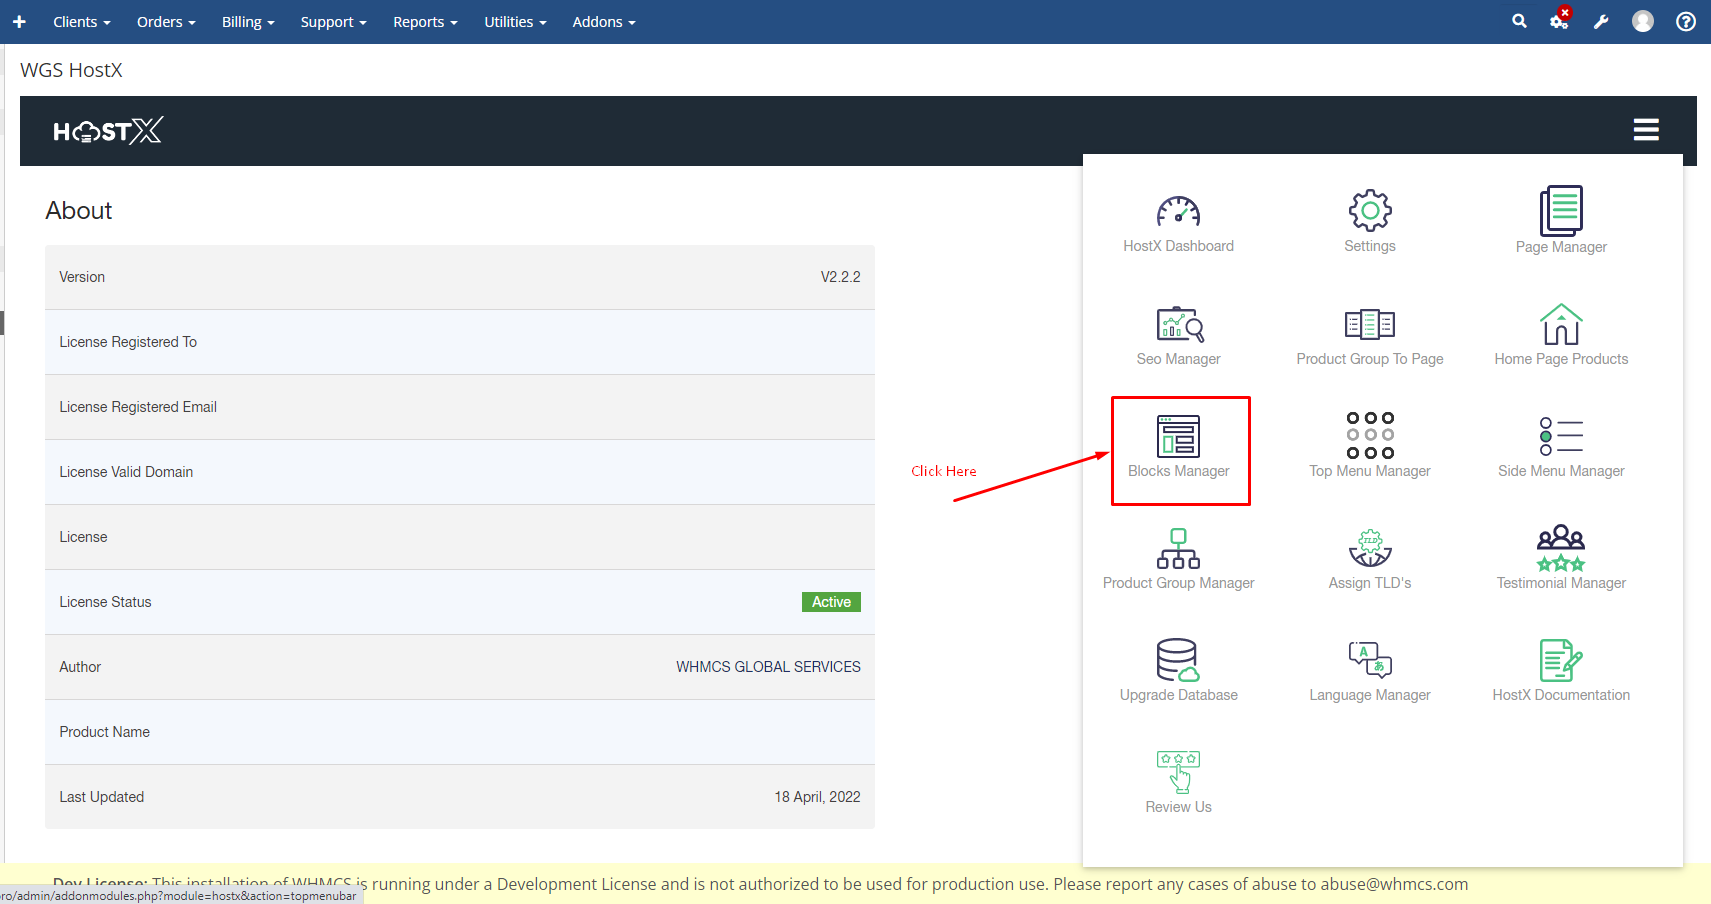
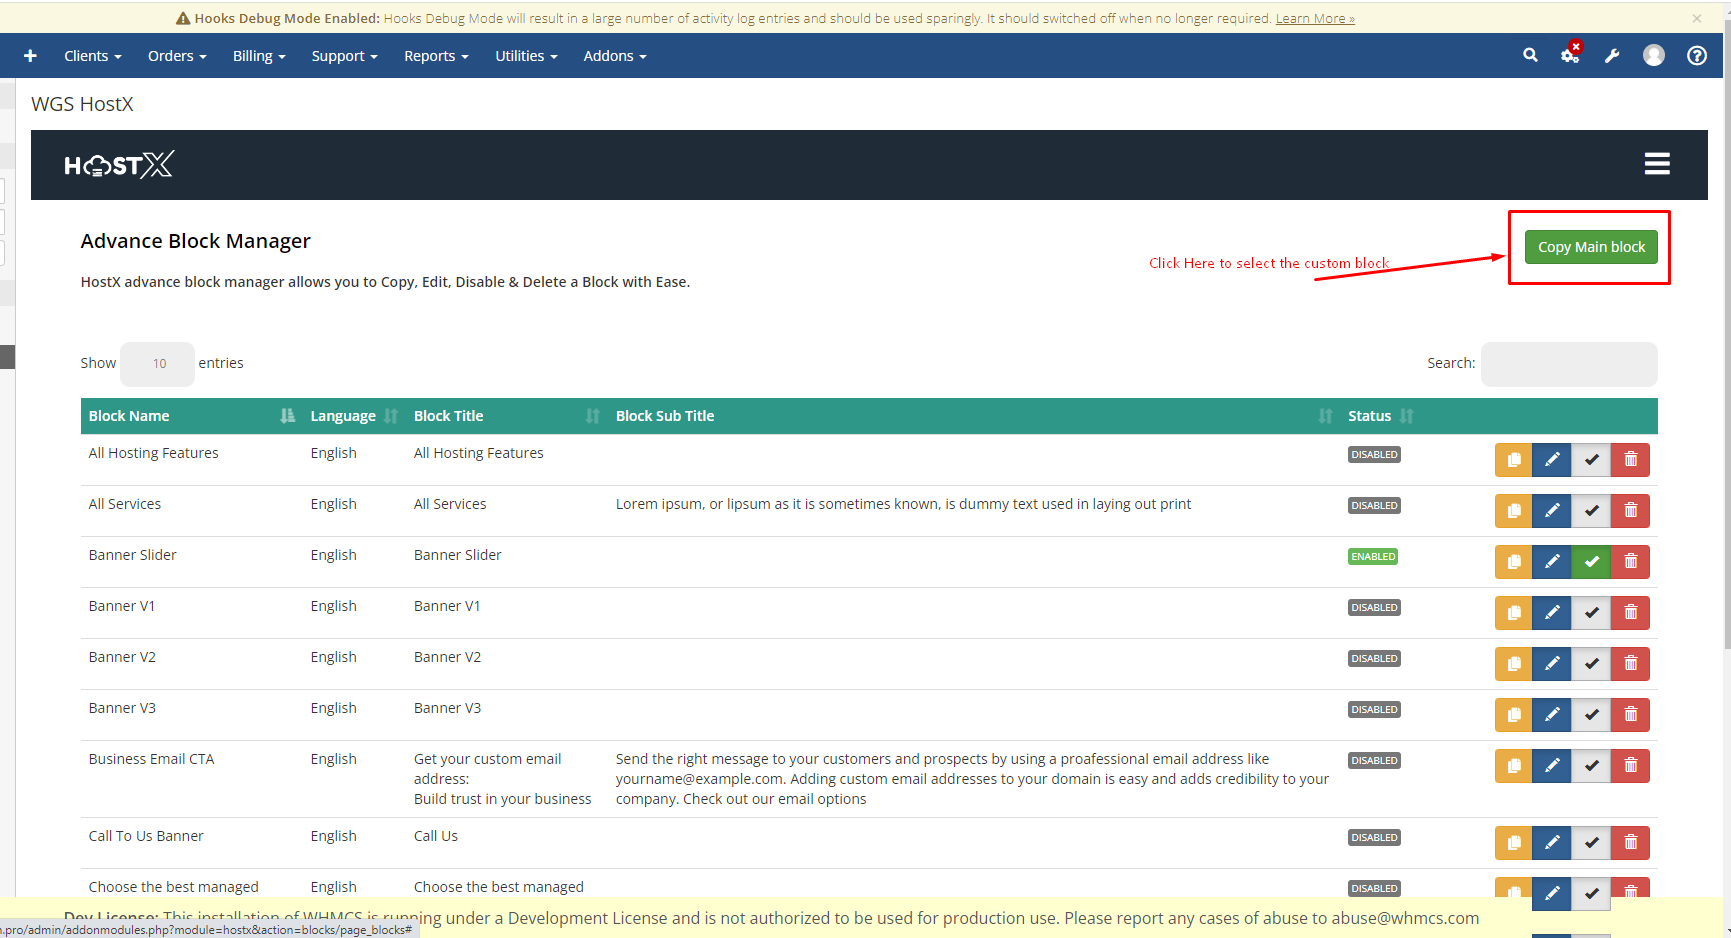
Step 3: Click on the copy main block button then select the custom Block.
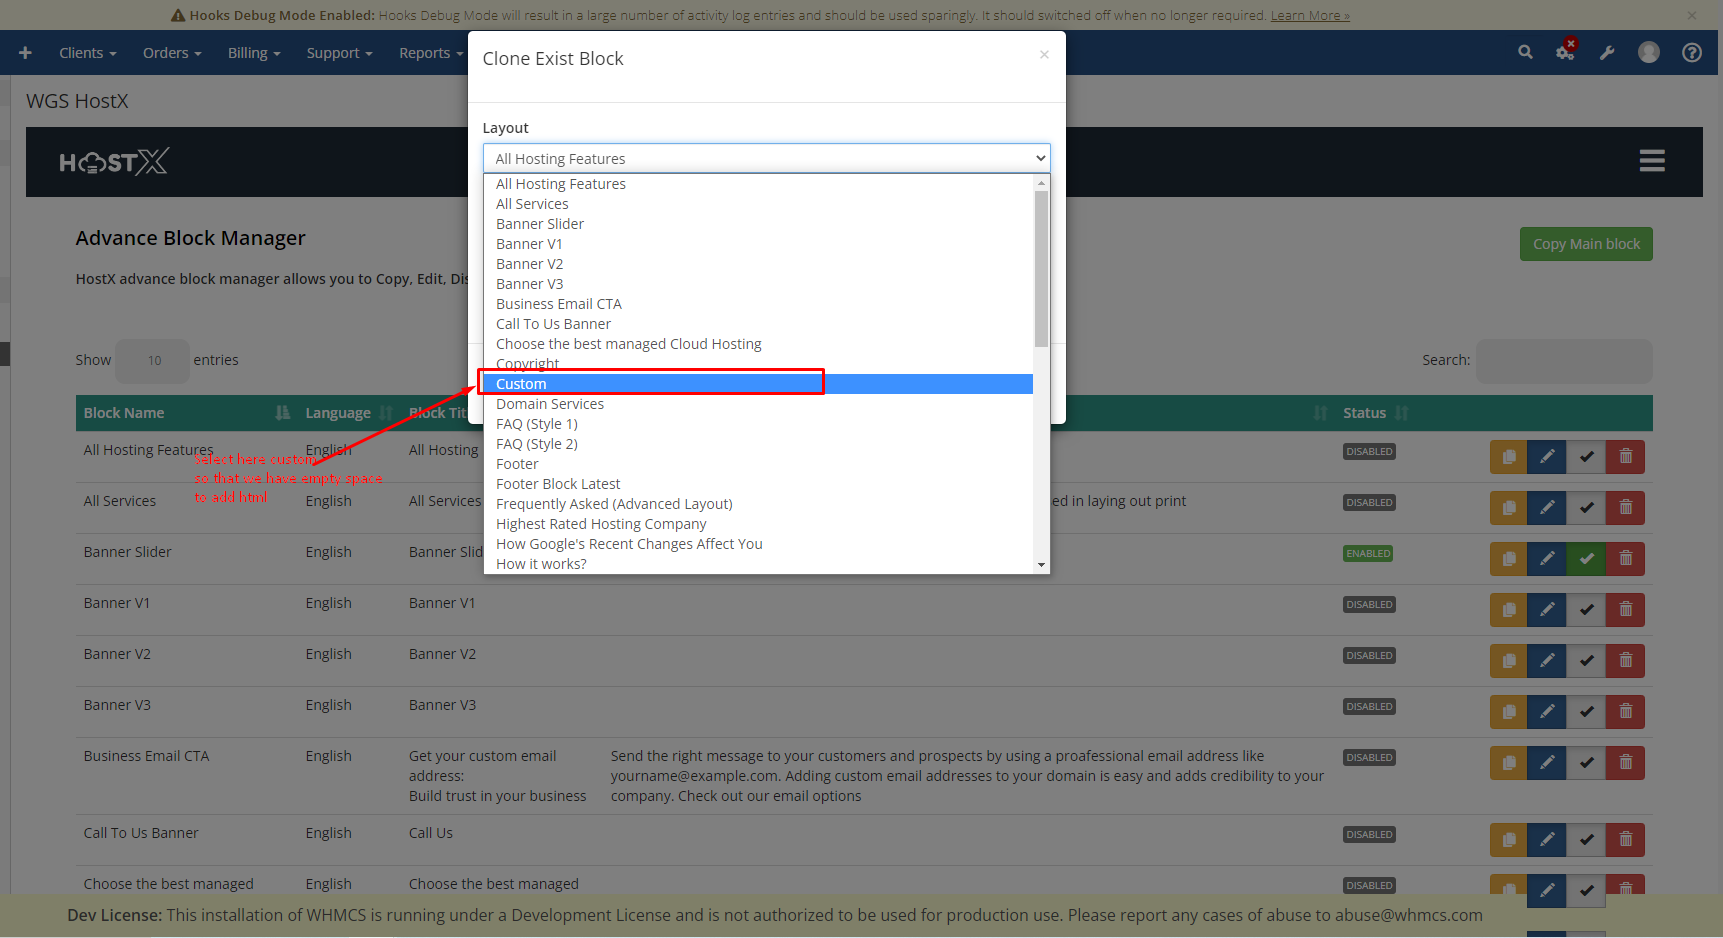
Step 4: After the above step you will see a dropdown named layout select the one named Custom from it. So that you have empty space to add HTML.
Step 5: In the language dropdown select English.
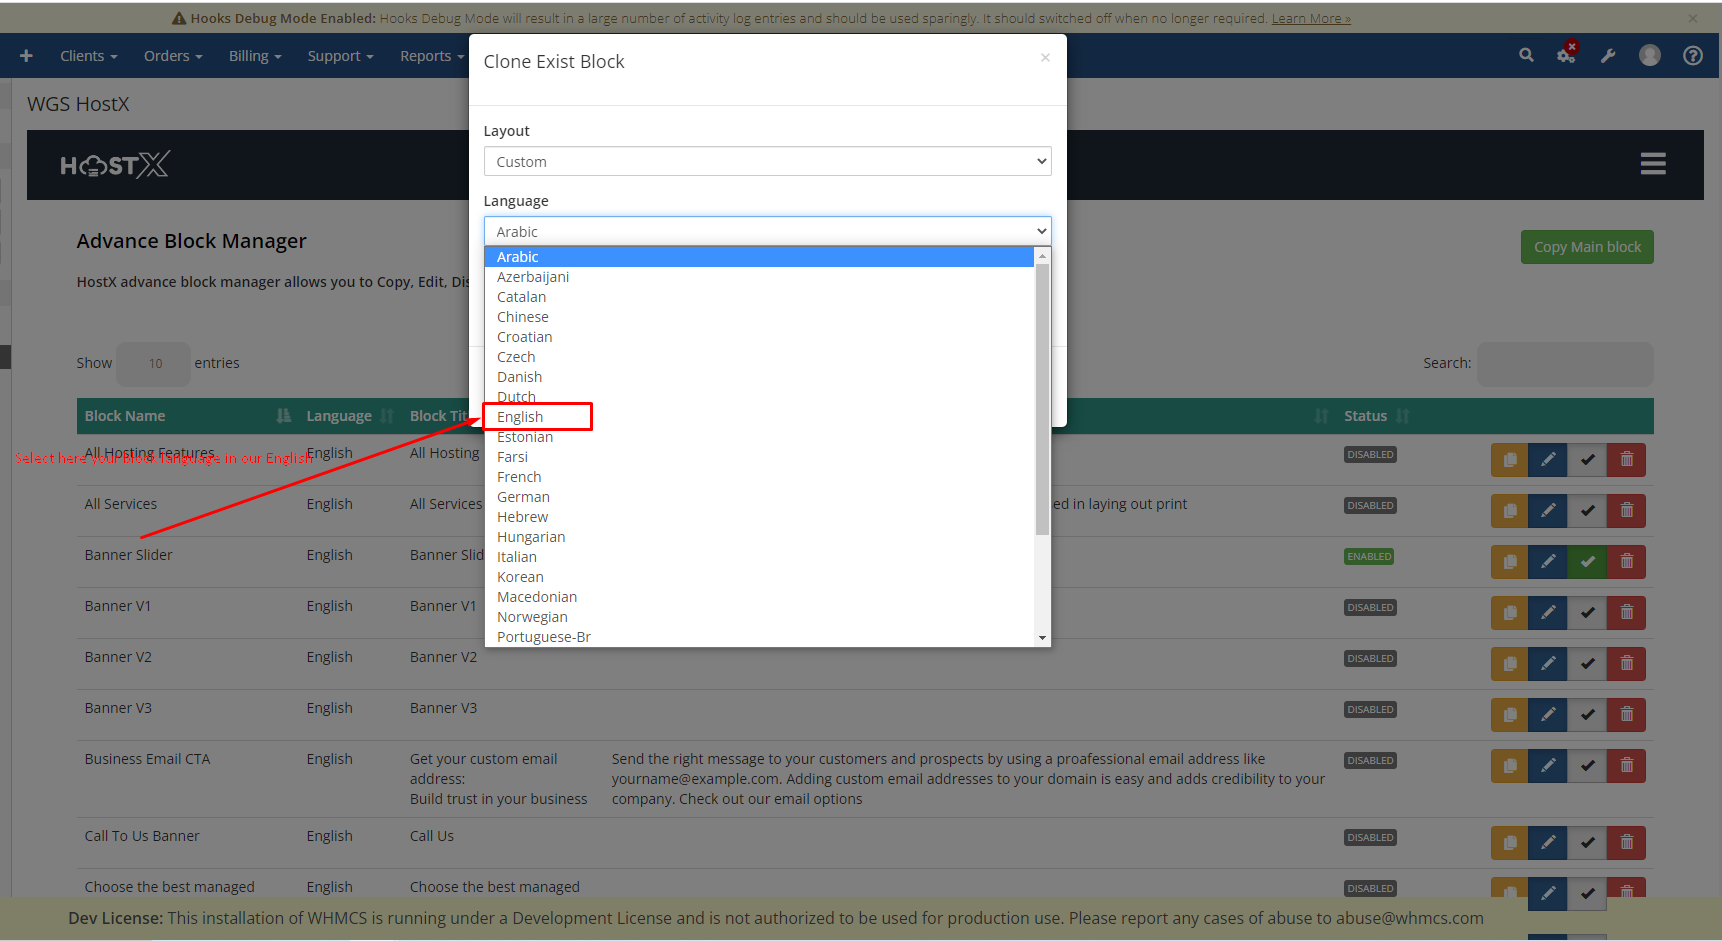
Step 6: In the Block title type a unique name like here we have added, We are adding a unique name so that we can find it easily.

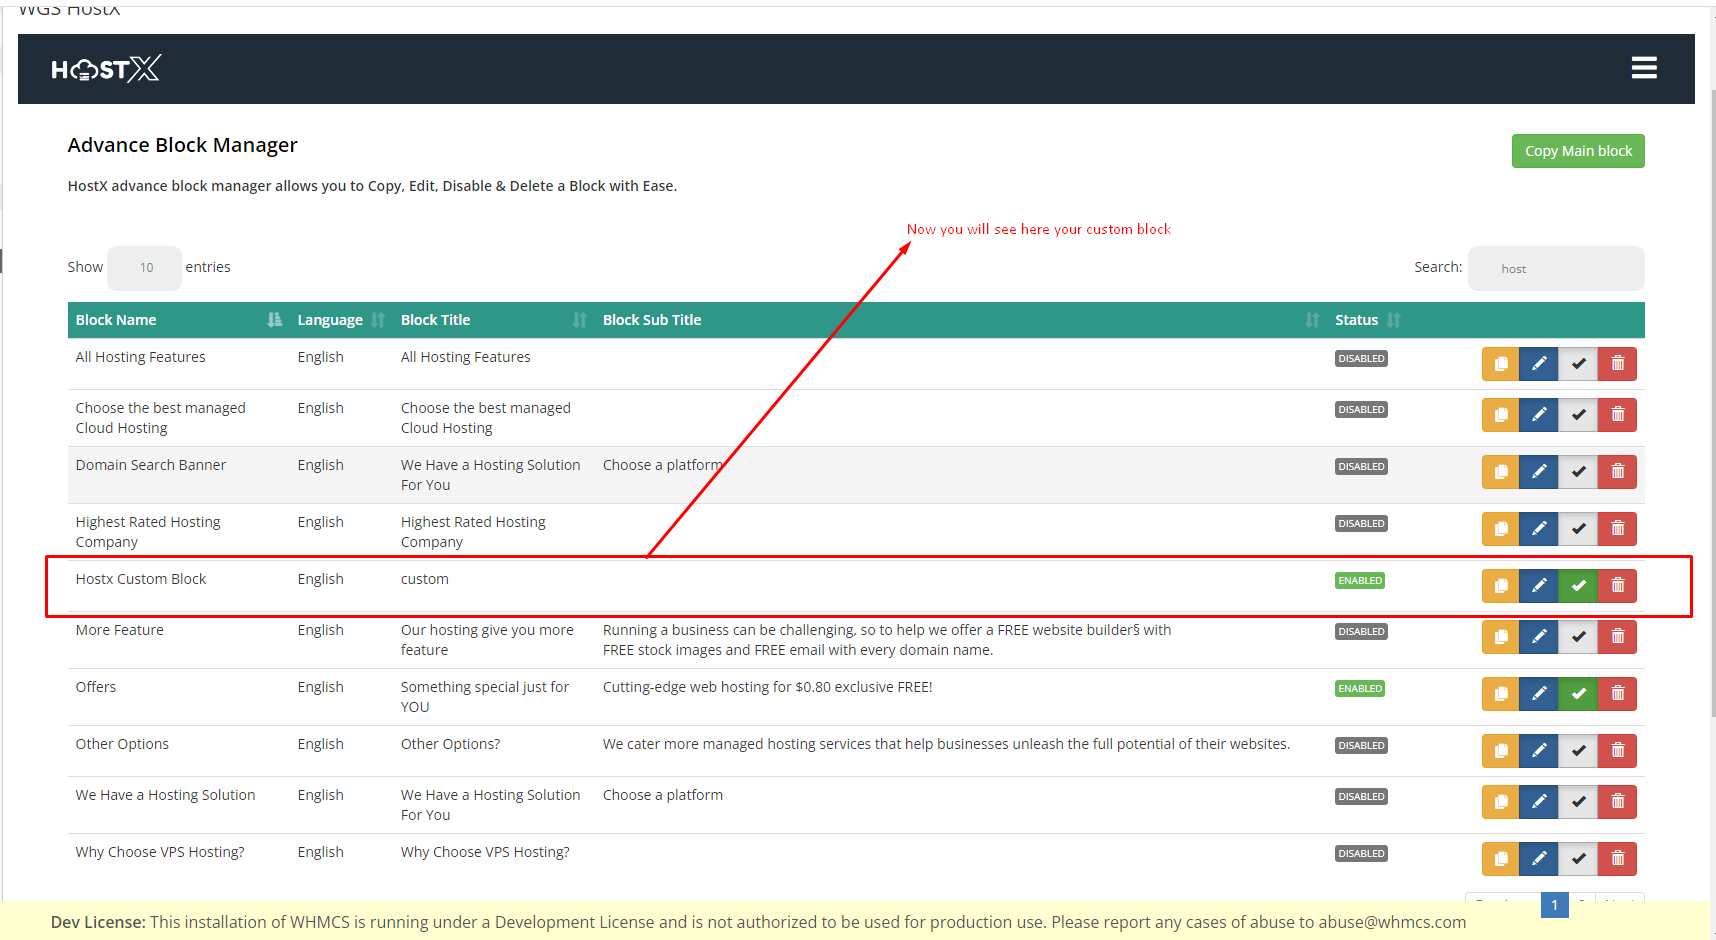
Step 7: After the above steps and clicking on submit you will see your custom block as this.
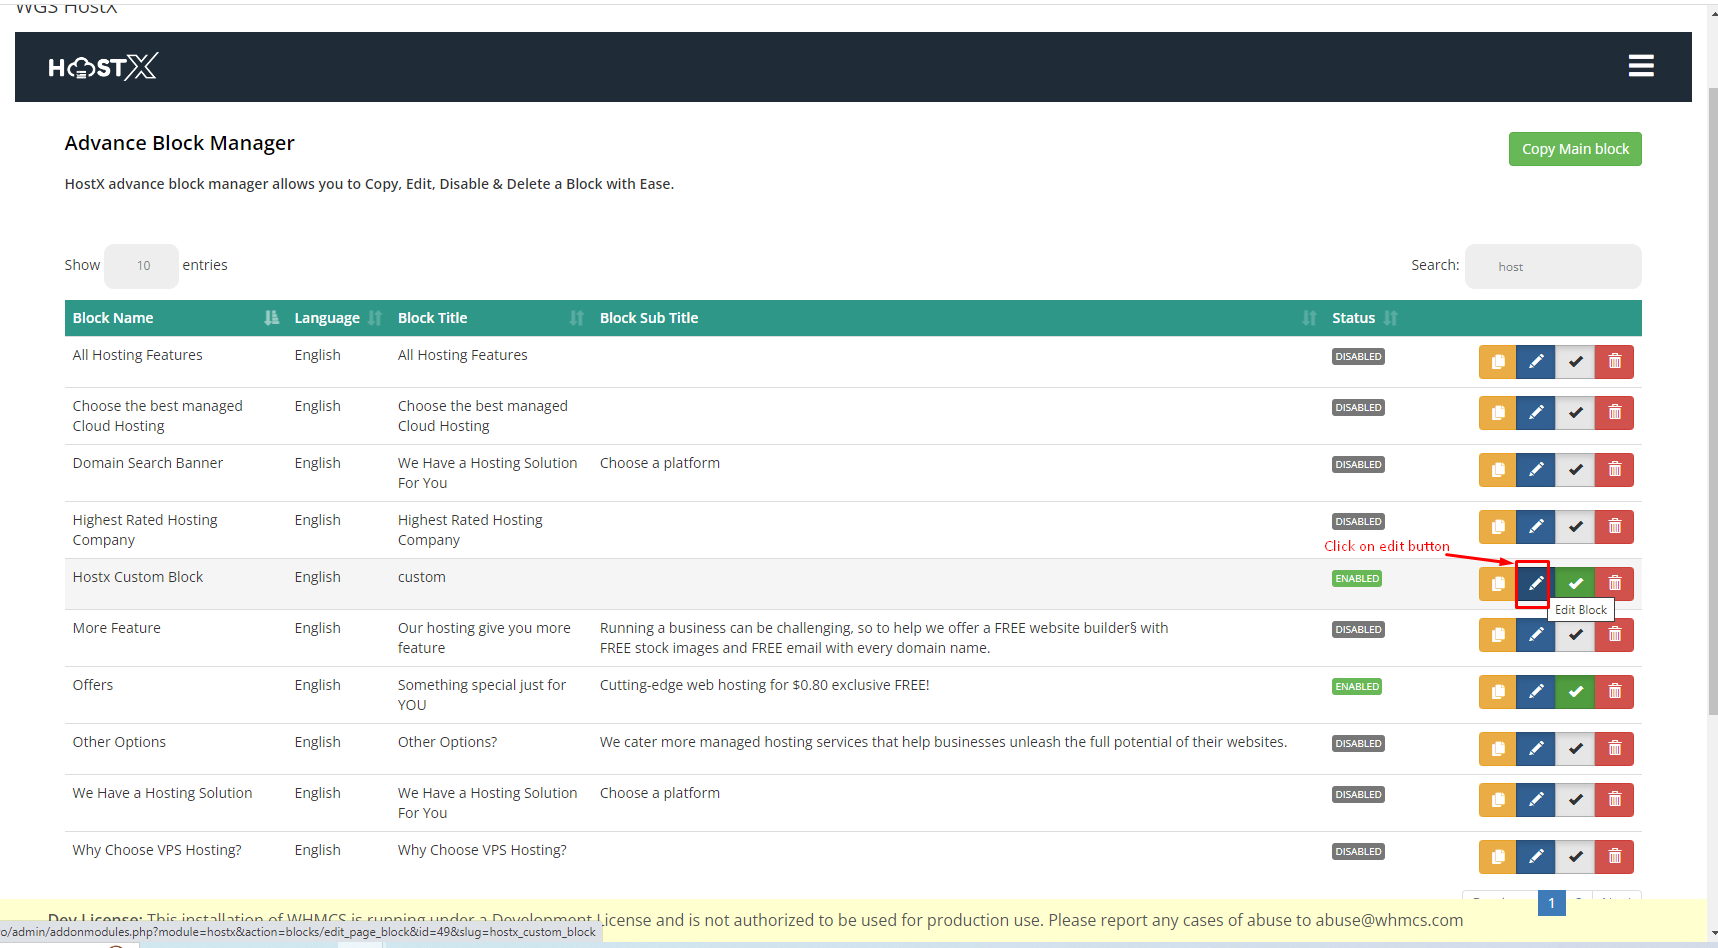
Step 8: Now click on the pencil-like icon from where we will edit.
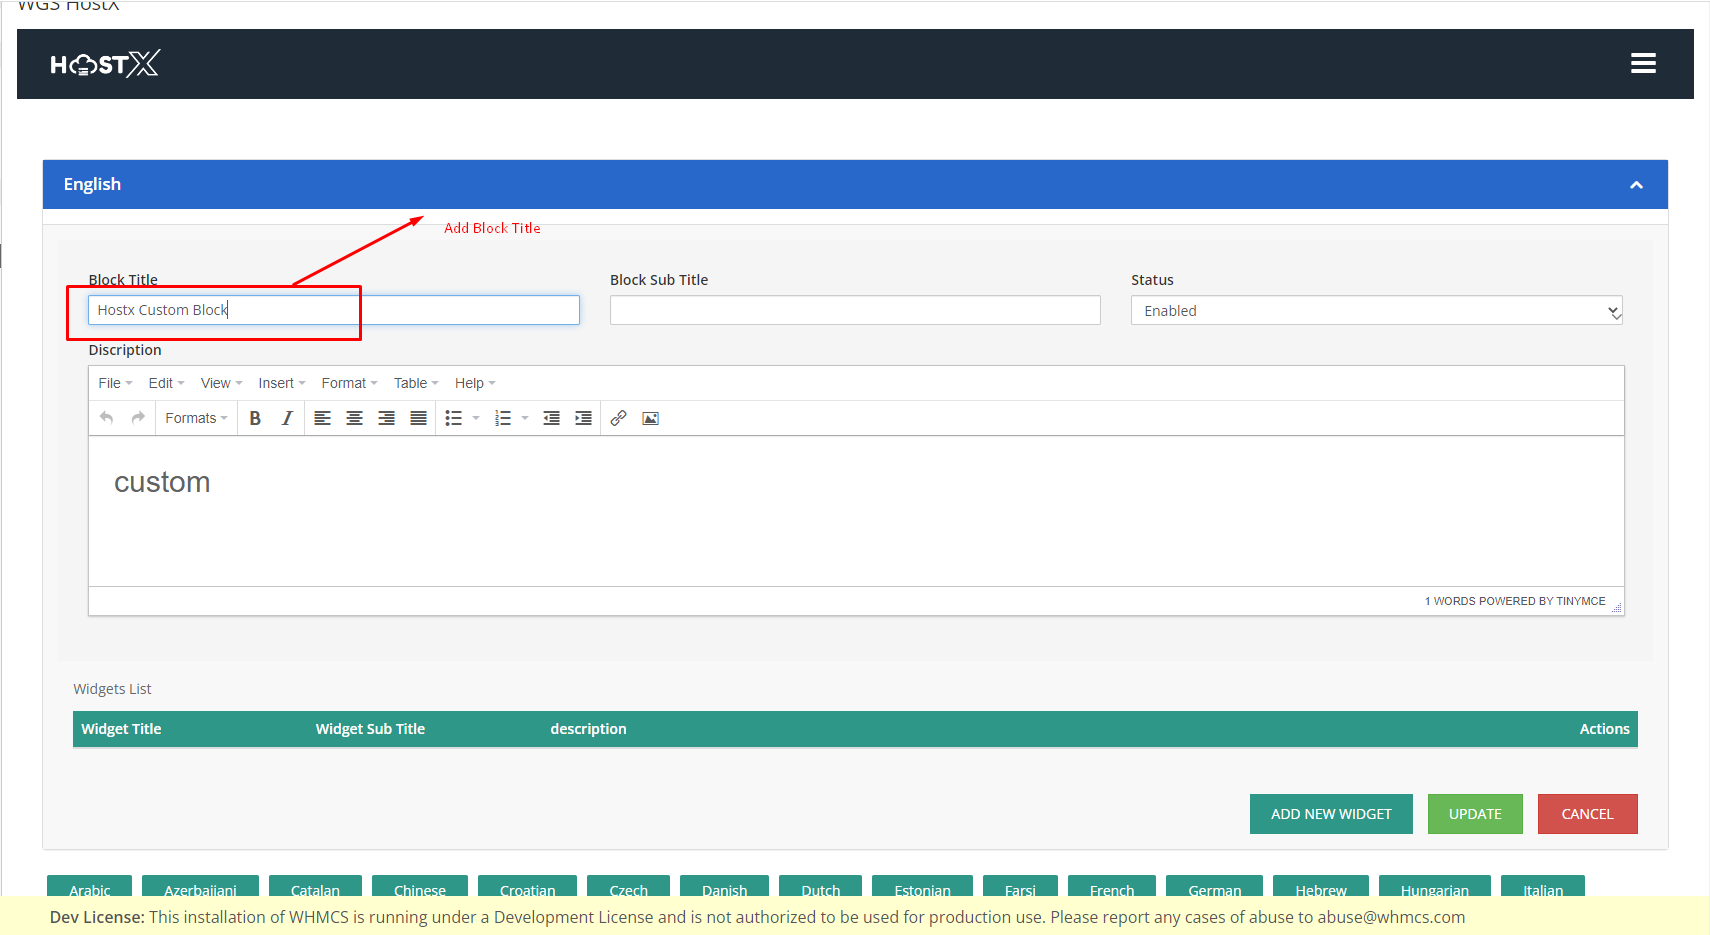
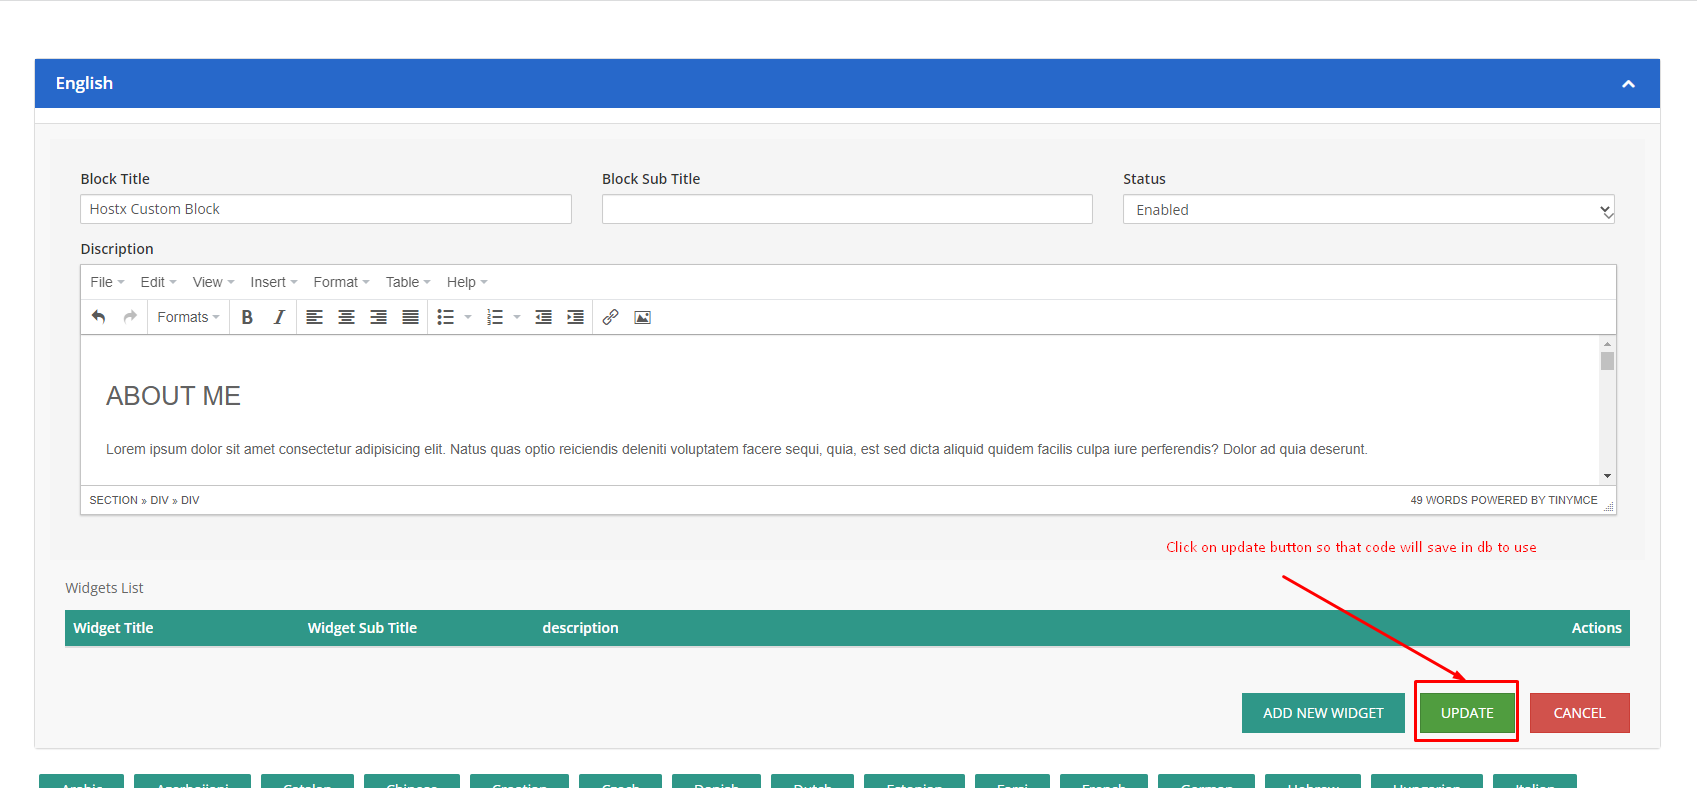
Step 9: Now in the block title add the block title.
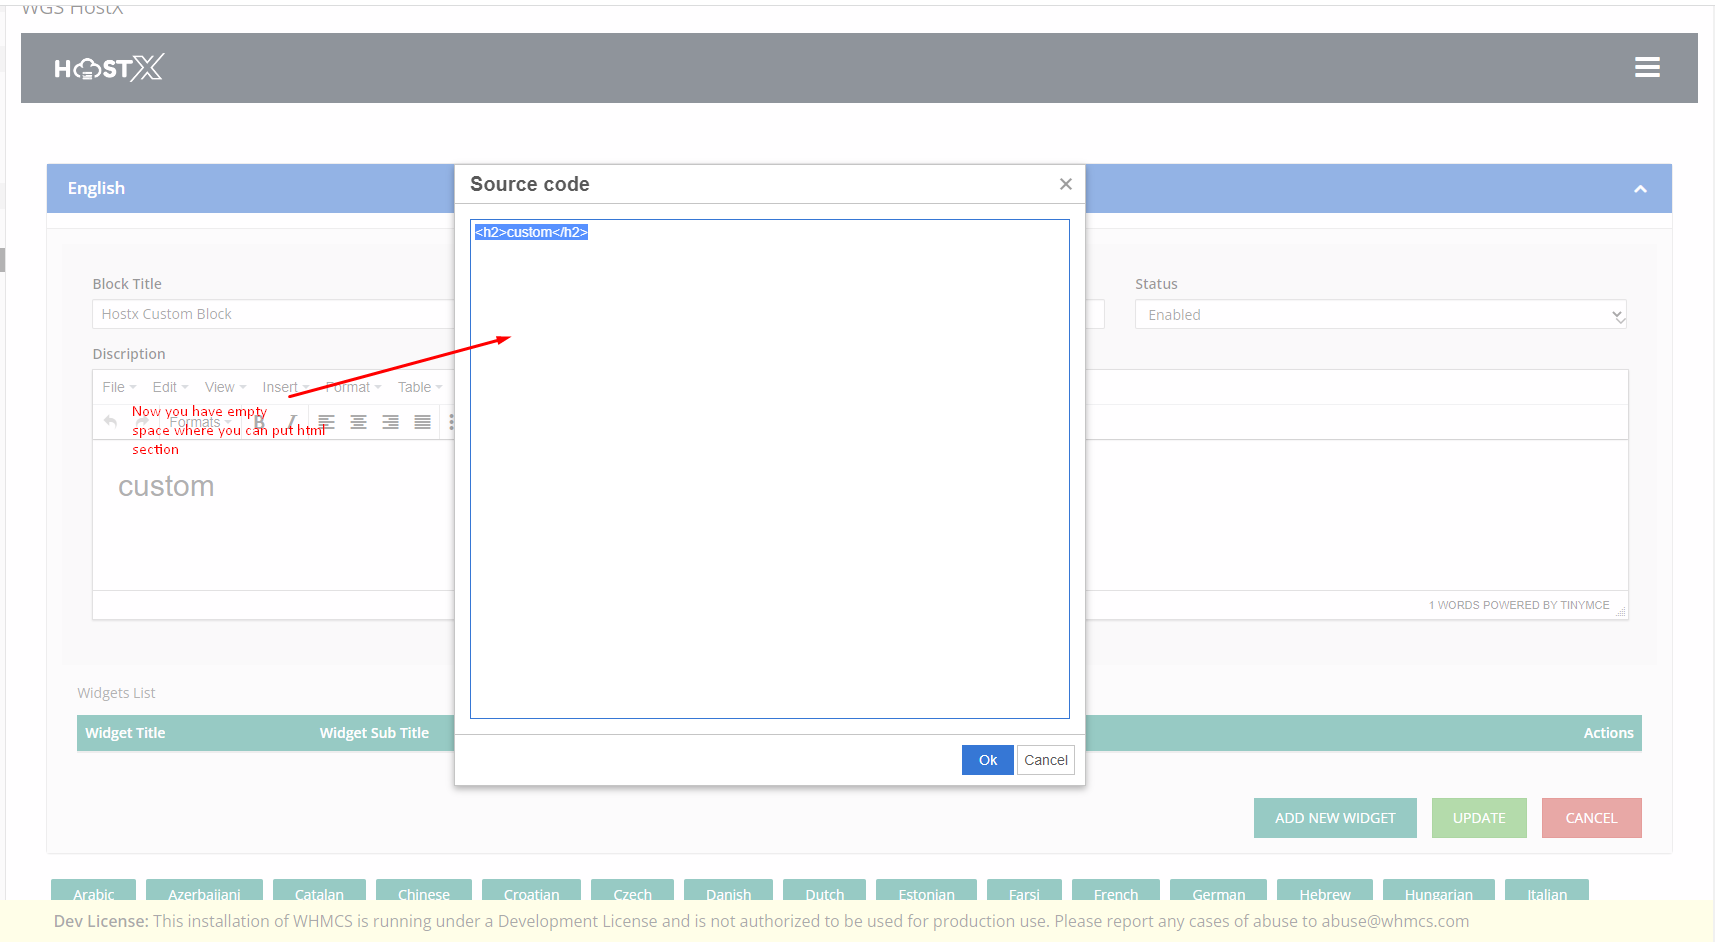
Step 10: Now click on view and after that click on view source code which will open the HTML code area.
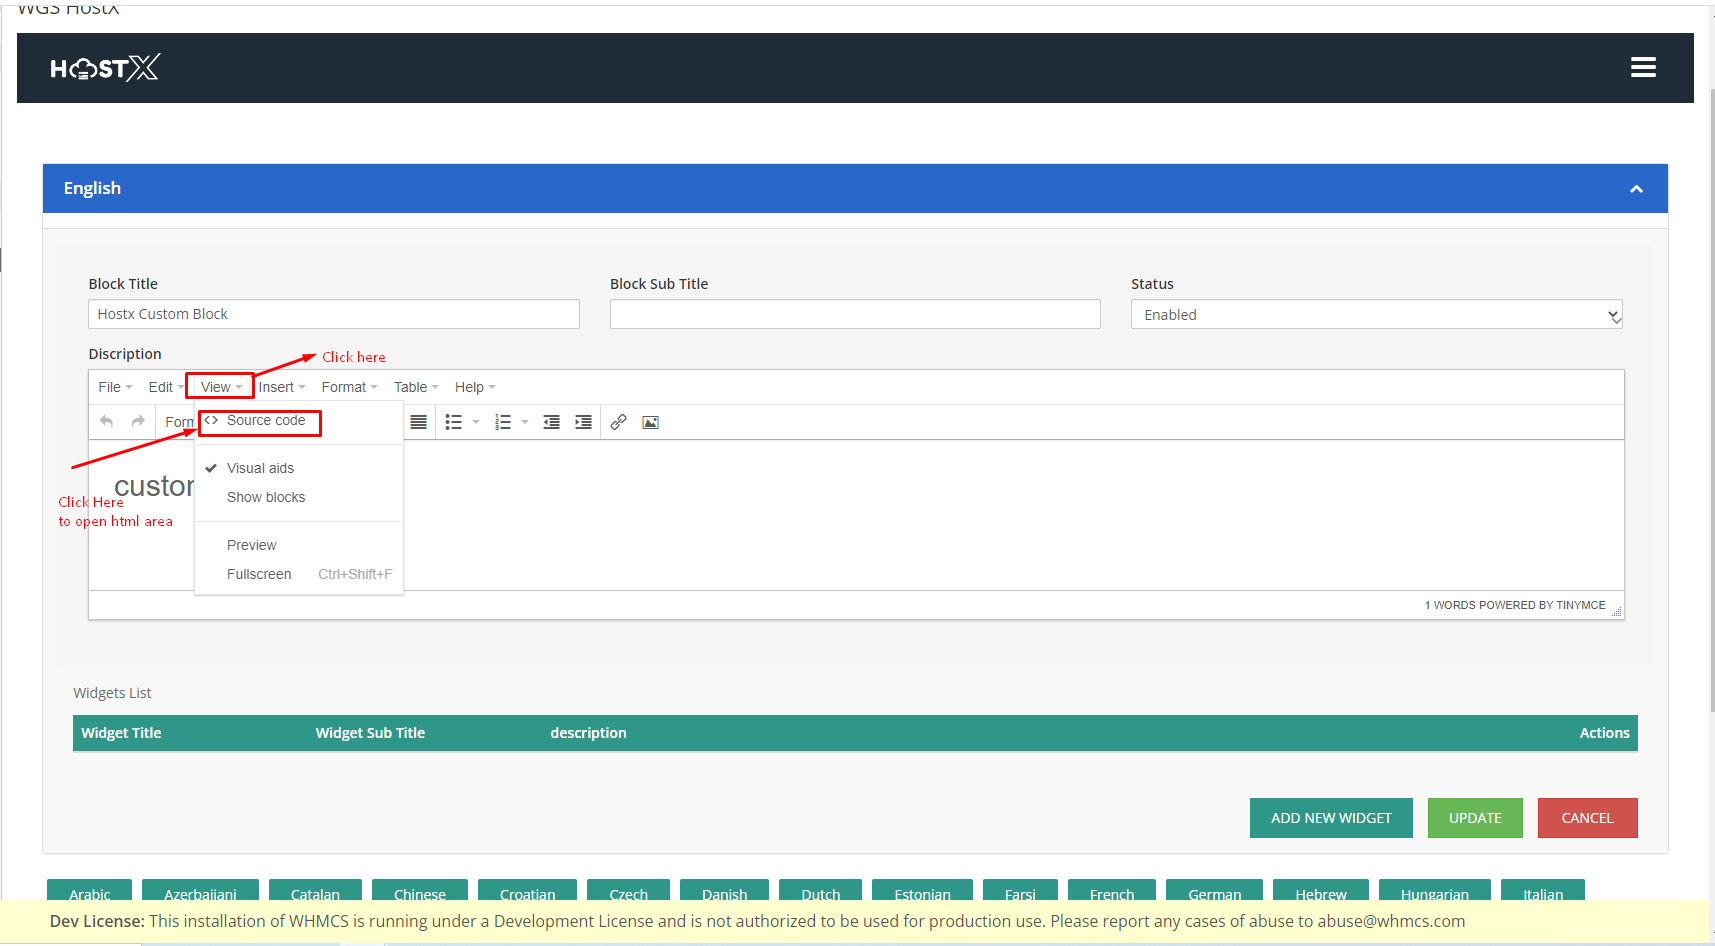
Step 11: Now you have an empty space where you can put your HTML code.
Step 12: I am using the structure as it is in hostX and will copy its HTML code, You can use the code you want.
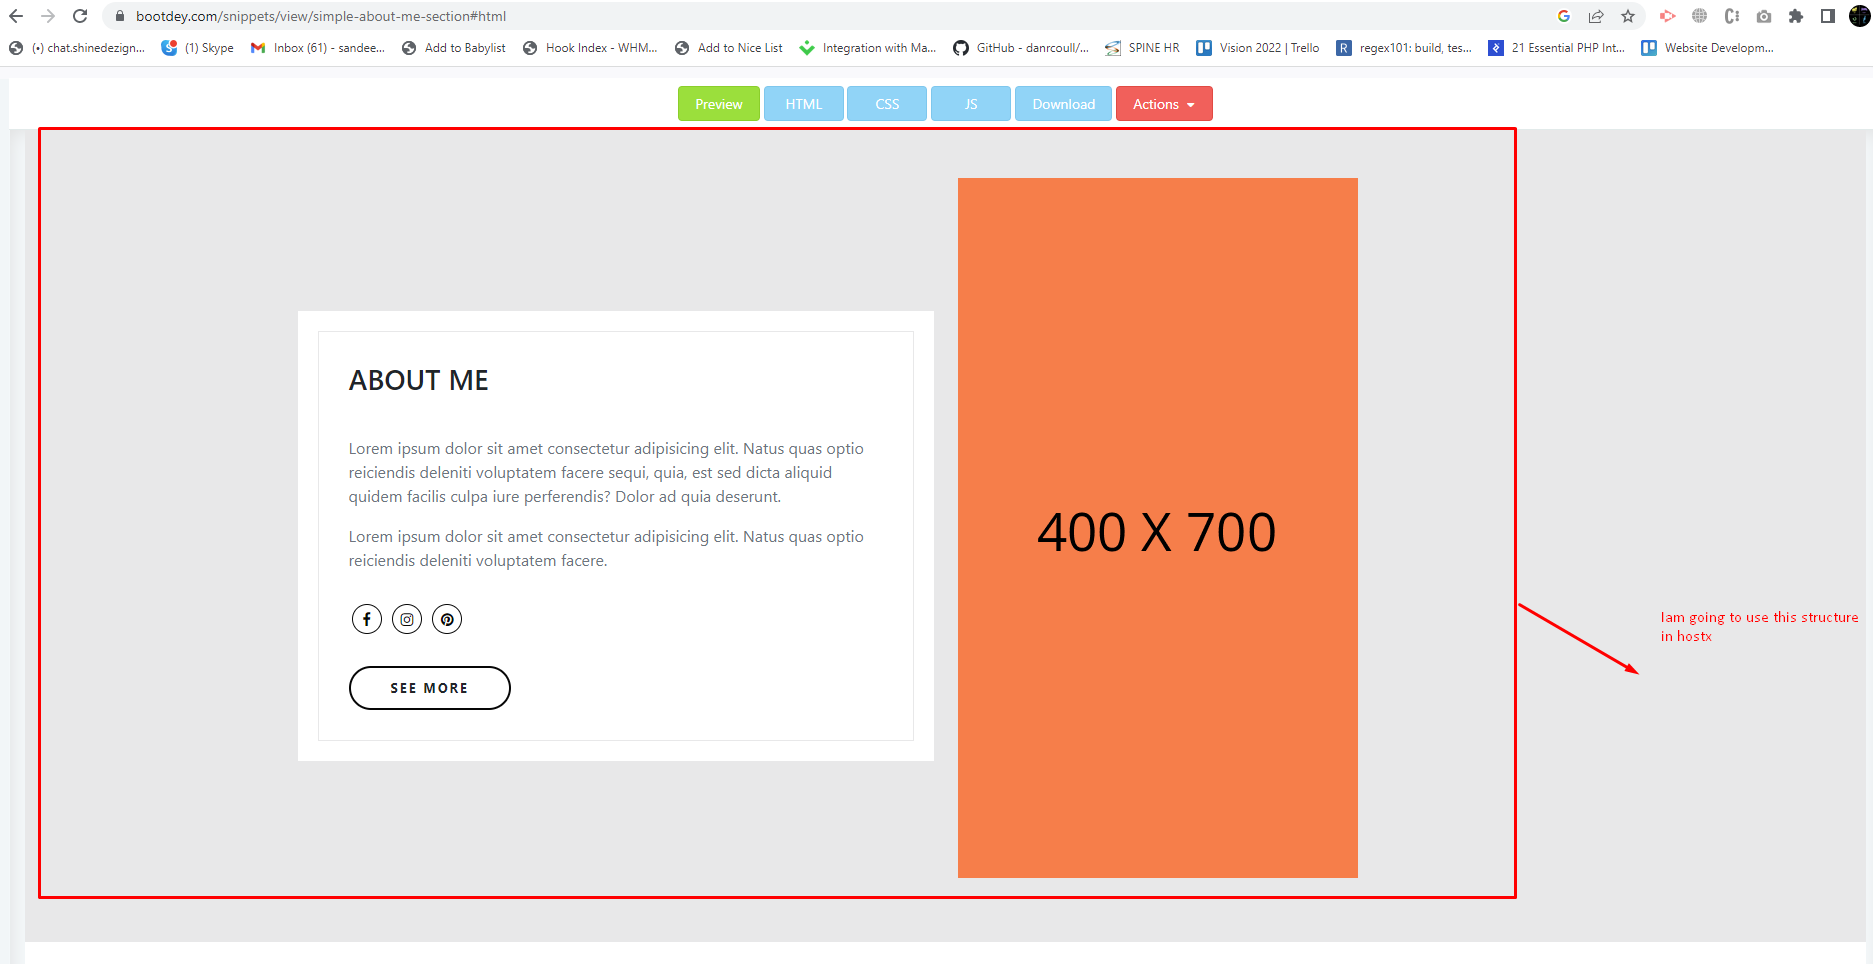
Step 13: As in the screenshot below I will copy the below HTML code.
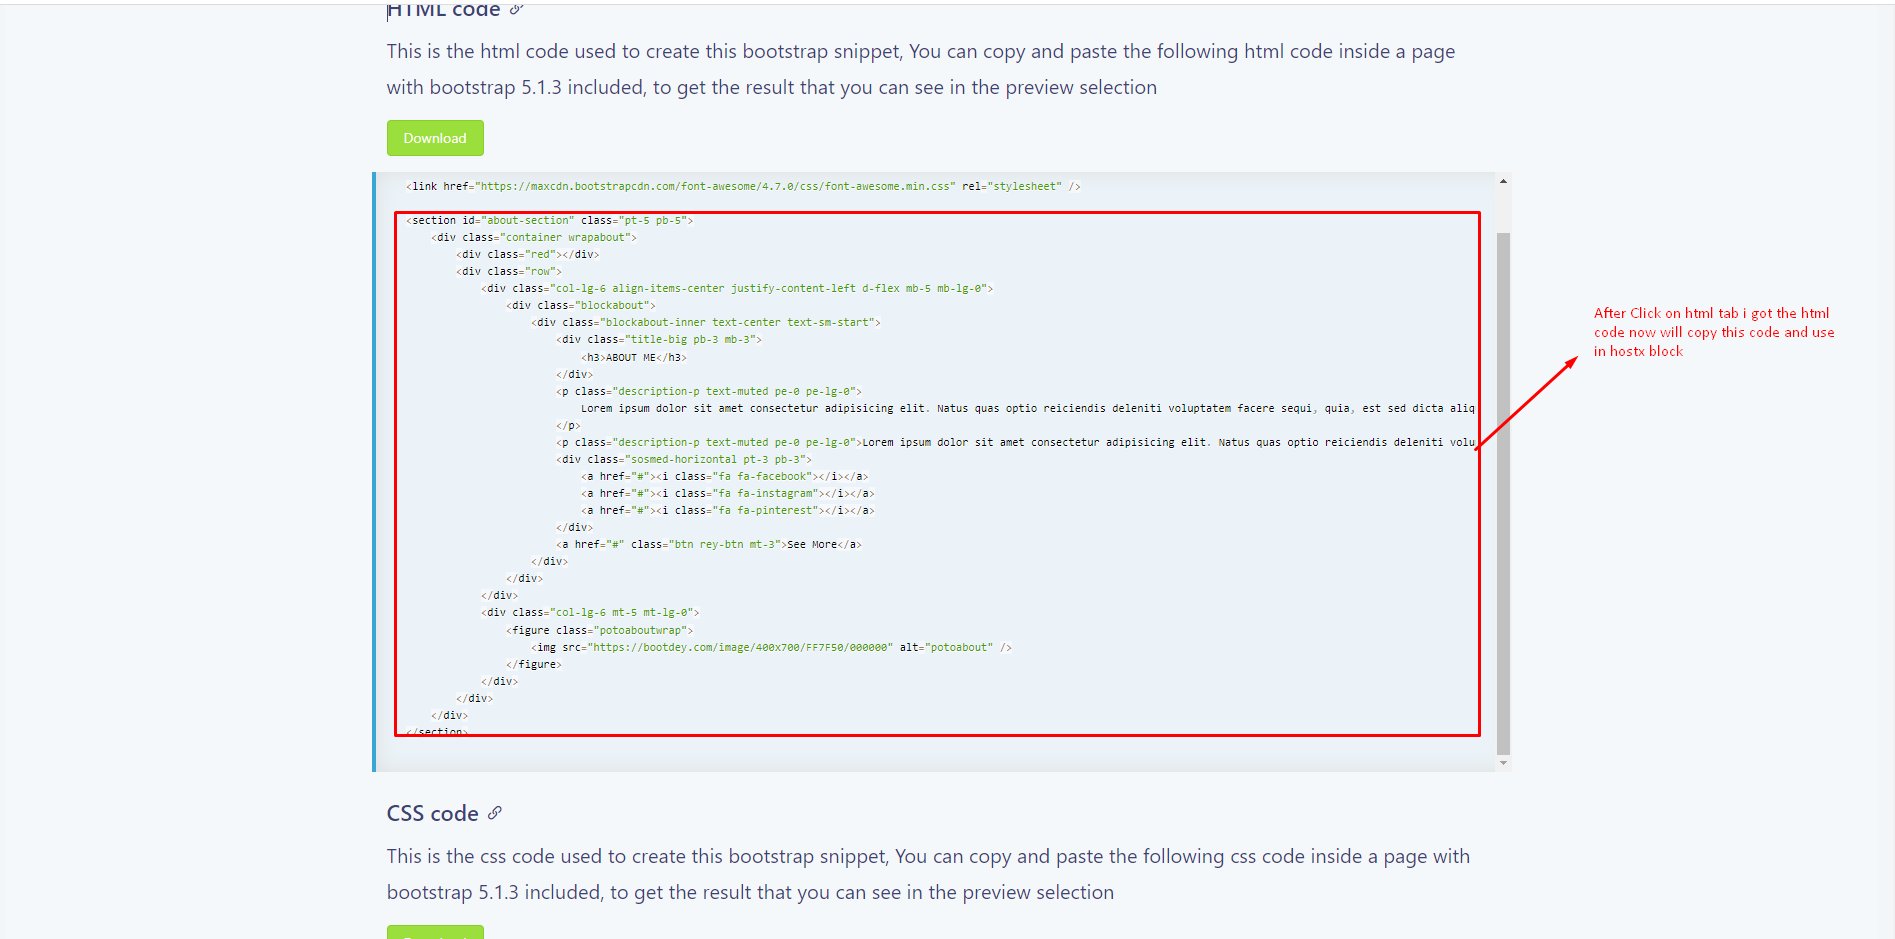
Step 14: After copying the HTML code from the above step and pasting it into the view source code in our custom block, Click on OK.
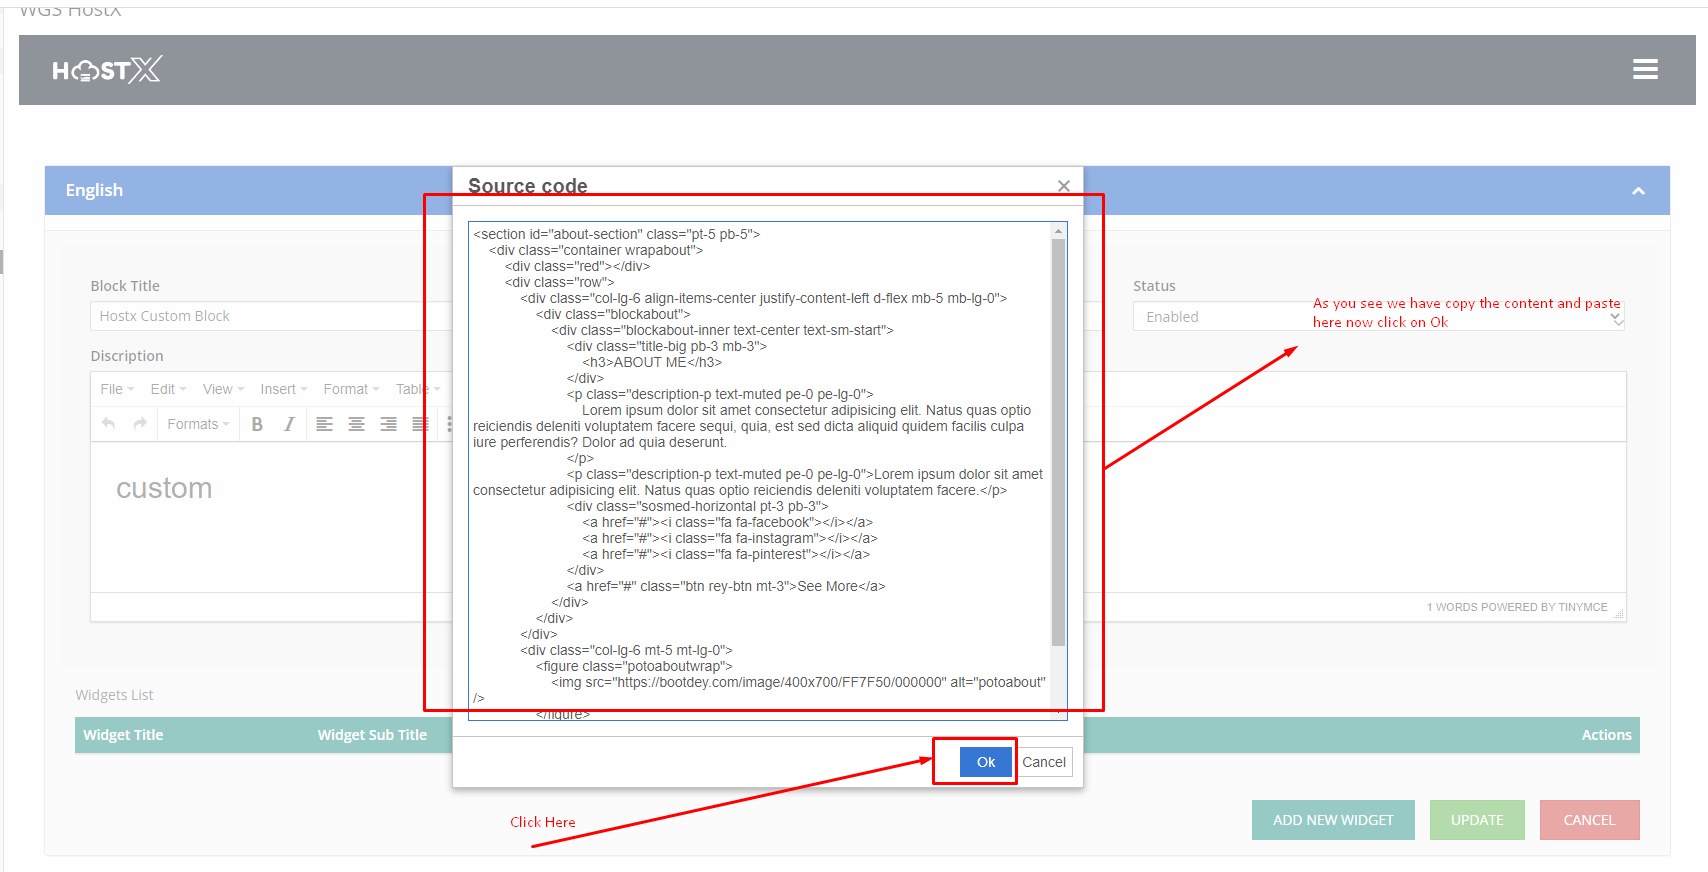
Step 15: After that click on update so that the code gets saved in the database to use.
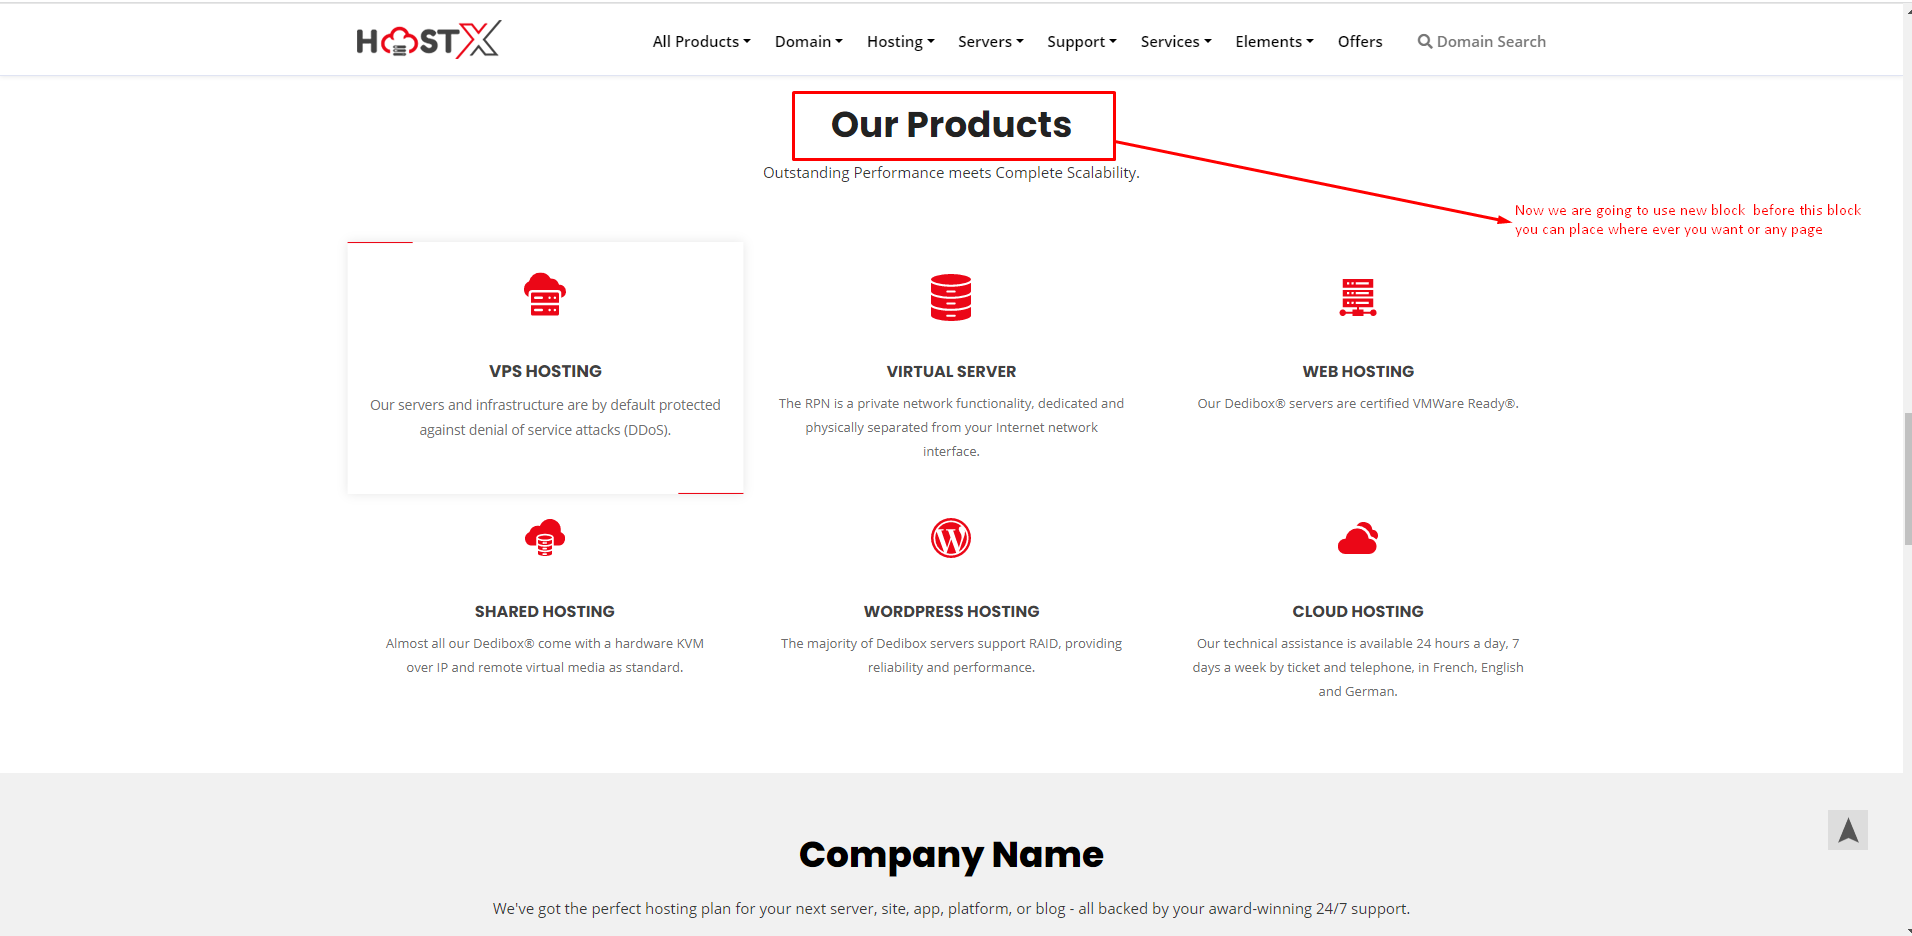
Step 16: Here in the below screenshot I am using the custom-created block before the block mentioned in the screenshot, You can use it as per your need or any page.
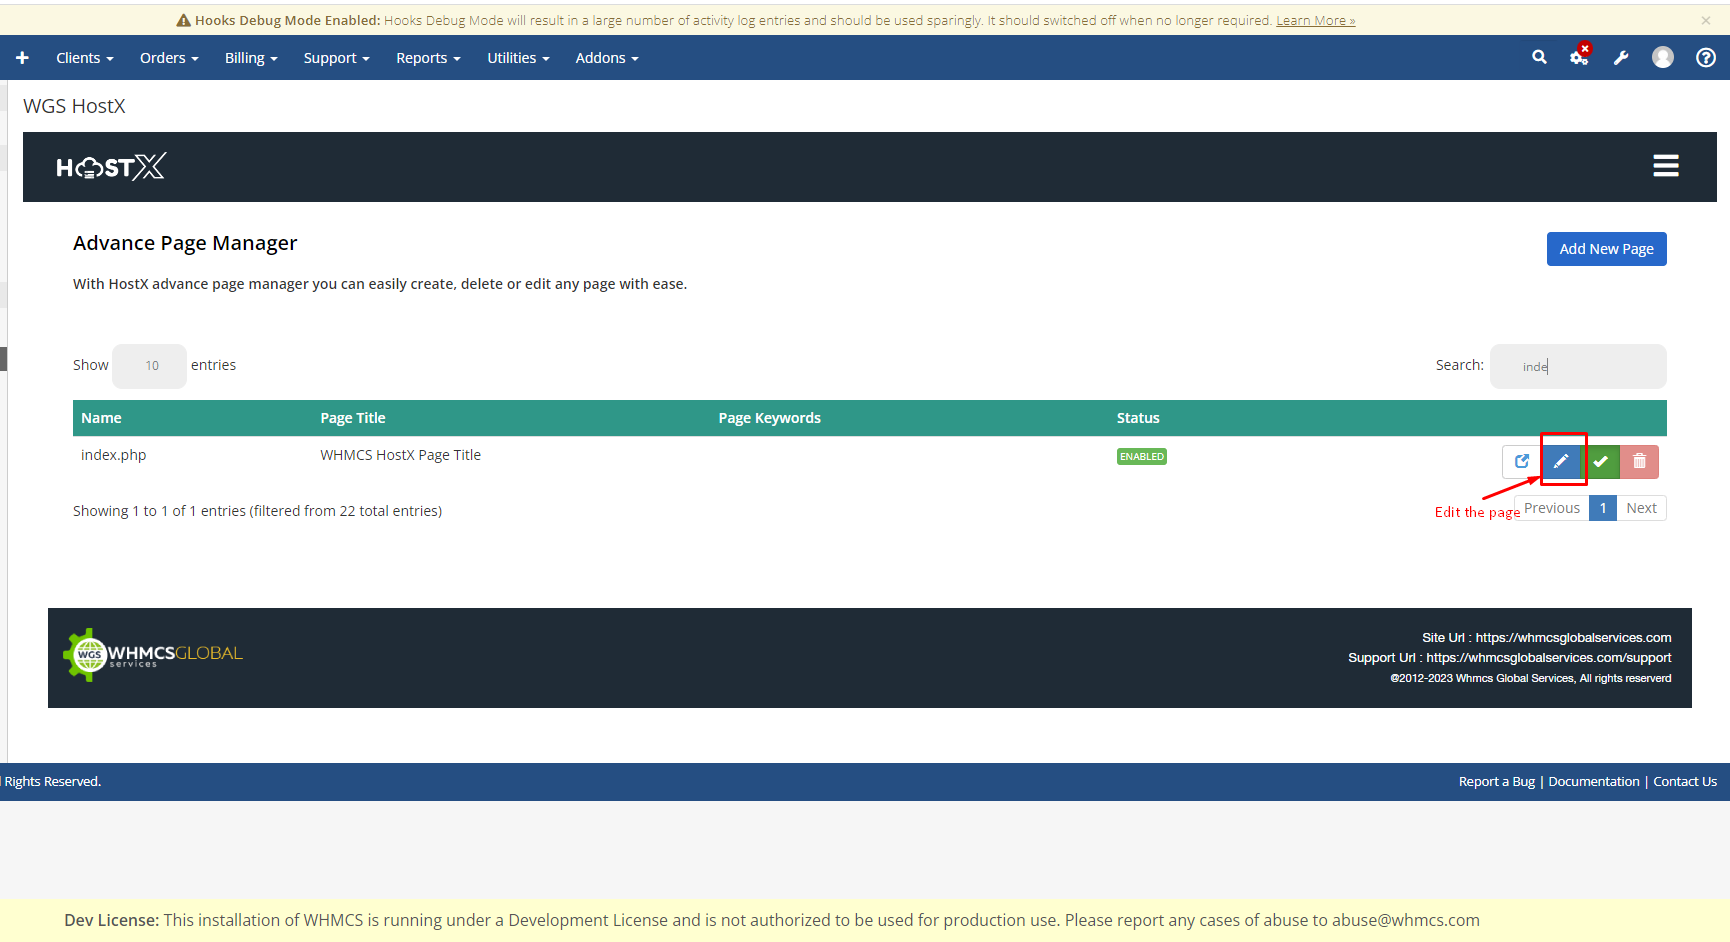
Step 17: As shown in the screenshot below go to the page manager and then search for index.php.

Step 18: Once you have that index.php file click on the edit button.
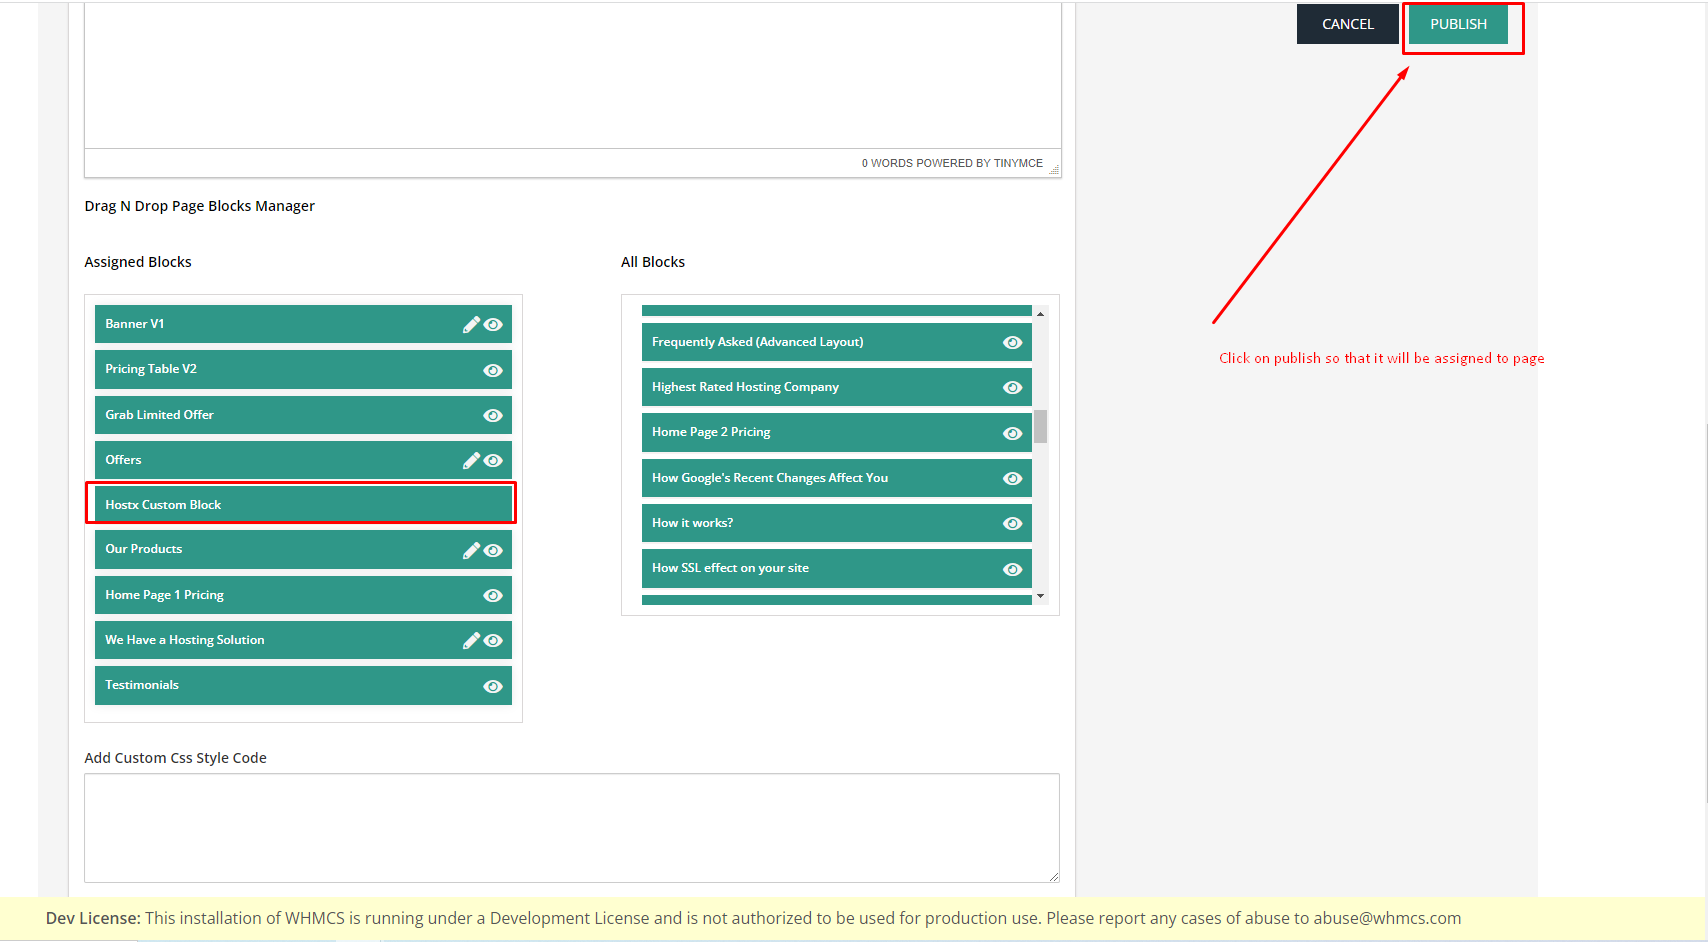
Step 19: Drag and drop the custom block you created like I am doing at my required place you can do it as per your requirement.
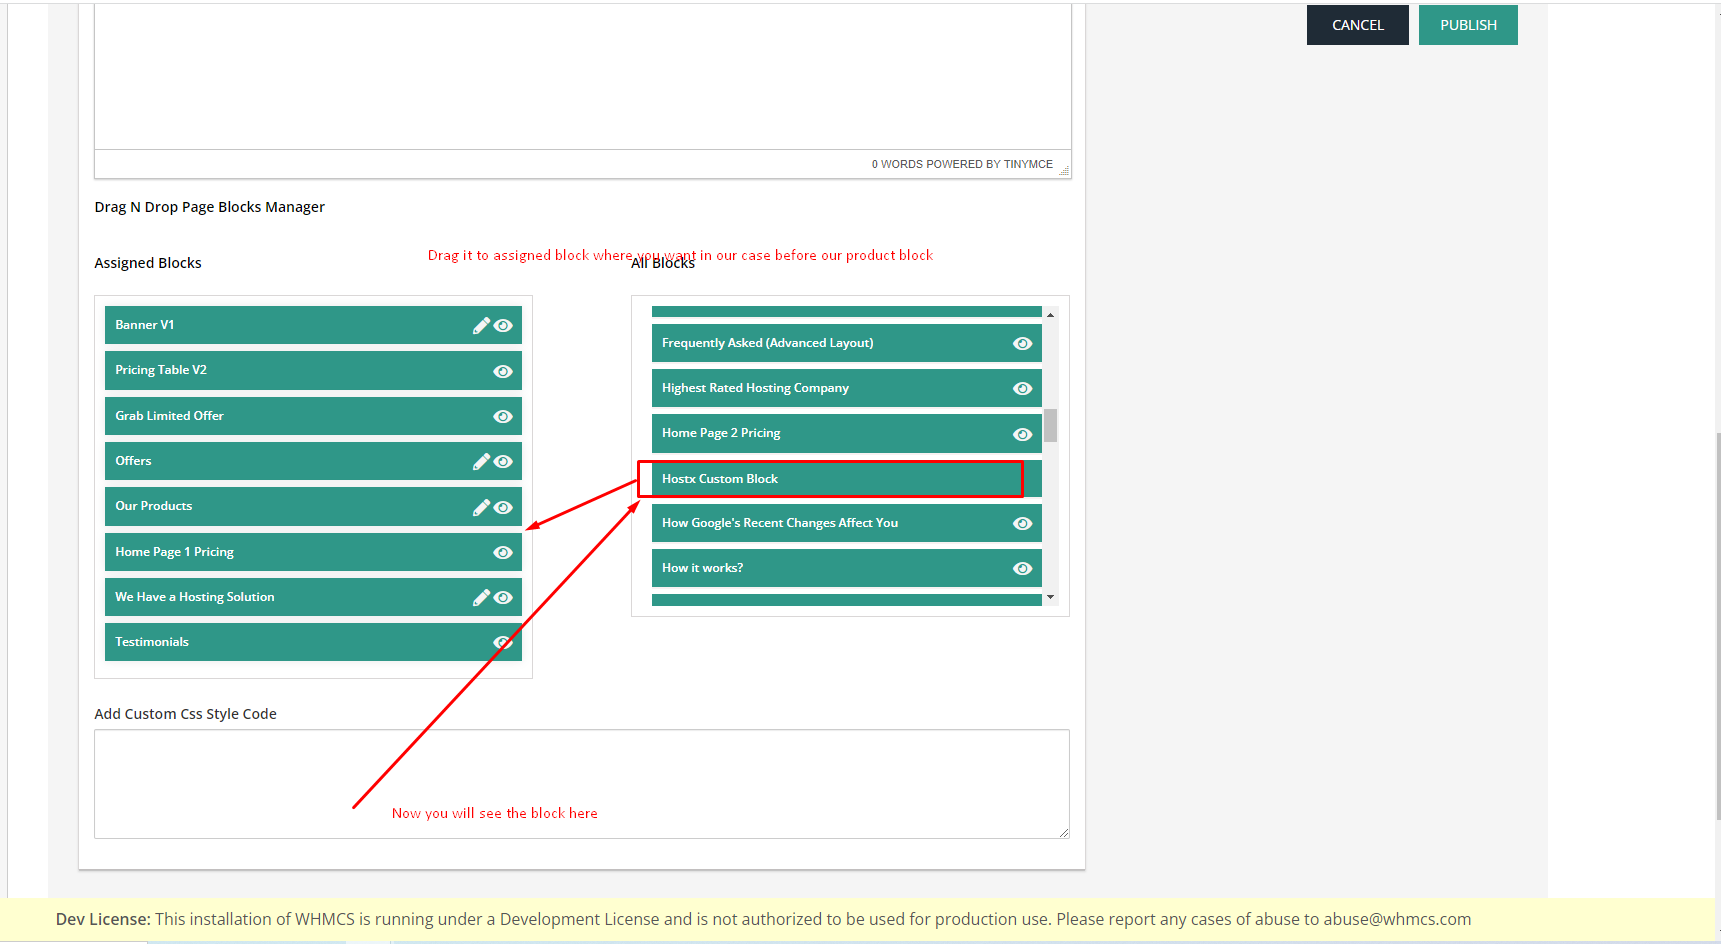
Step 20: After that click on publish. So that it will be assign to page.
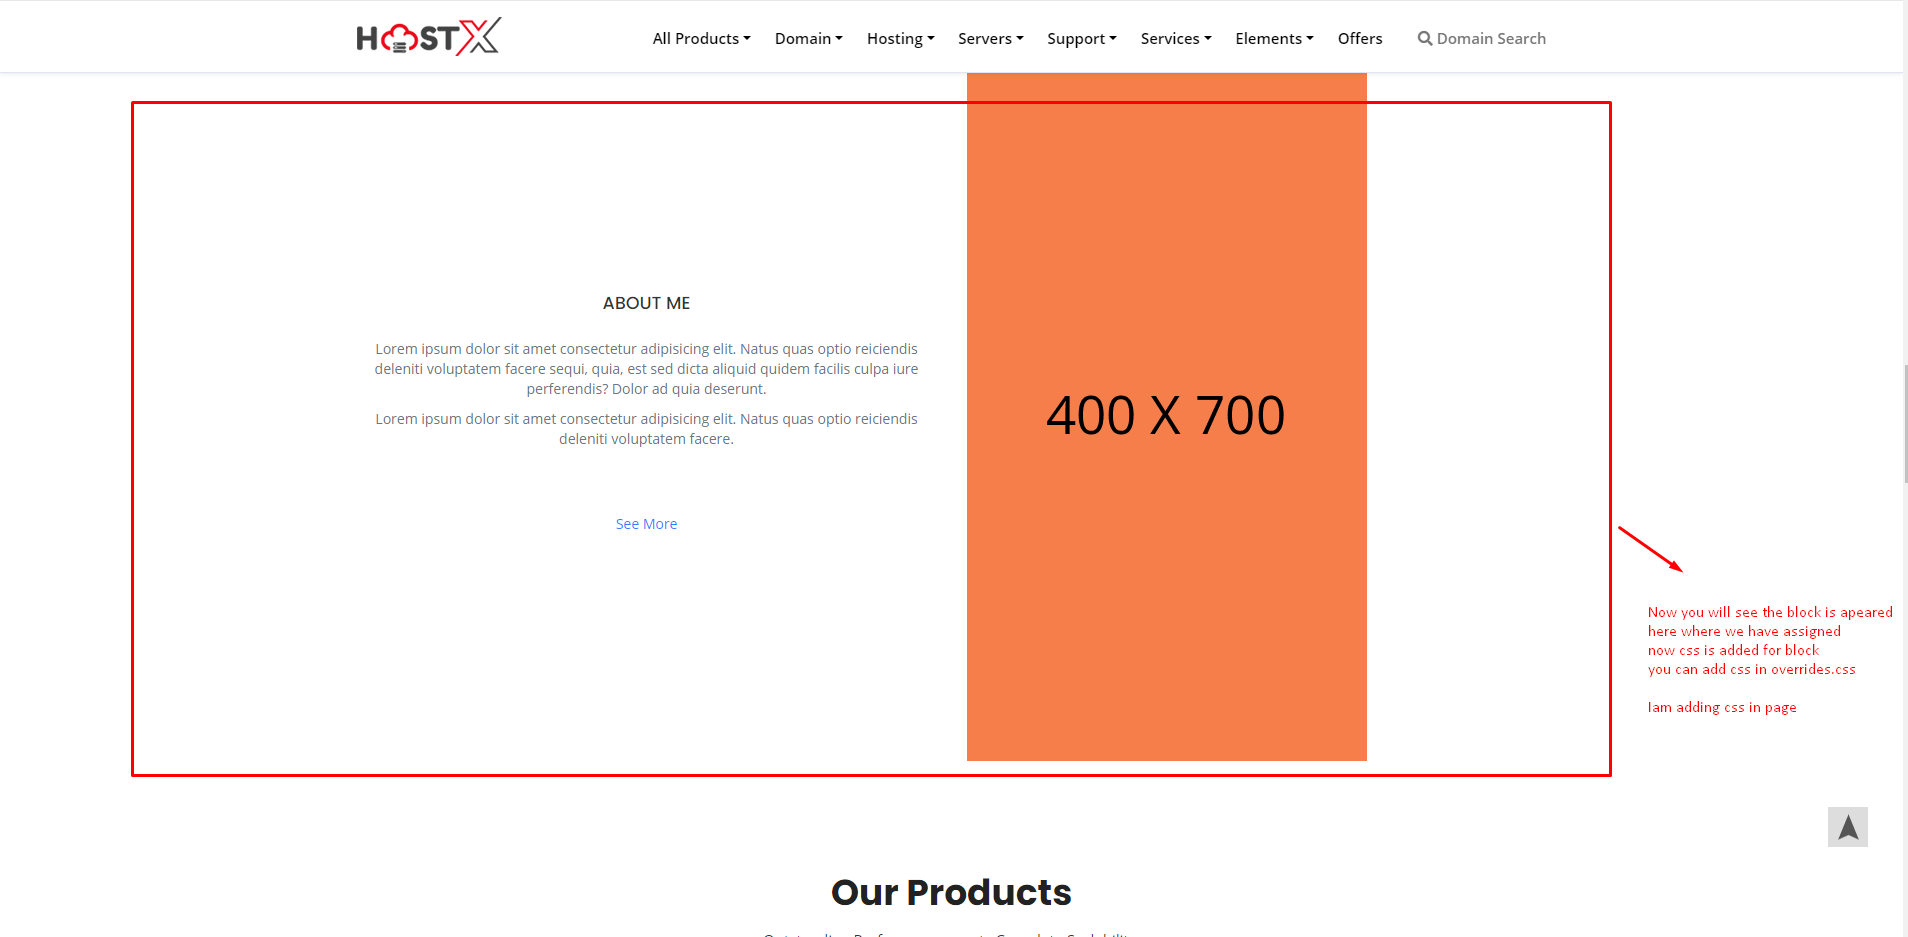
Step 21: Now you will see the block is there in the desired place it also has CSS, You can override the CSS as needed in the overrides.css
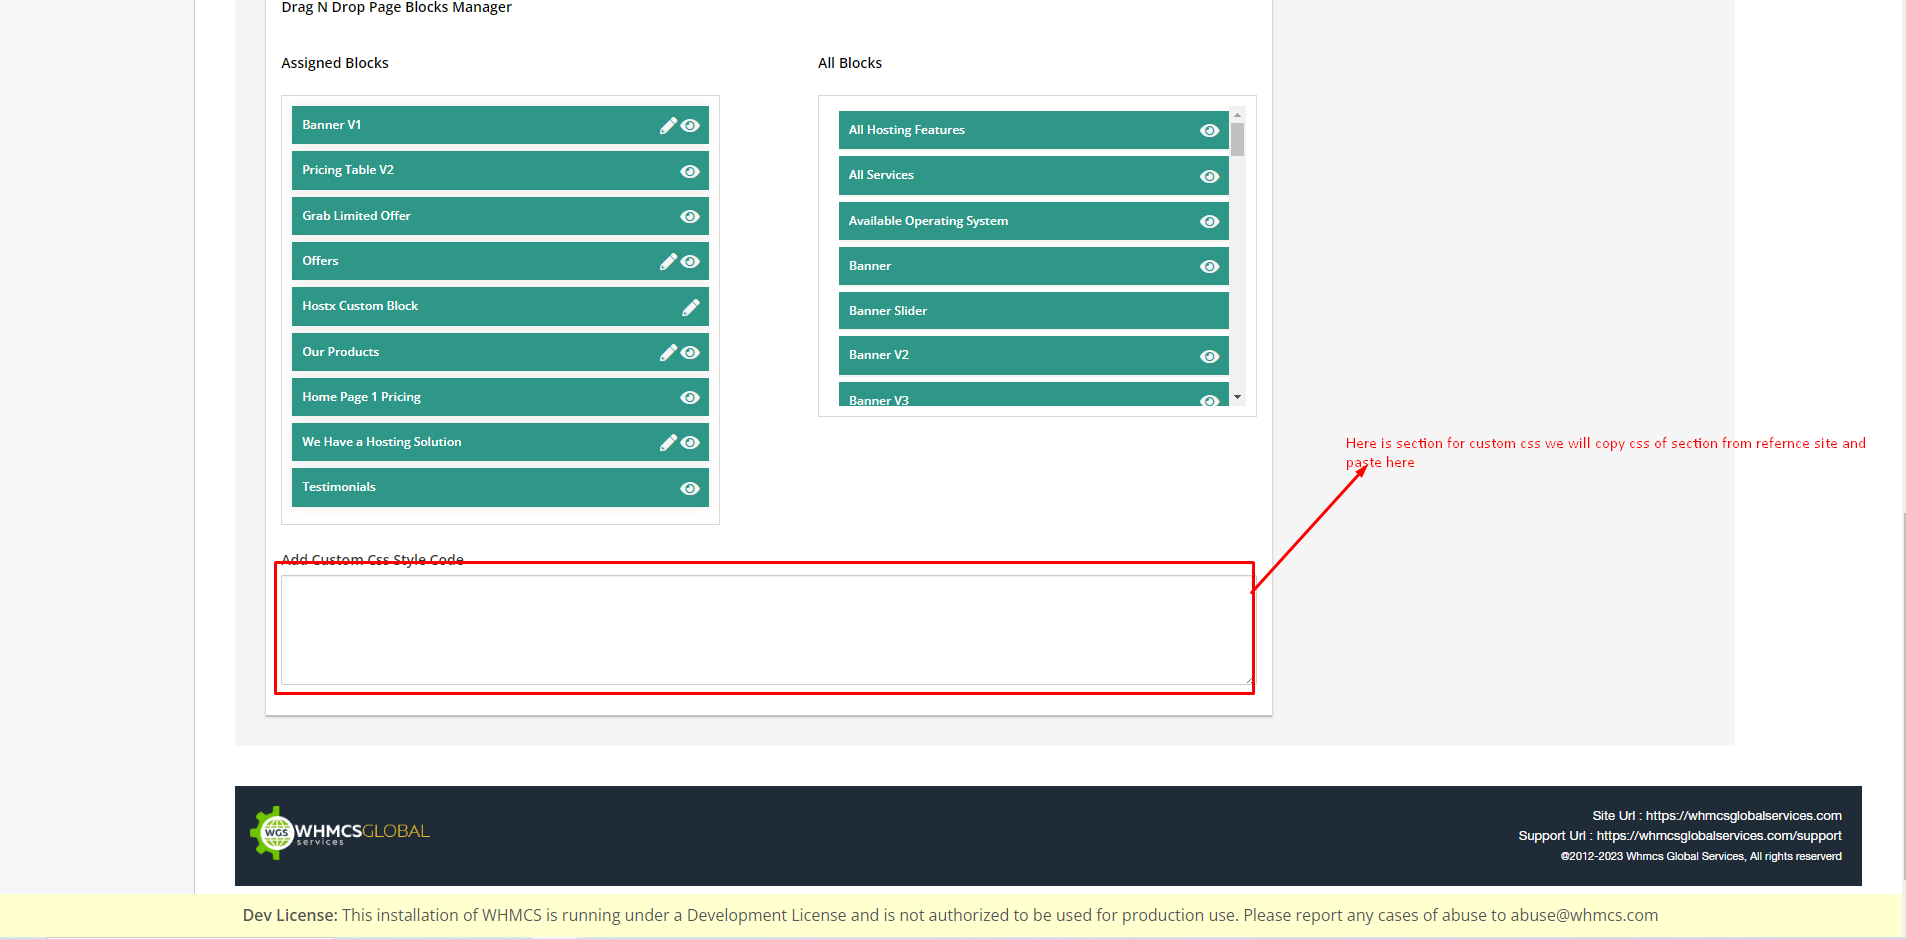
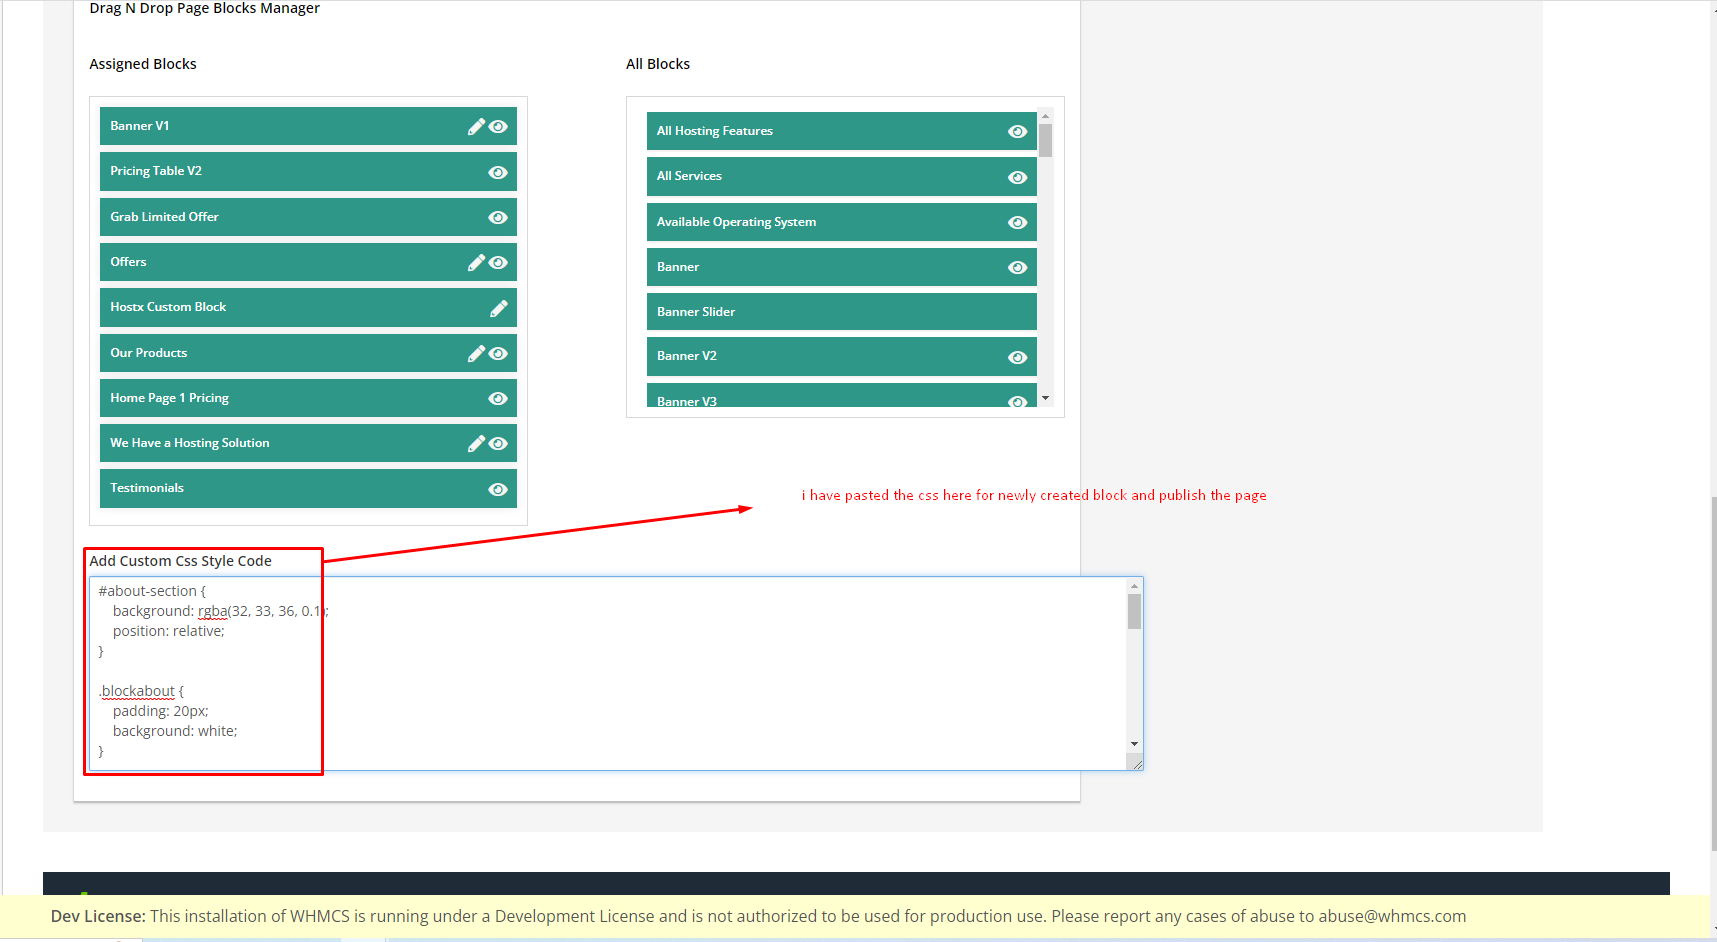
Step 22: As shown in the screenshot below here is the place where we can copy and paste our custom block-level CSS.
Step 23: I am copying the CSS as per my requirement you can create new CSS or copy the same as per your use case.
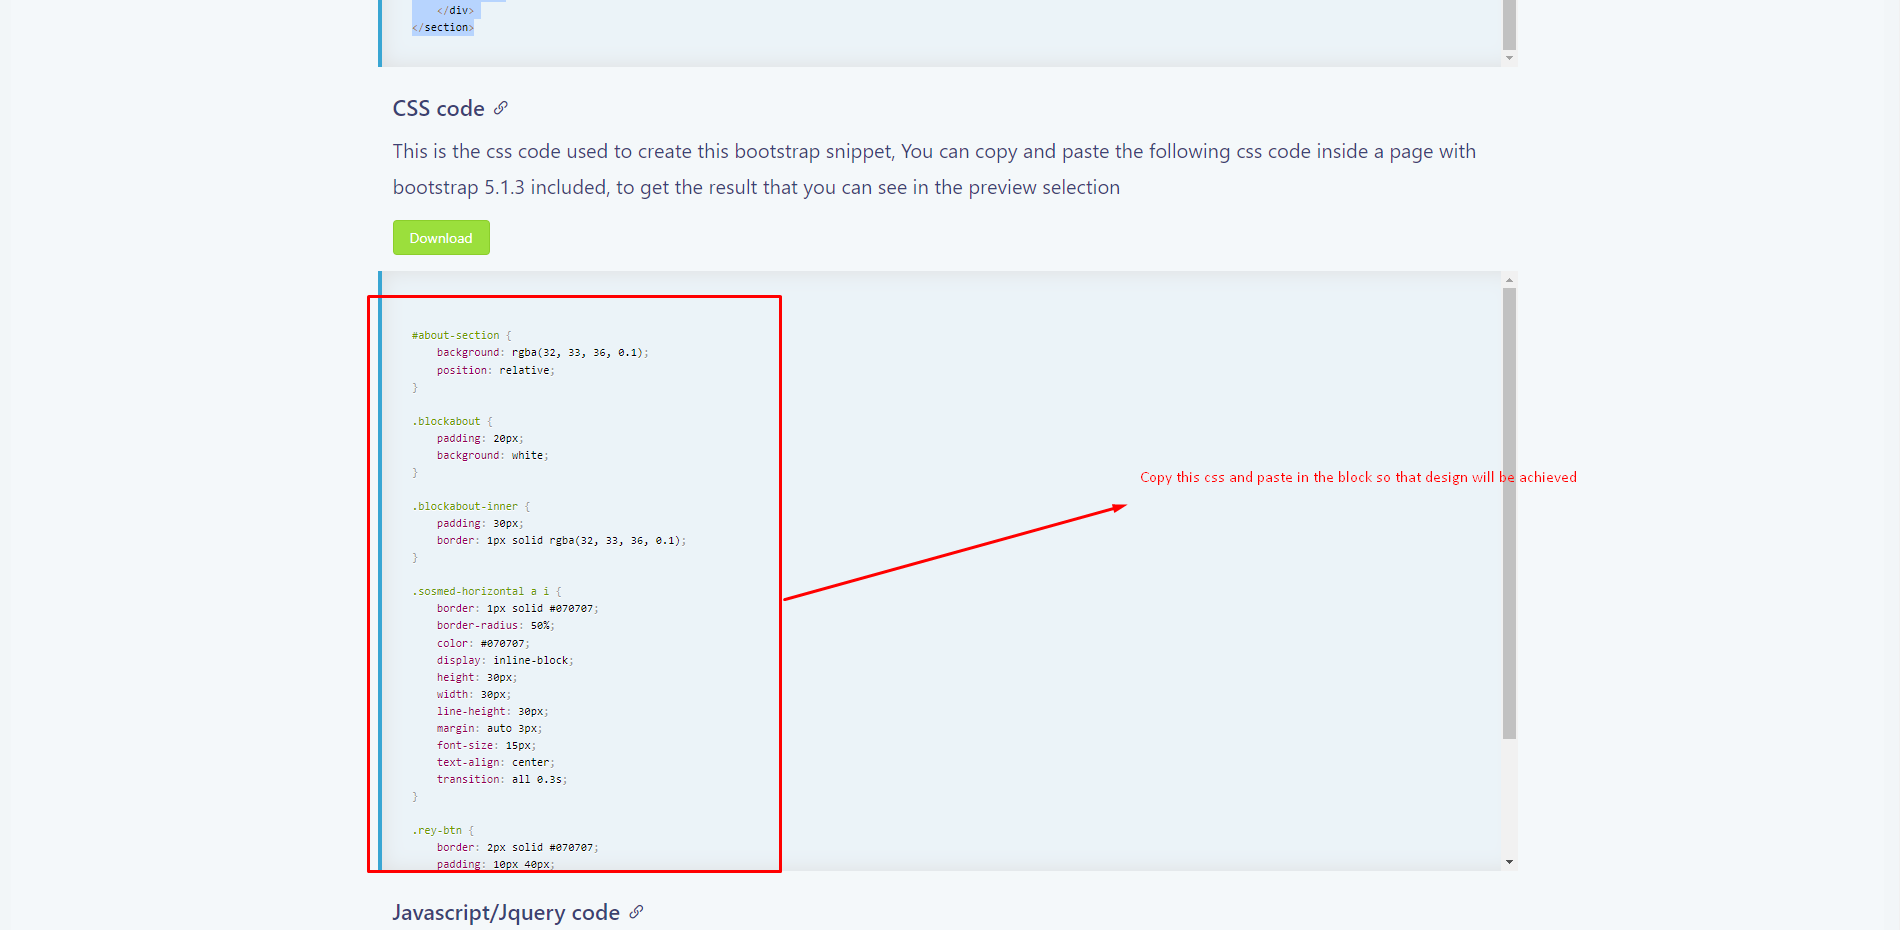
Step 24: Paste the new CSS for your newly created block and publish the Page.
Step 25: You can see the desired output
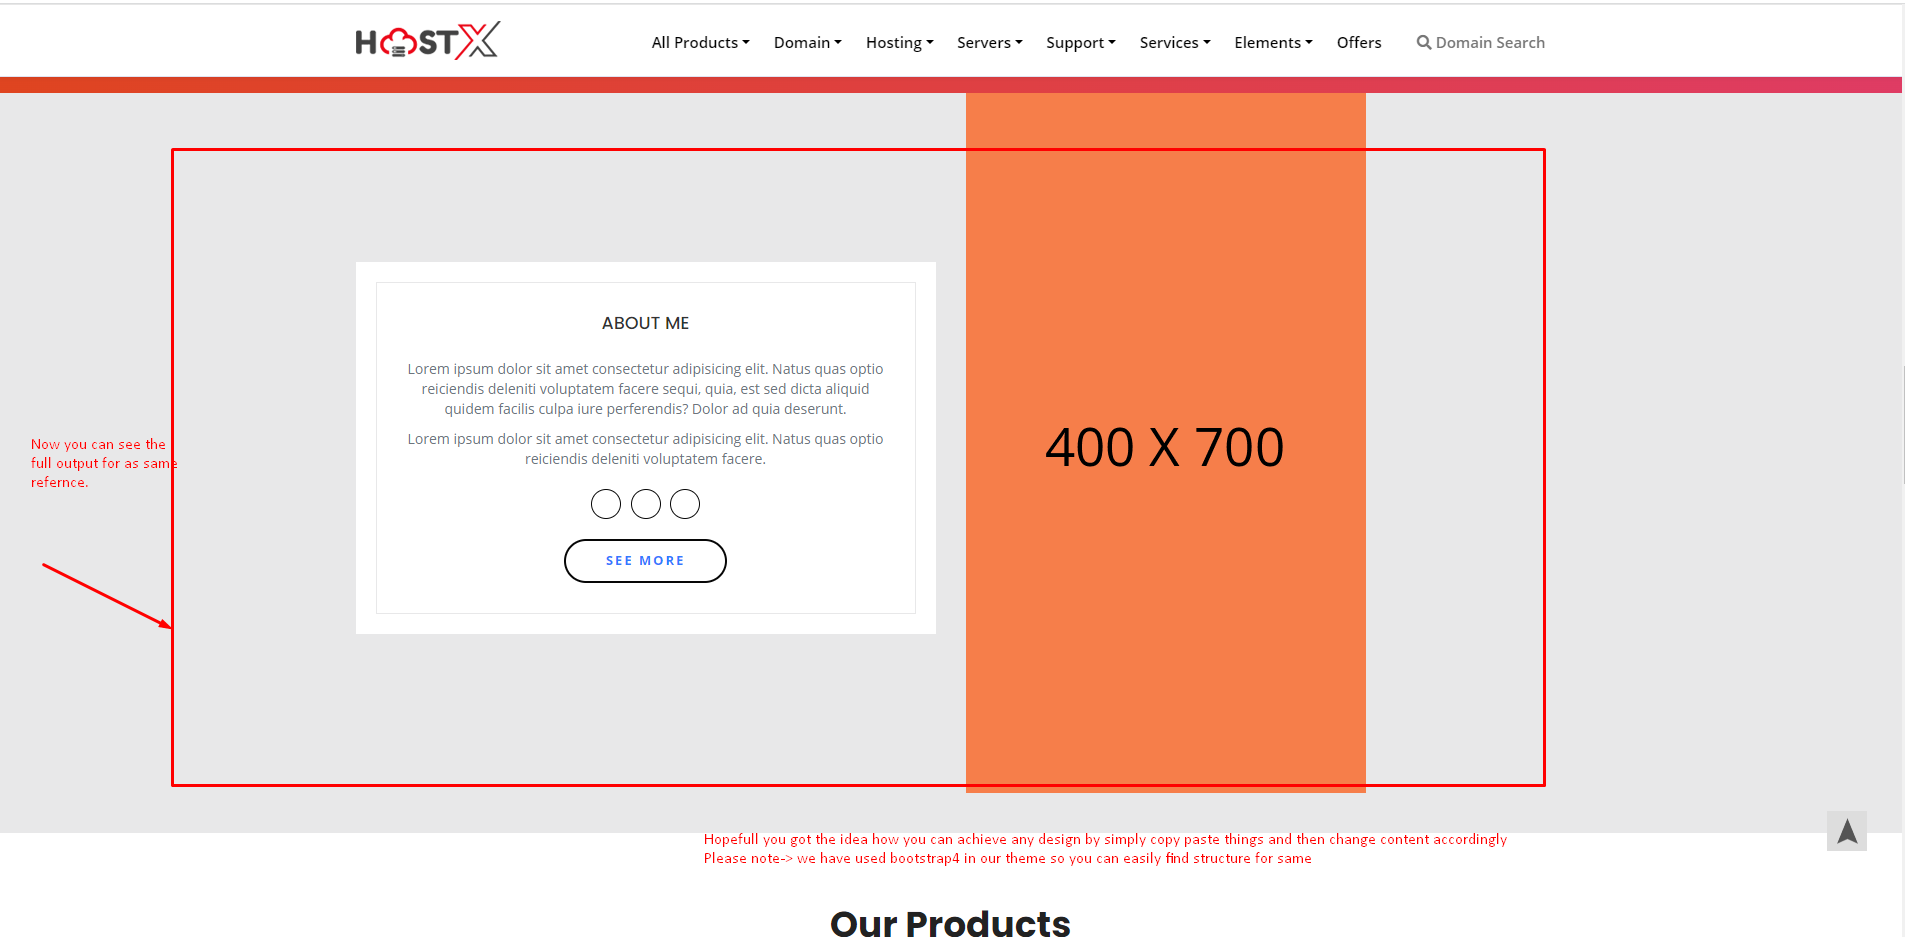
Hopefully, you got the overall idea of how to create and customise a custom block.
Note: We have used bootstrap4 in our theme so you can easily find the structure for the same.
