How to change the Favicon ?
Step 1: Log in to WHMCS Admin
Step 2: Go to Addons > WGS ClientX > Settings

Step 3: After clicking on the setting button you will see the Logo settings as show in the screenshot below
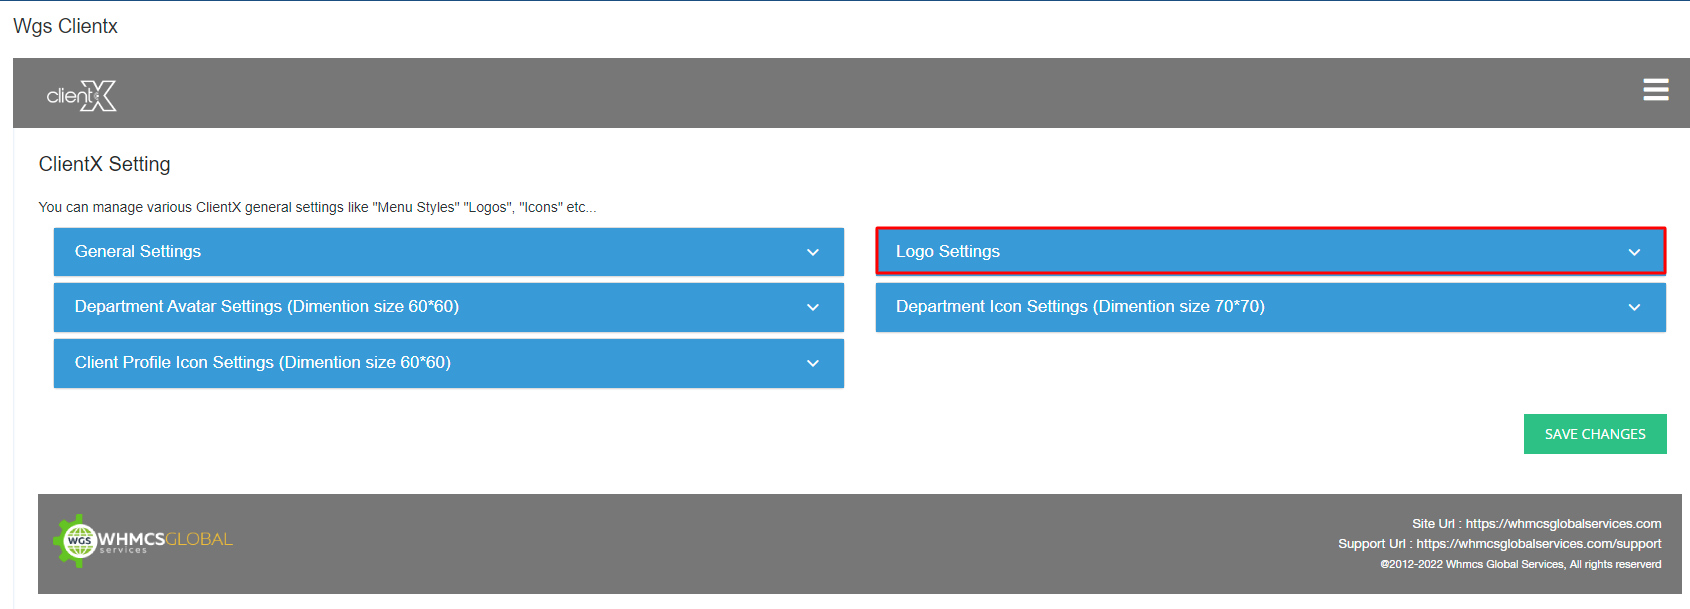
Step 4: In order to change the design of your webpage logo, click on the Logo Settings dropdown menu.
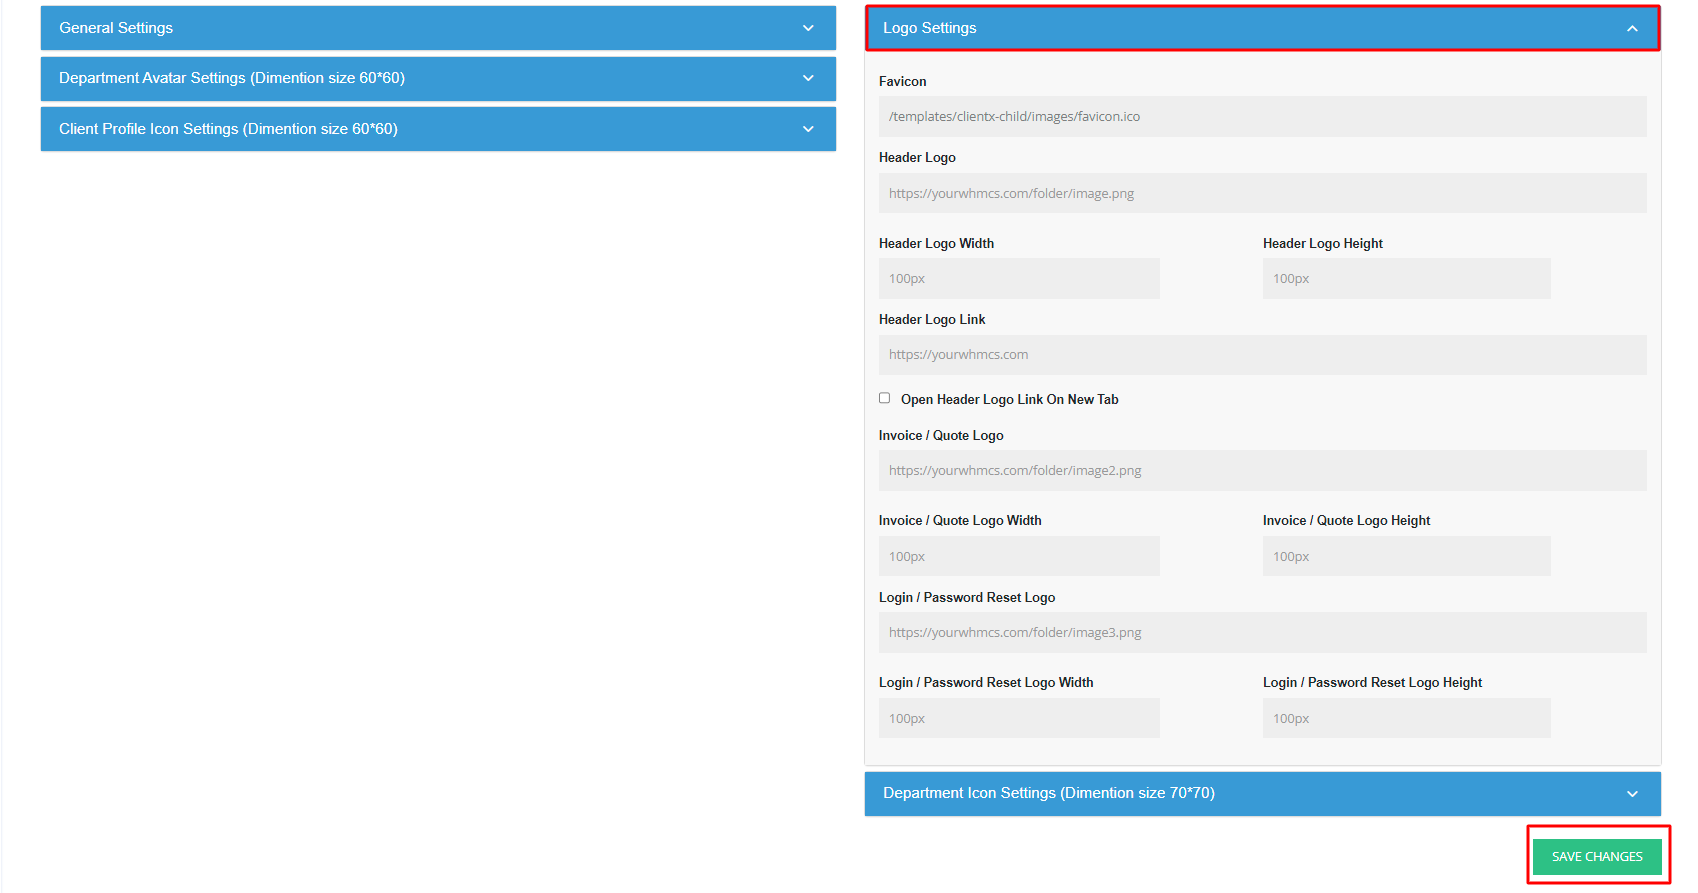
1. Favicon: Fav icon or favicon is a small icon that serves as branding for a particular website. Enter the link of your favicon if you want to use some other icon than your brand logo.

2.Header Logo: Enter the URL of your brand logo here.

3. Header Logo Width and Height: In case if the entered brand logo size is large or small, you can define the desired length and width in pixels through this option.

4. Header Logo Link: Here enter a link for your header logo where you want to redirect your client by clicking on the header brand logo.

5. Open Header Logo Link On New Tab: Check this option if you want to open the header logo link in a new tab.

6. Invoice / Quote Logo: In case if you want to change the client area invoice logo or quote, then enter the logo path here.

7. Invoice / Quote Logo Width and Height: Enter the desired length and height of client invoice logo in pixels.

8. Login / Password Reset Logo: Enter the logo path for the registration page.

9. Login / Password Reset Logo Width and height: Define the registration page logo length and height in pixels here.

