Step 1: Hit the following link to Login into your Client Area i.e. https://members.whmcsglobalservices.com/clientarea.php
Step 2: Now go to your services and click on Clientx WHMCS Template Service
Step 3: Then click on, Download the ClientX Theme on the according to your WHMCS version and php version
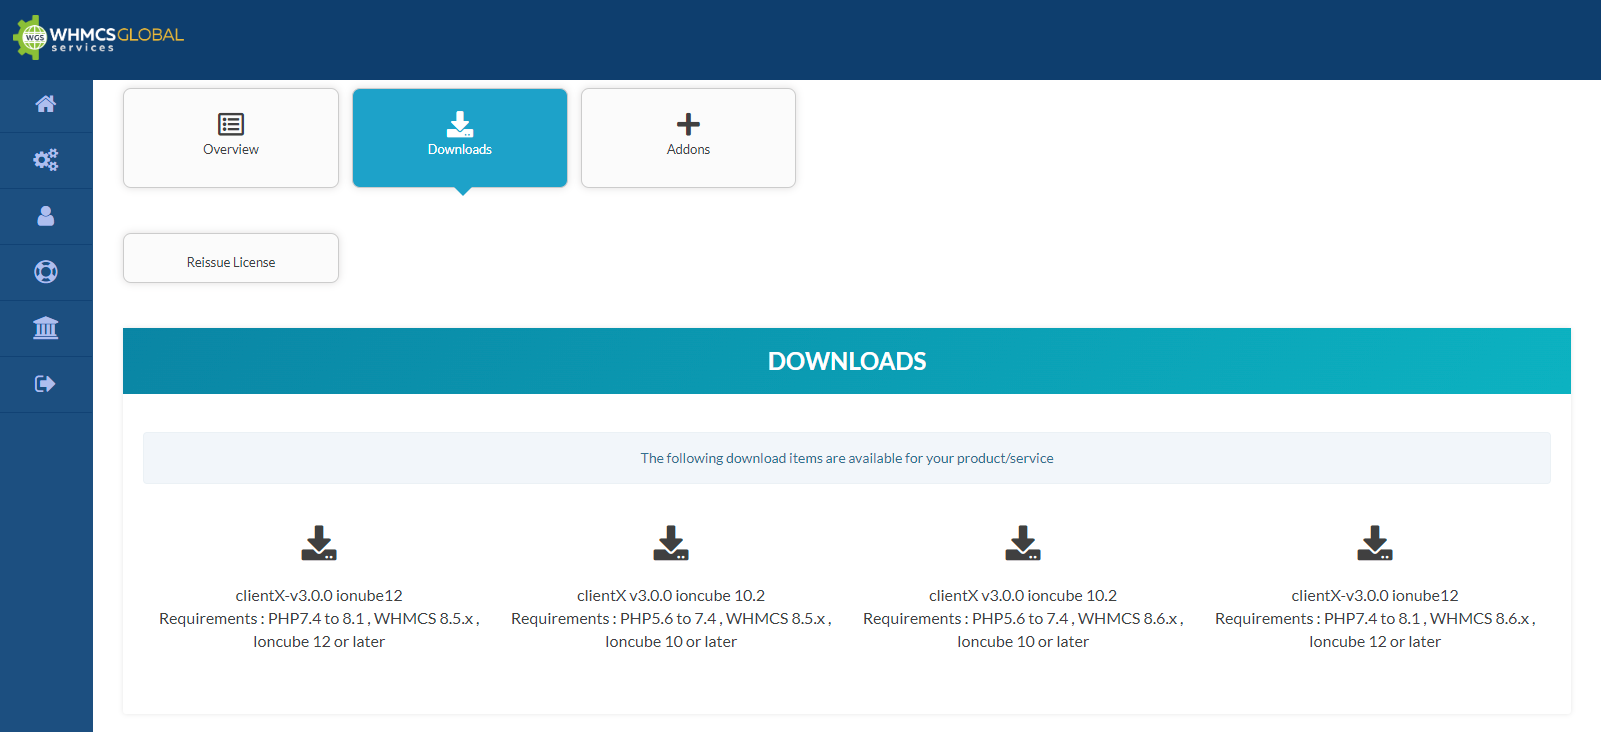
Step 4: Once you have done that a zip file will start downloading.
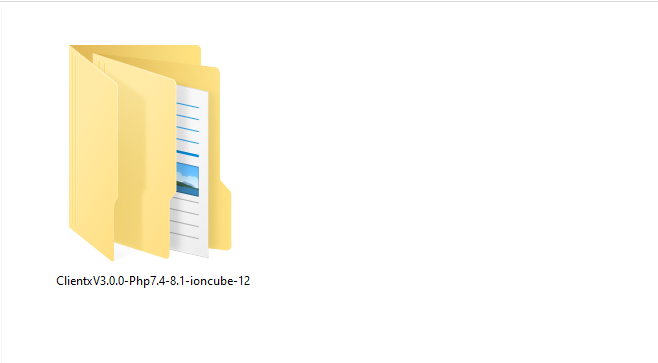
Step 5: Extract the downloaded zip file
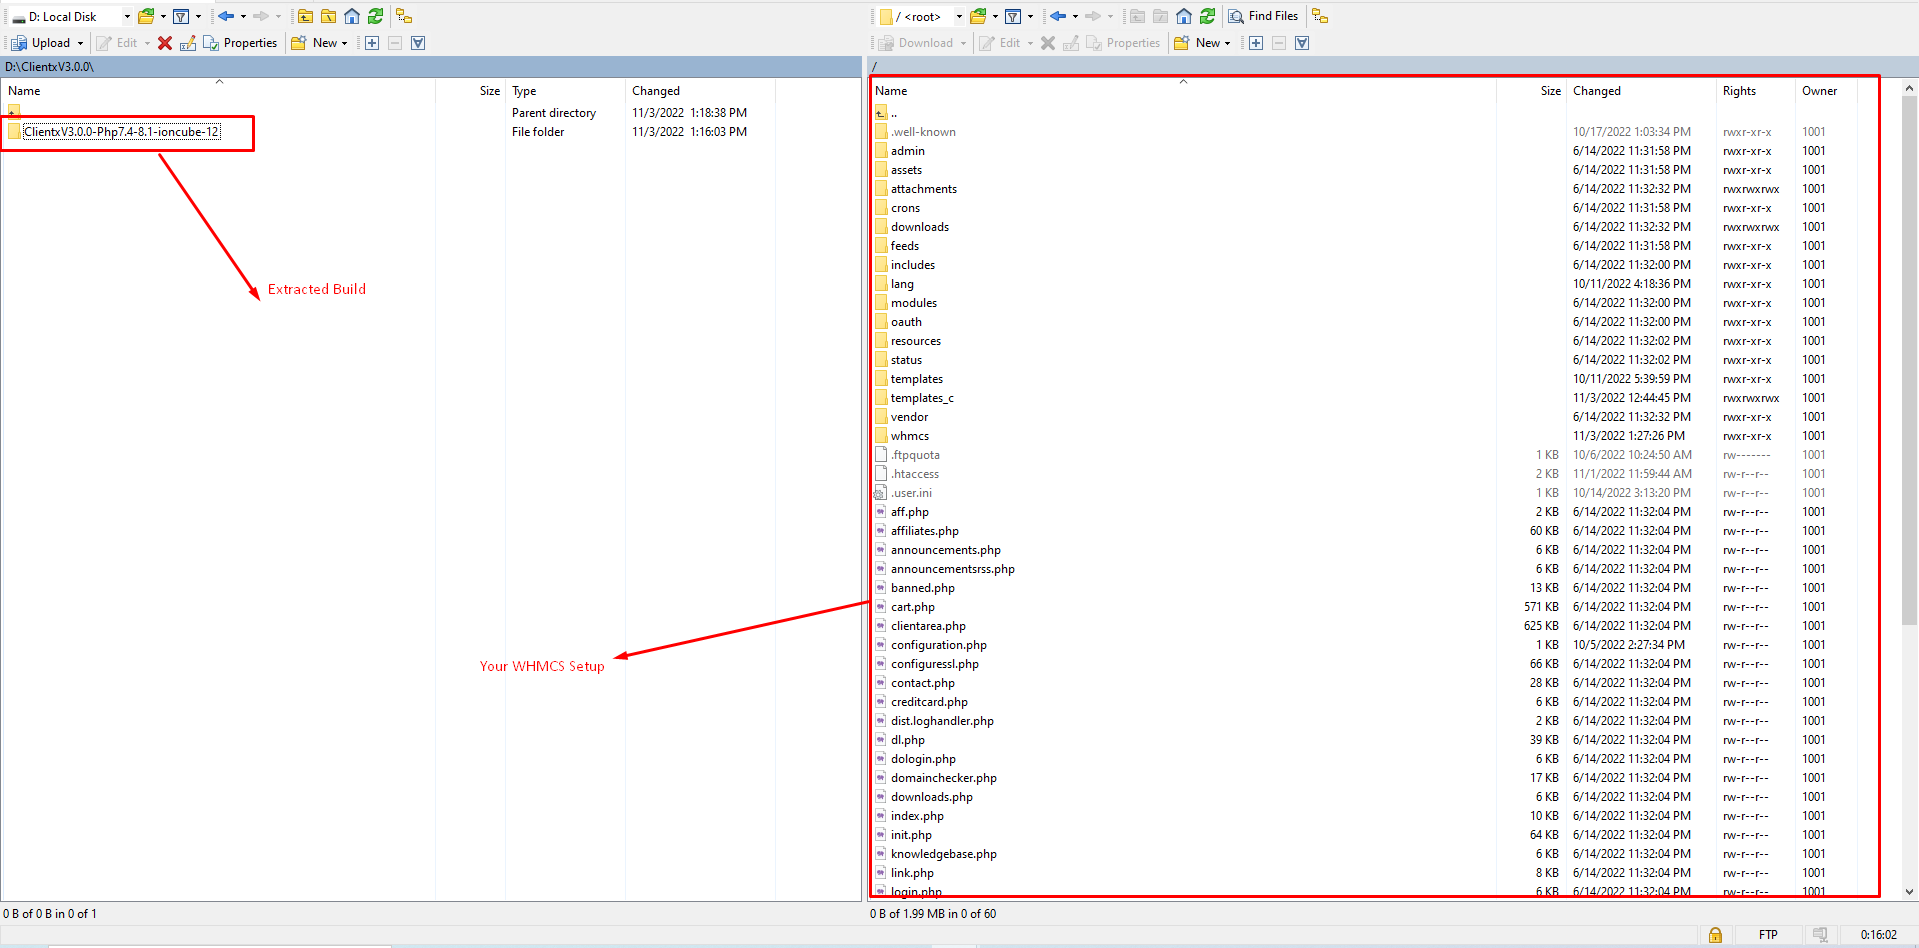
Step 6: Now, connect to your local FTP Client example: FileZilla, cPanel, etc using your credentials
Step 7: Open the extracted folder in your FTP client while connecting to your WHMCS setpup.
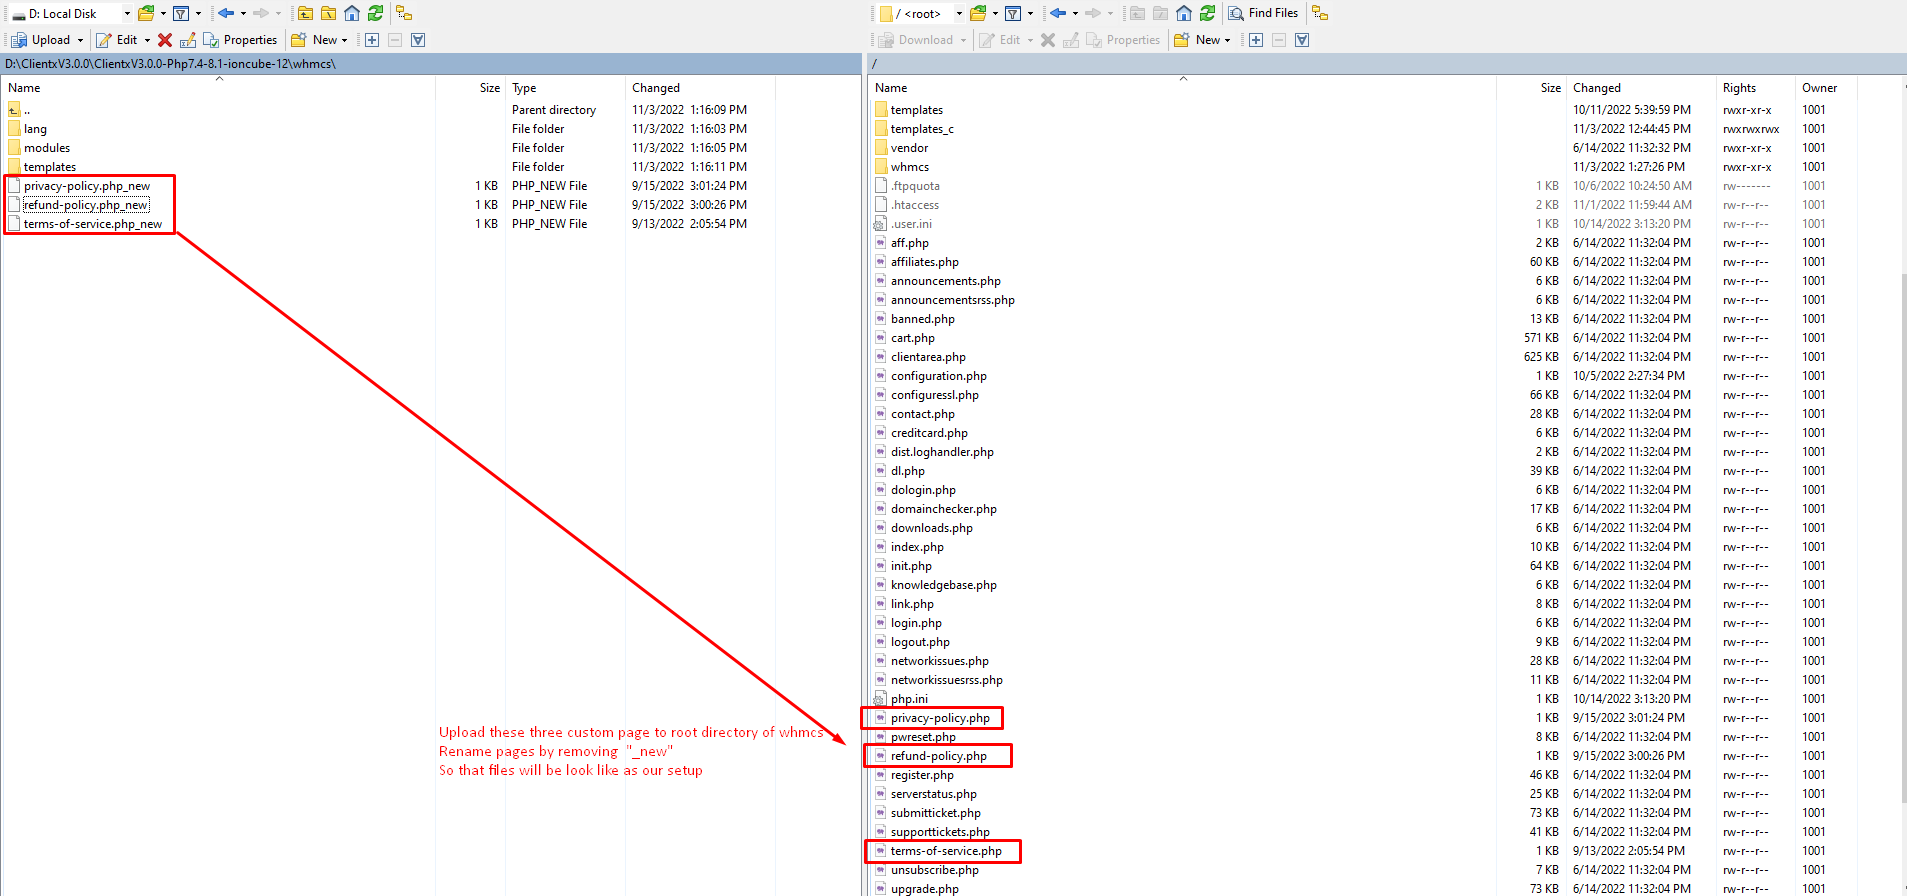
Step 8: Double click on the extracted folder to get into the dircetory where you will see the three custom pages highlighted in the screenshot below(left side)
Step 8.1: Upload these three pages to root directory of whmcs, rename these pages by removing "_new" so that our files will look like this screenshot below(right side).
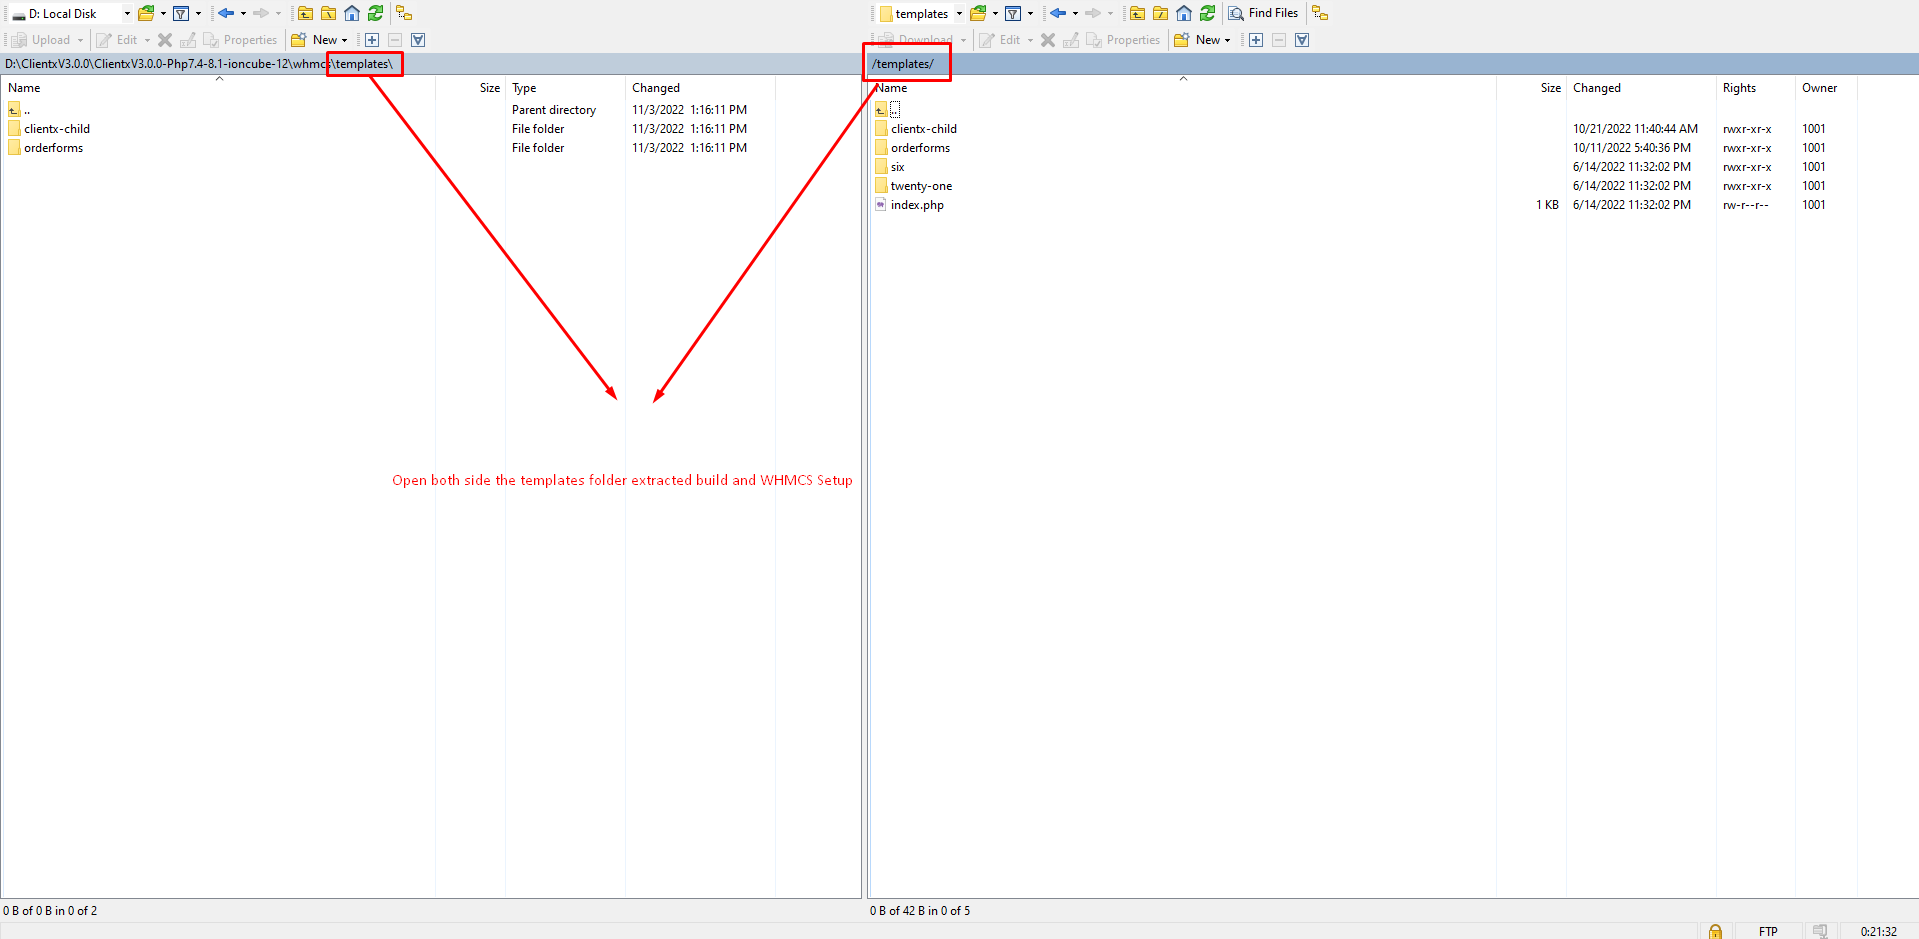
Step 9: Now open the templates folder on both side extracted build and WHMCS setup
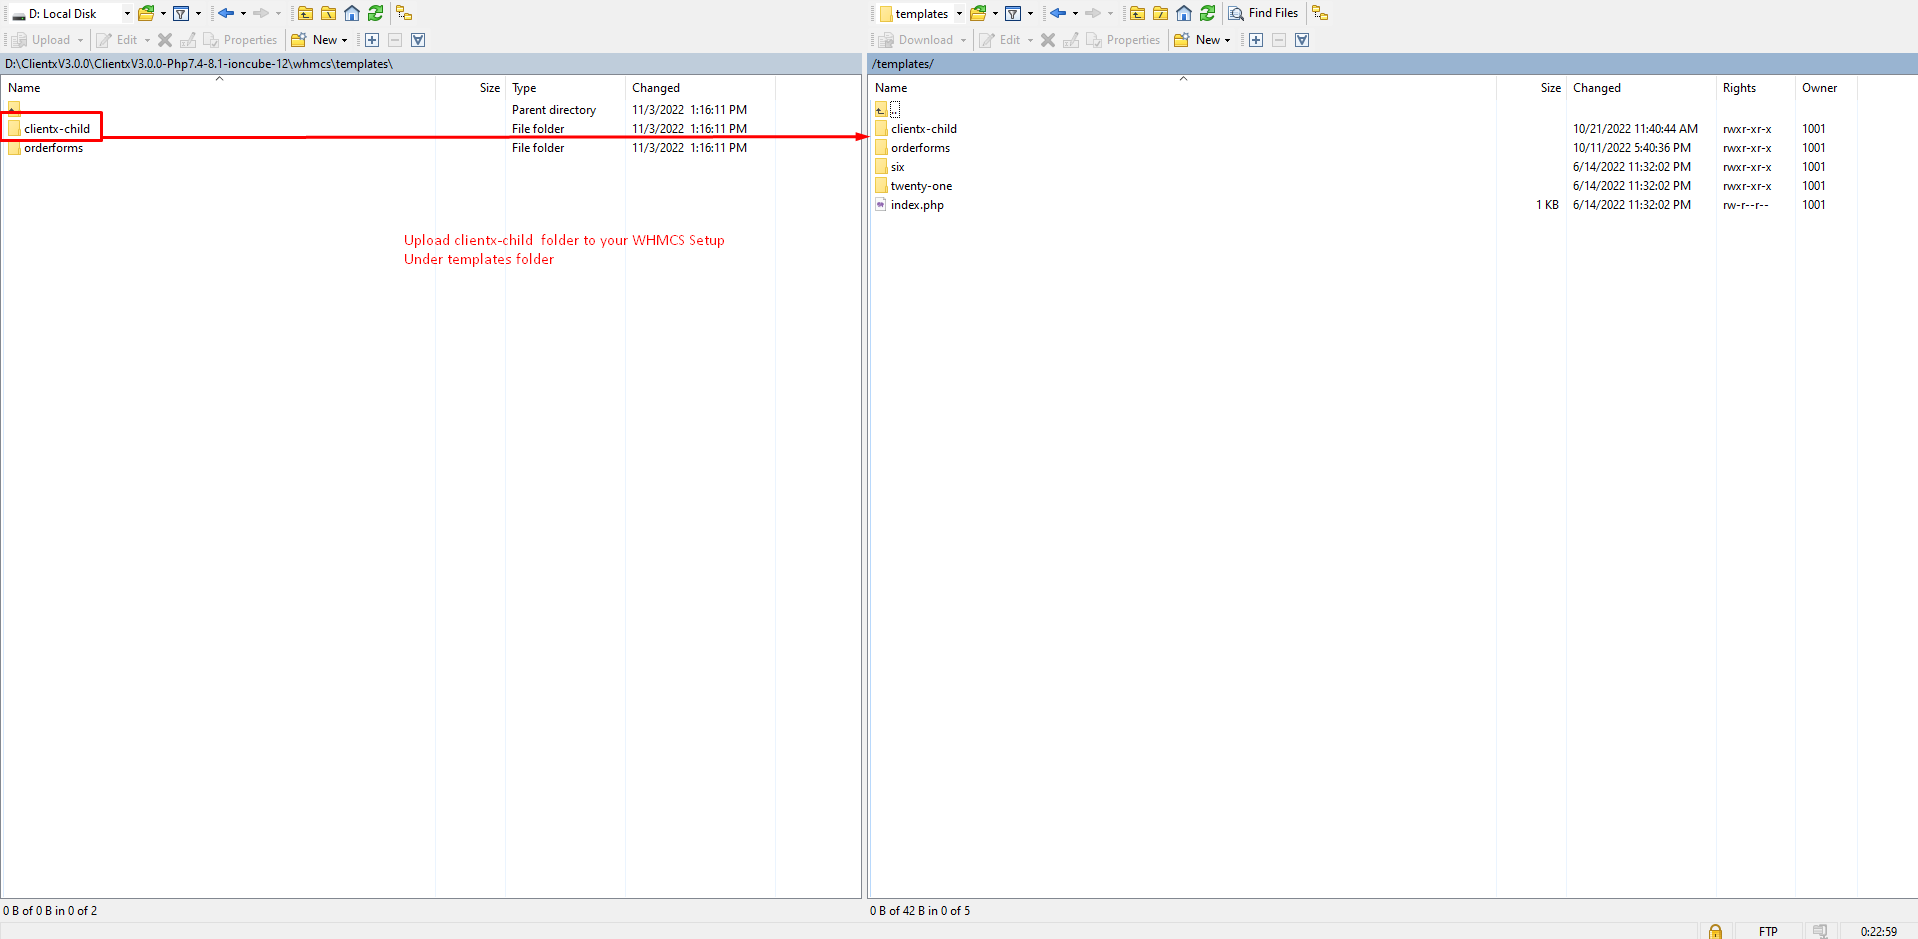
Step 10: Upload clientx-child folder to your WHMCS setup (whmcs_root/templates/).
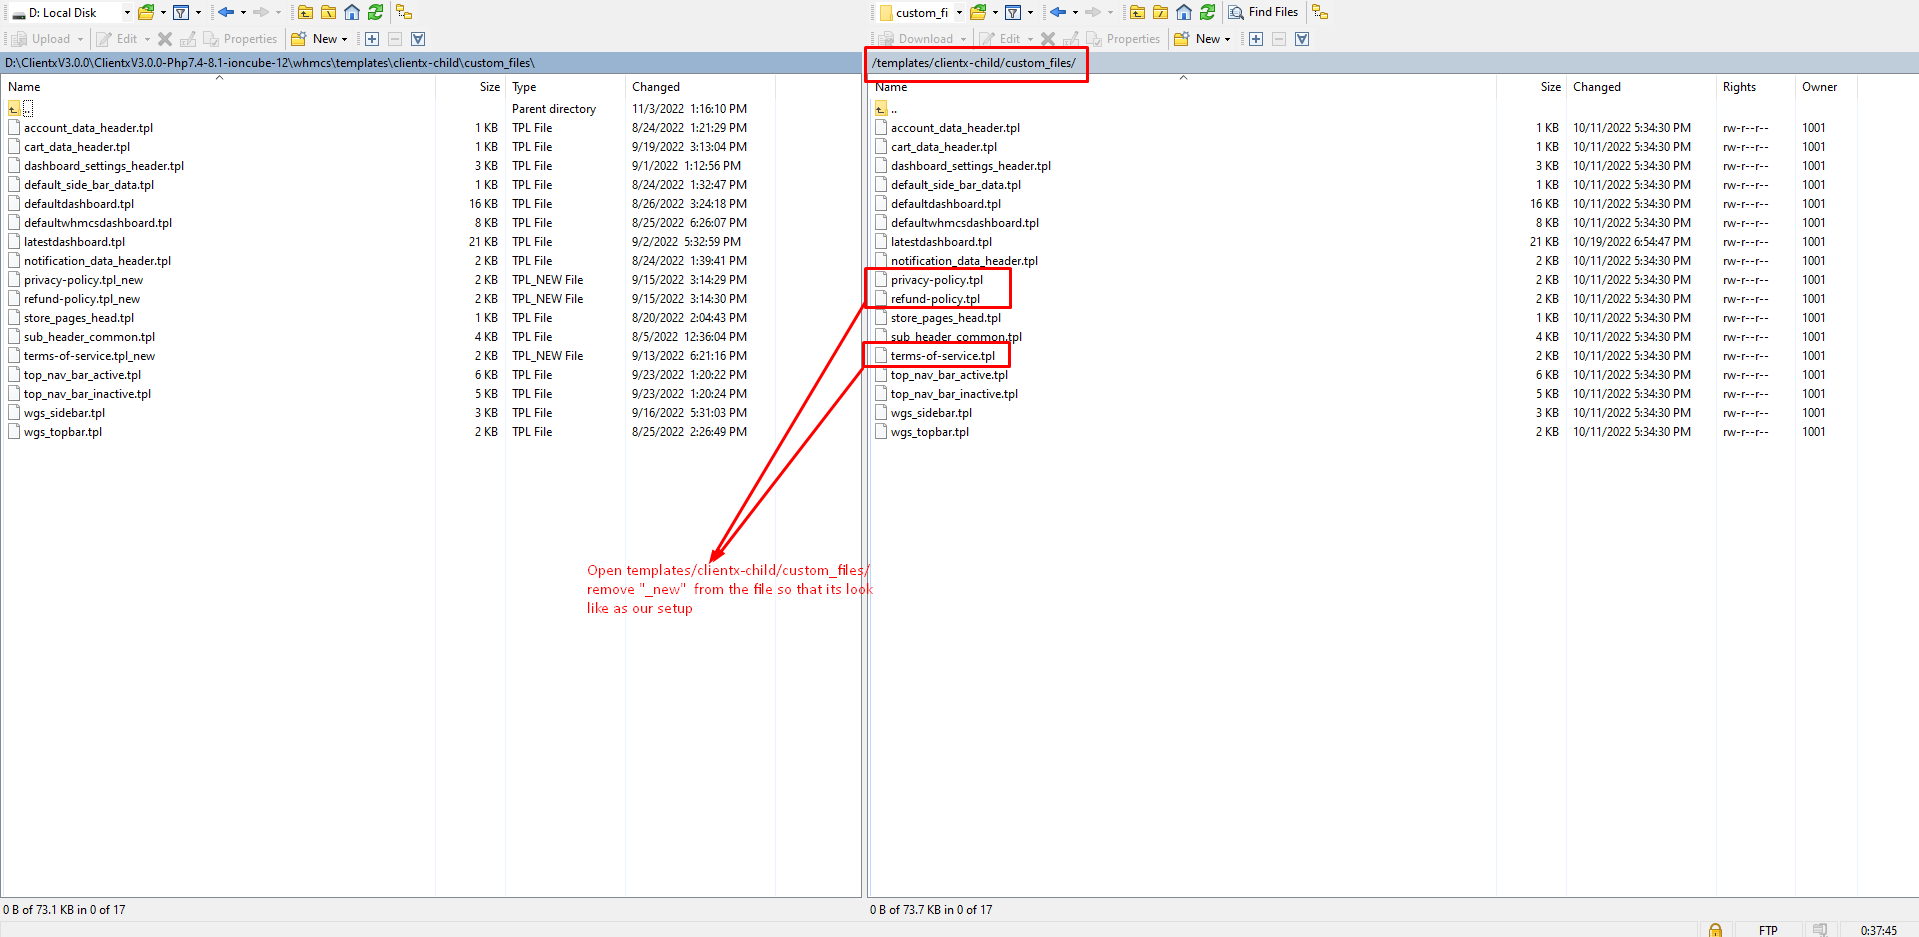
Step 11: Now open template/clientx-child/custom_files/ remove "_new" from the files so that its look like as our setup
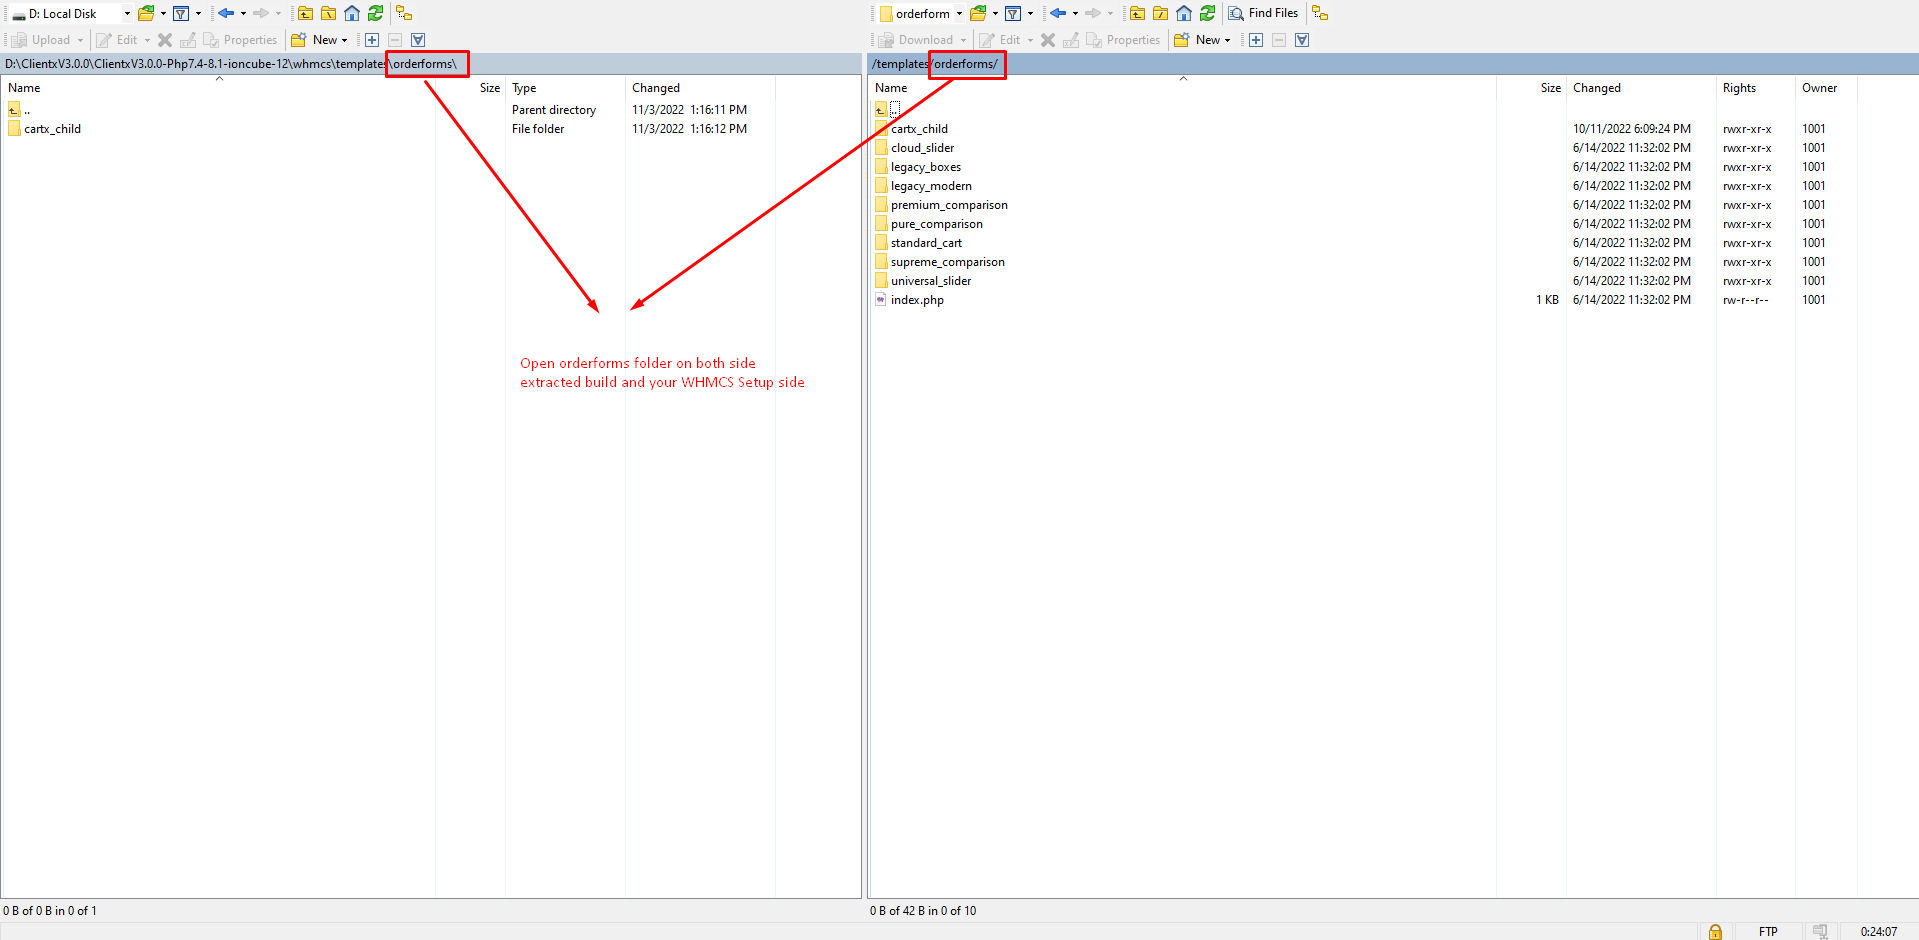
Step 12: Open orderforms folder on both side i.e the extracted build and your WHMCS setup side
Step 13: Upload cartx_child folder to your WHMCS Setup under orderforms folder (whmcs_root/templates/orderforms/)

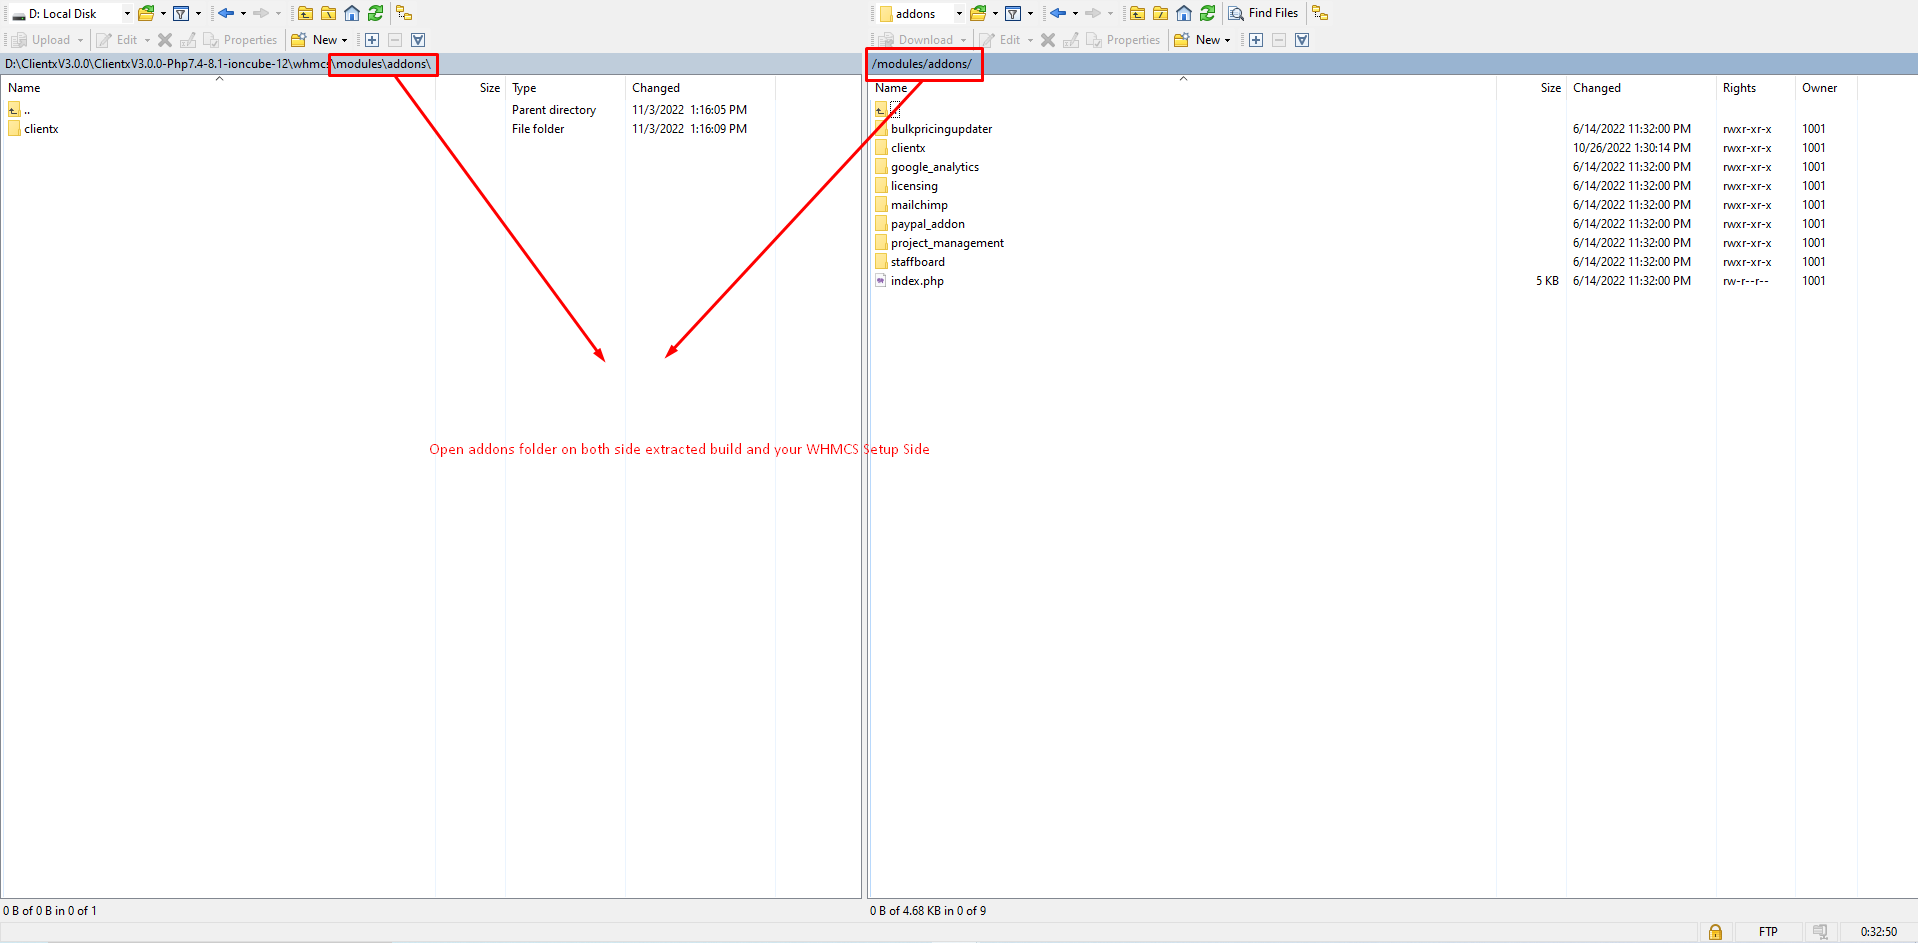
Step 14: Open addons on both side i.e extracted build and your WHMCS setup side
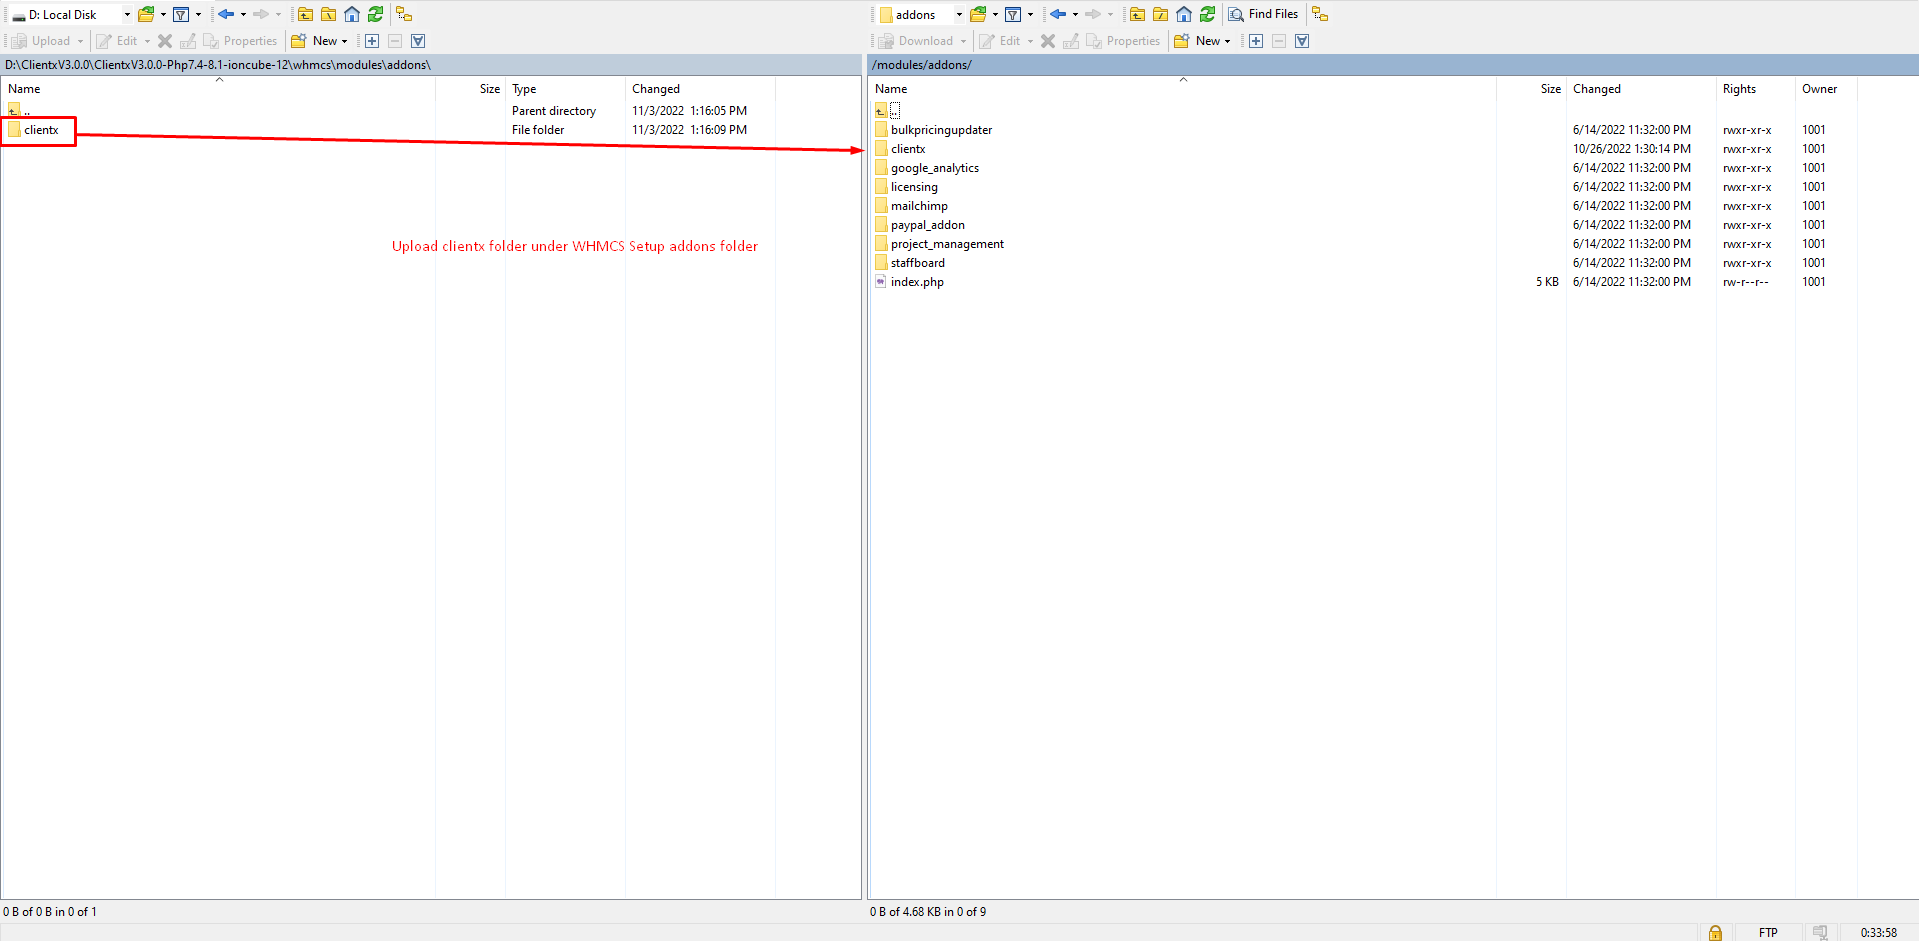
Step 15: Upload clientx folder under WHMCS setup addons folder (whmcs_root/modules/addons/).
Note: If you get OOPS error after uploading the Addon Modules in client area, please follow this Link to rectify it.
Lets Set Clientx Child theme as default template and Cartx Child as Default orderform
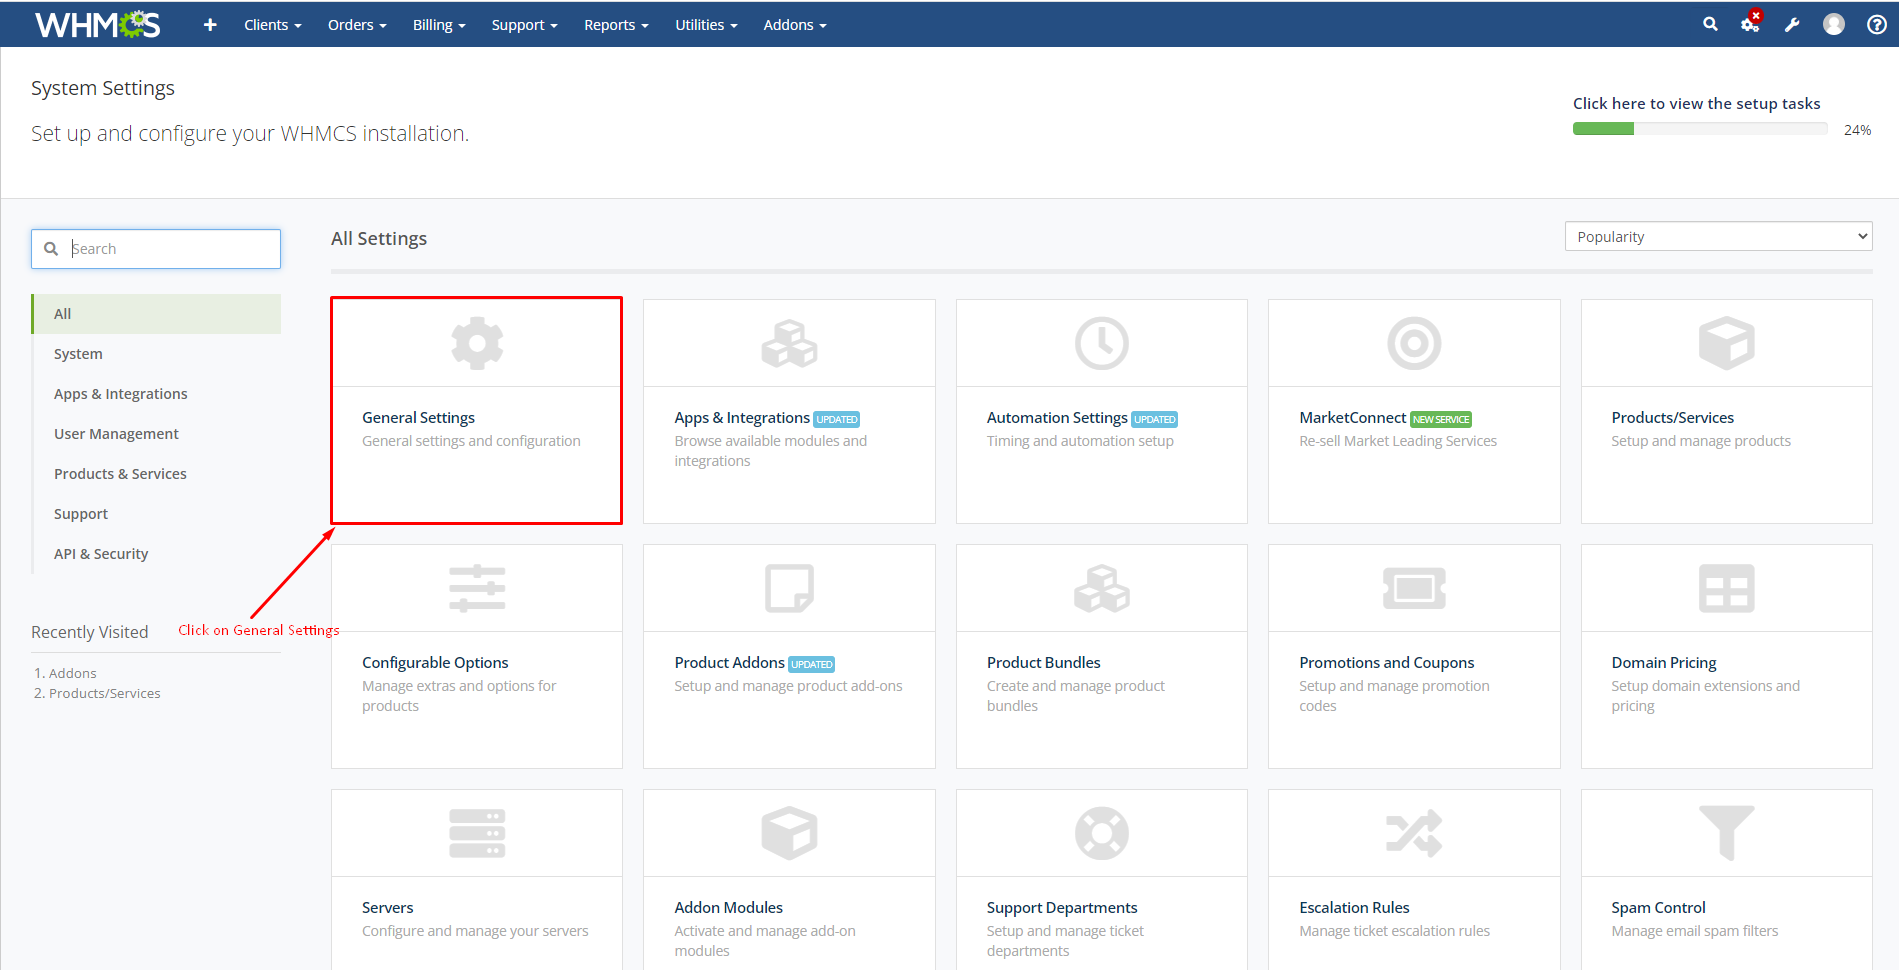
Step 1: For this click on the System Settings.

Step 2: In the search bar search for the General Settings then click at "General Settings".
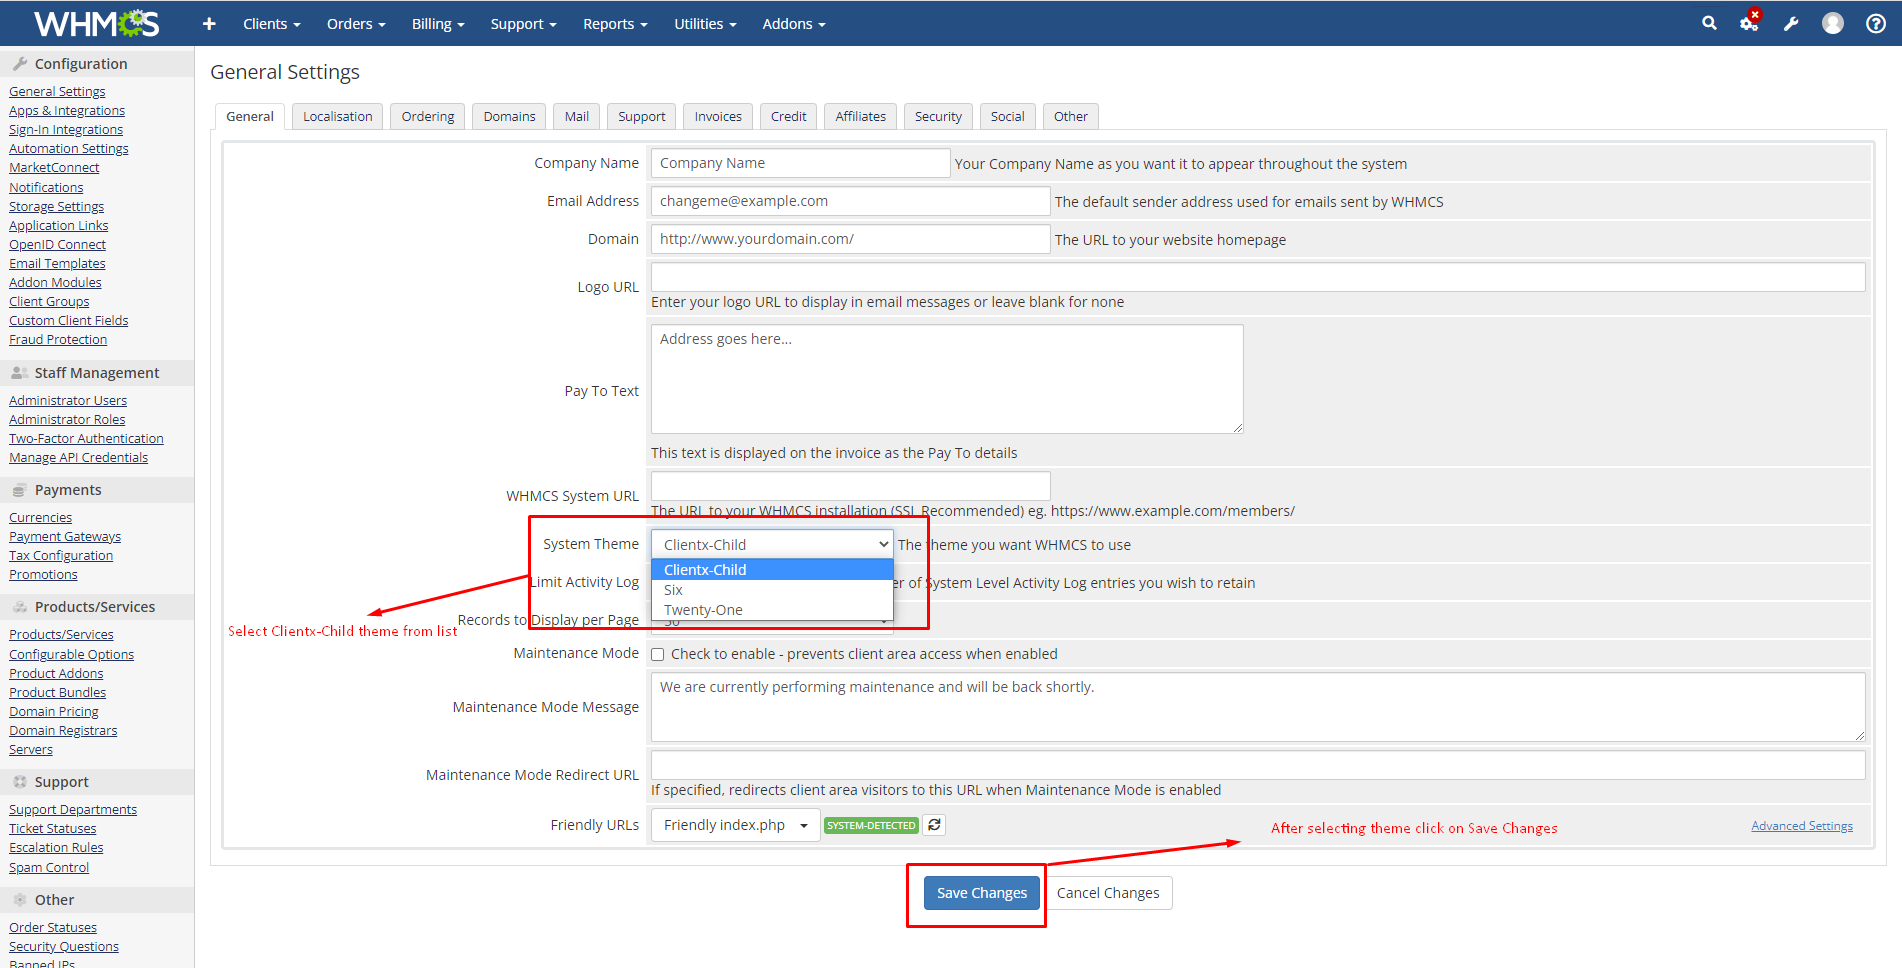
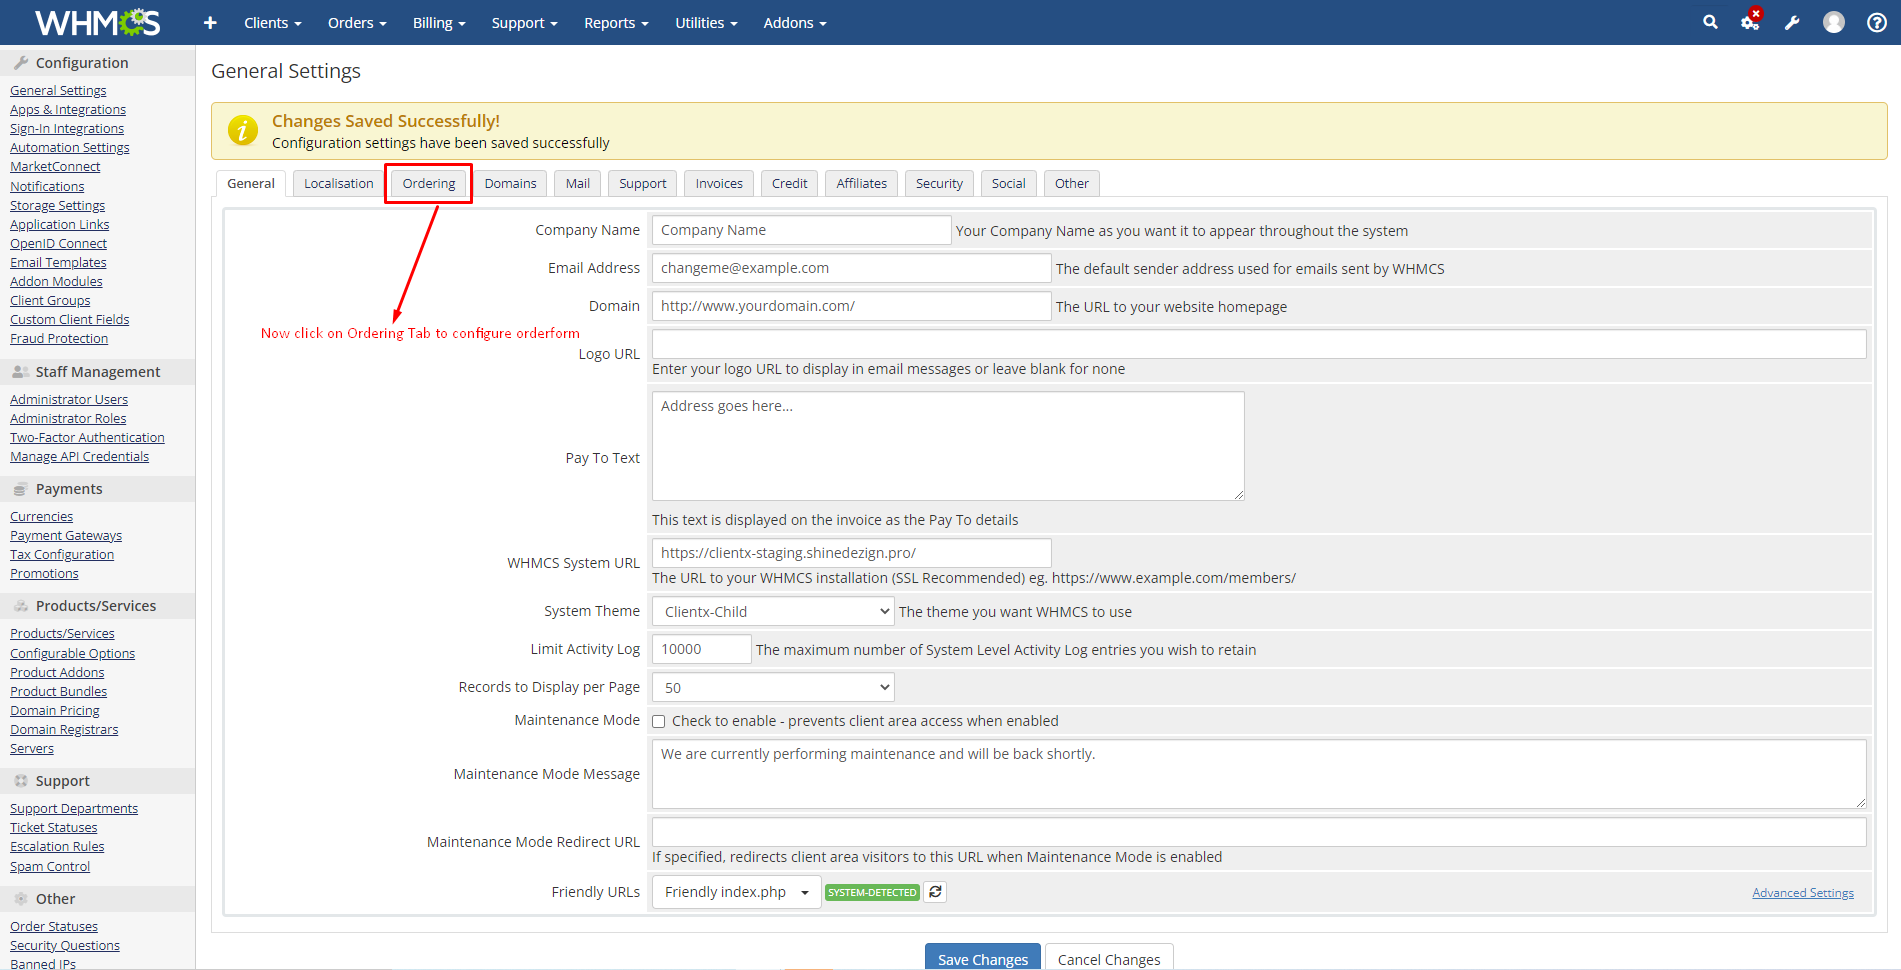
Step 3: After clicking on the general setting, further click on the General tab then select the clientx theme from the dropdown list.
Step 4: After the above step now click on the ordering tab to configure the orderform.
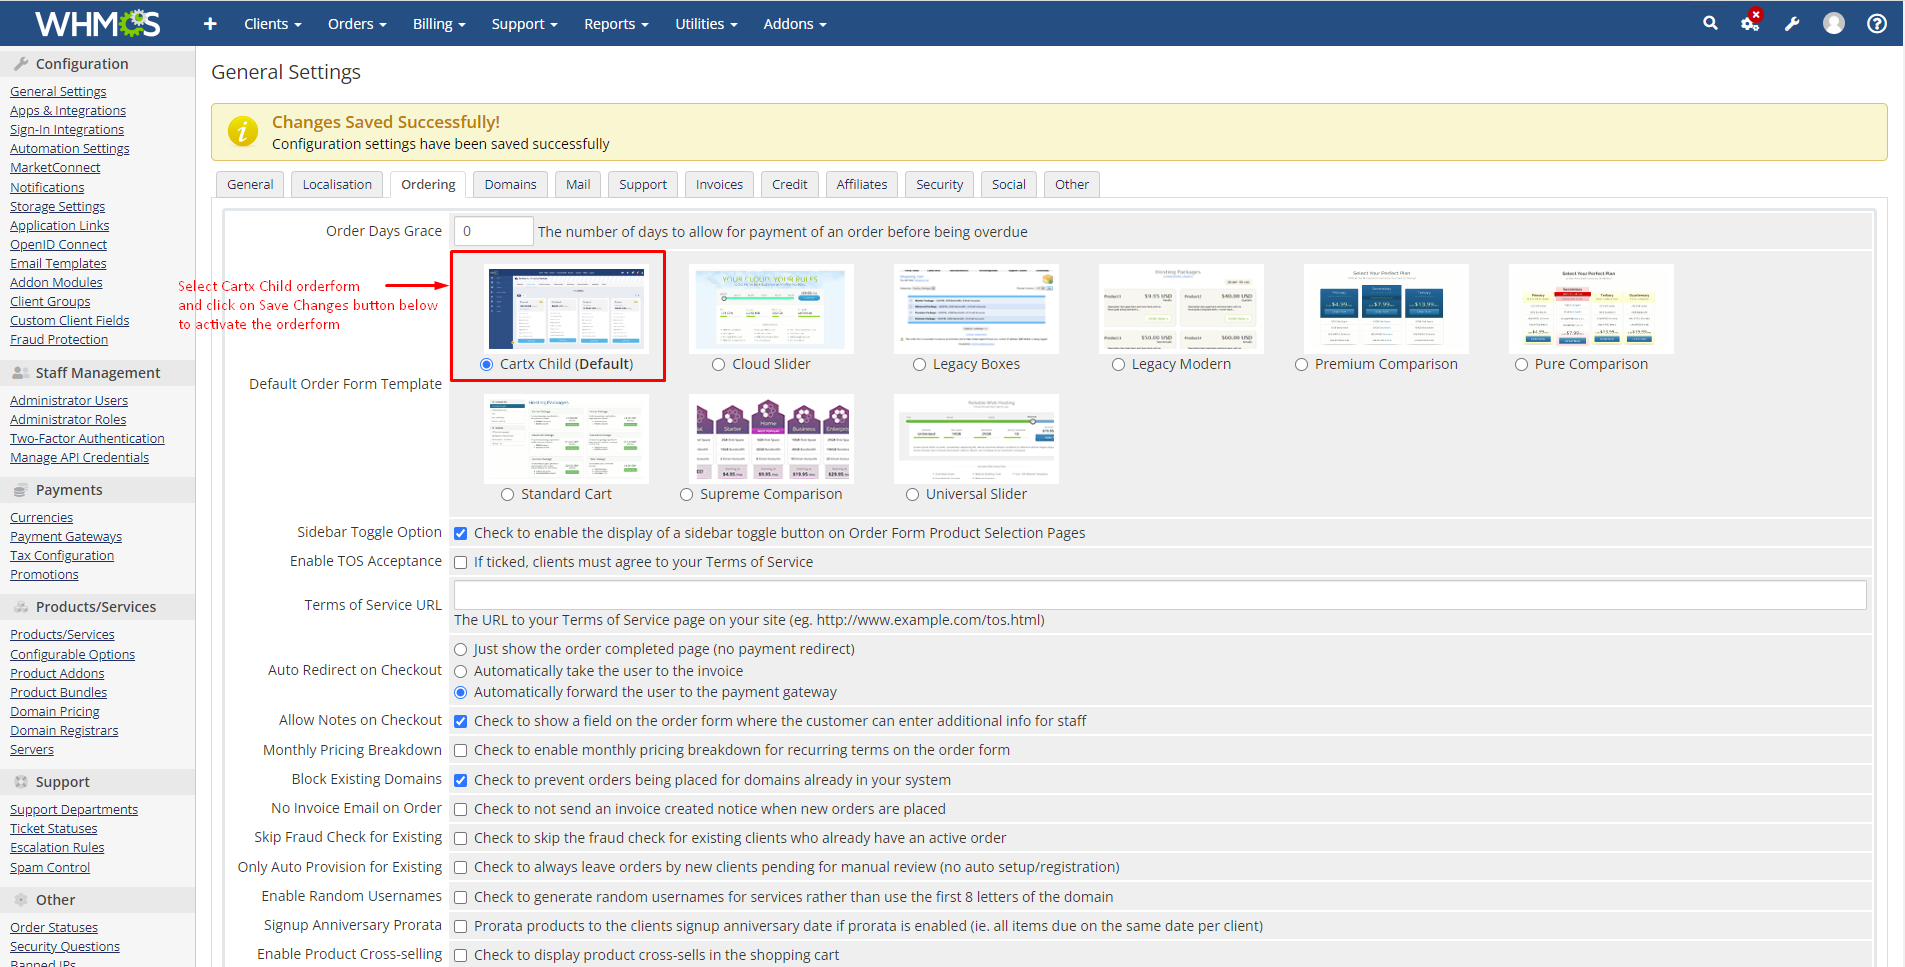
Step 5: After clicking on the ordering tab, select Cartx Child(Default) option and then click on save changes button below to activate the orderform.
Now Clientx is configured you can check client area!!!
