Step 1: Log in to WHMCS Admin
Step 2: Go to Addons > WGS HostX > Blocks Manager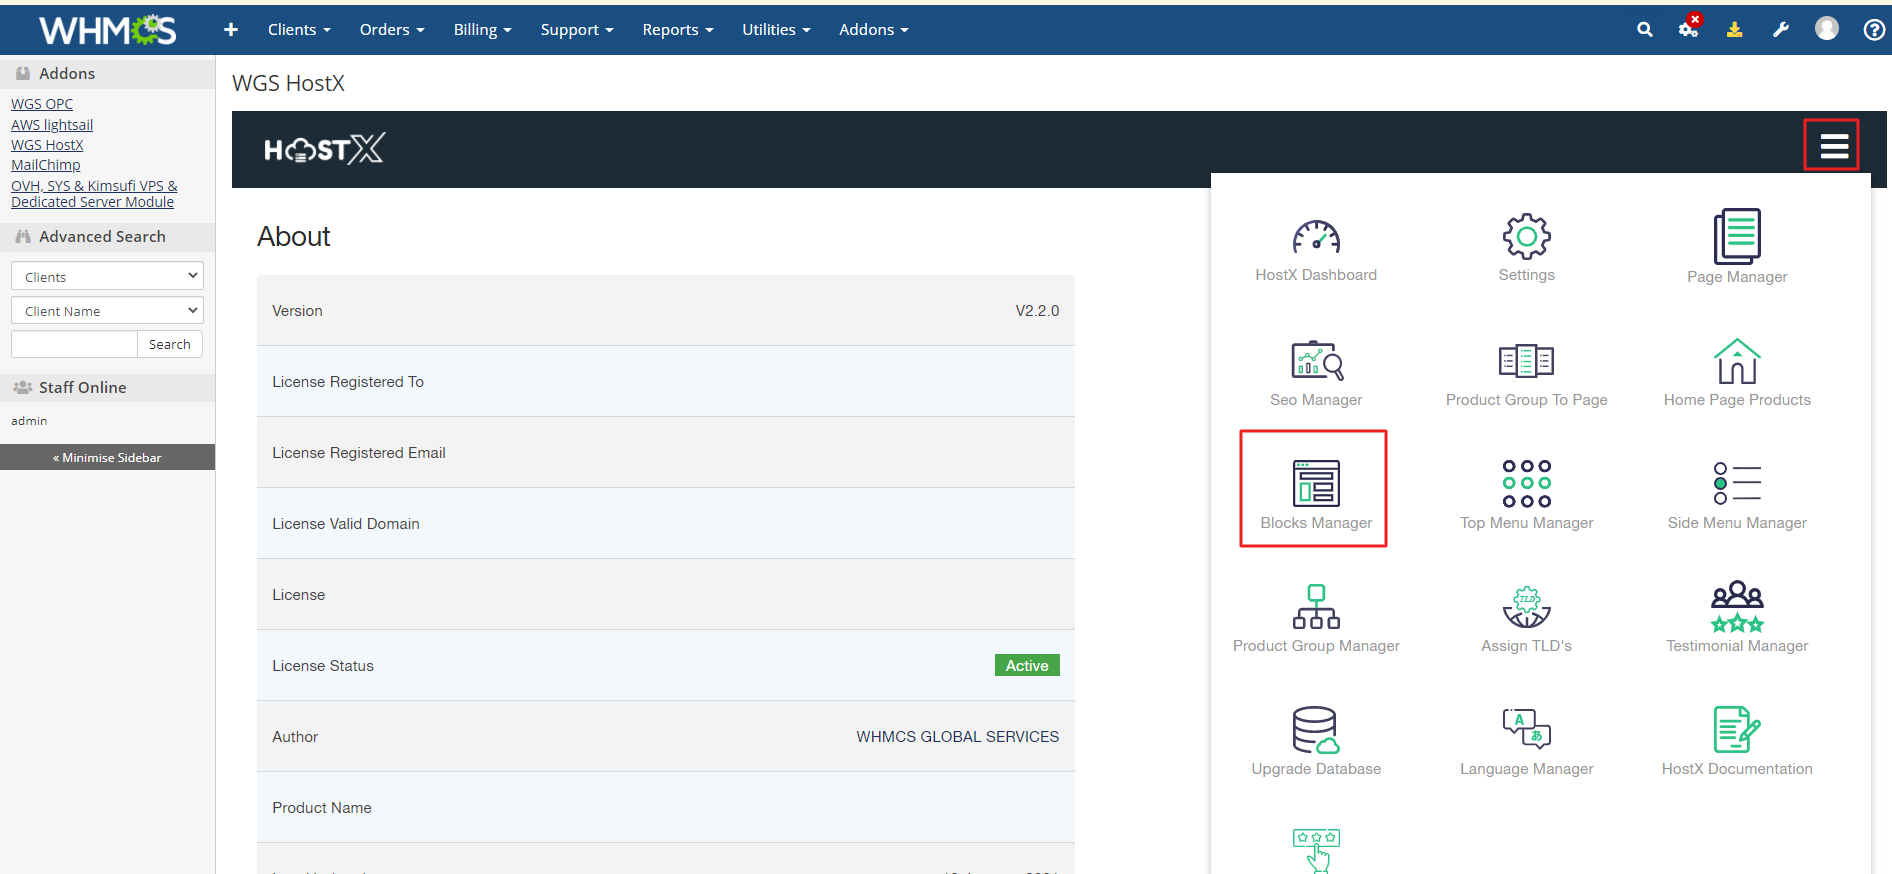
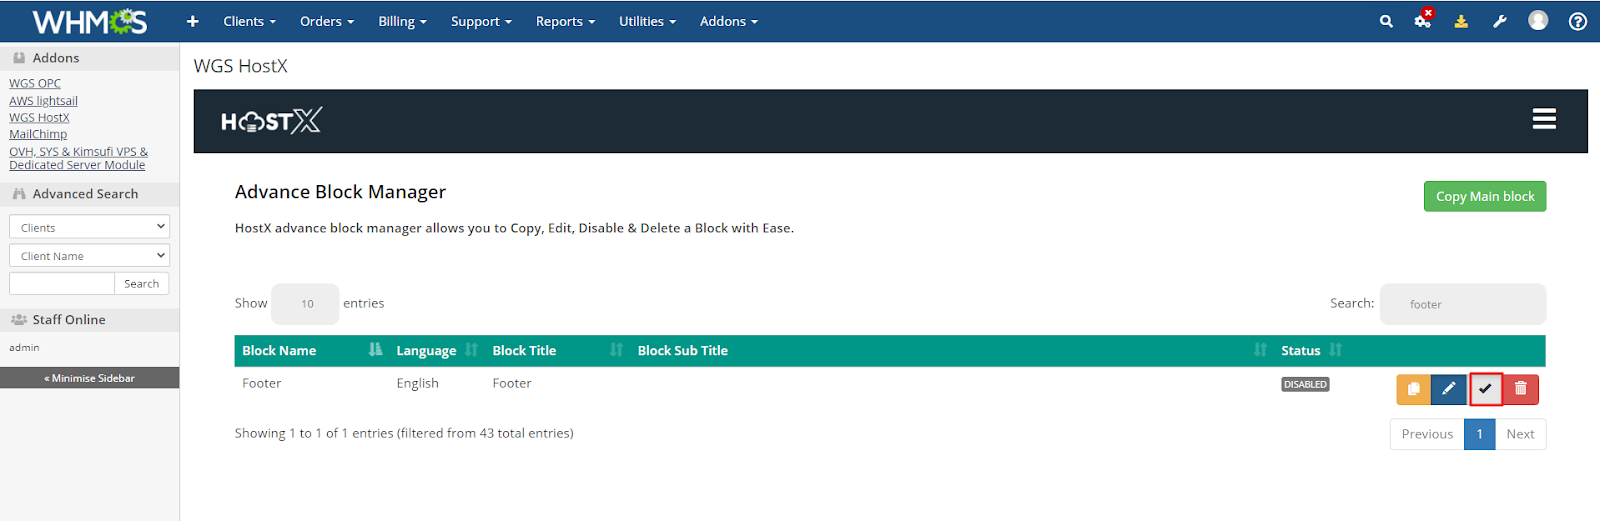
Search for “footer” page and make sure it is enabled
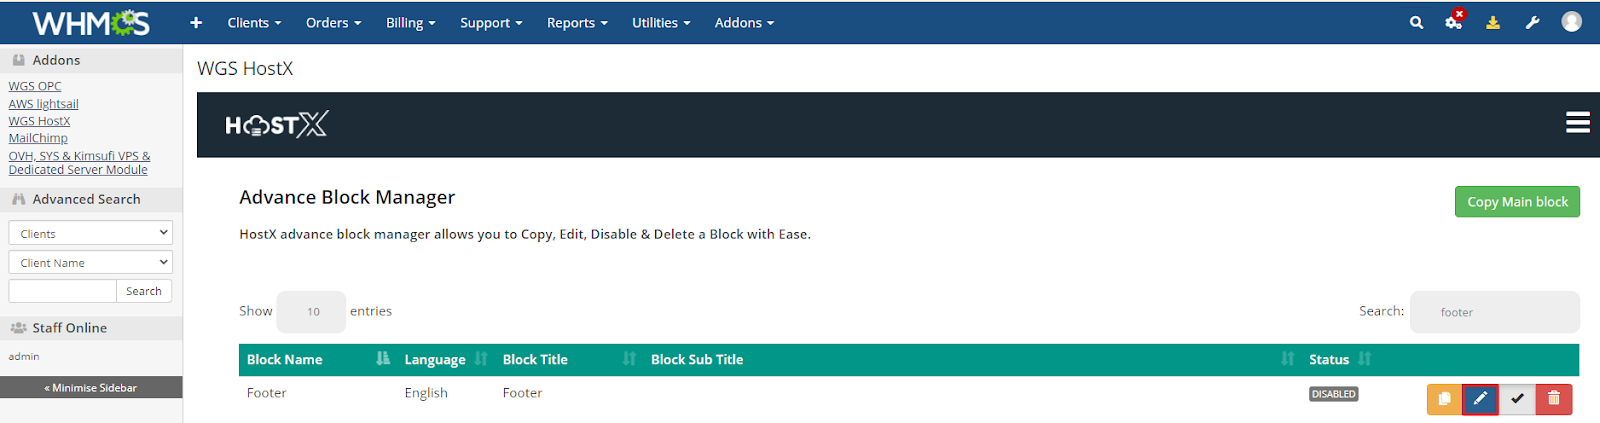
Click on Edit on button
Hit a click on the drop-down button in English option

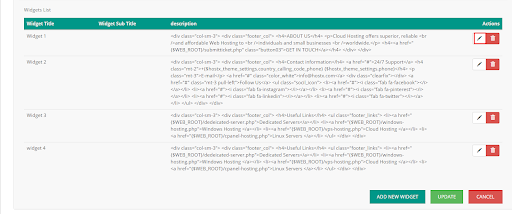
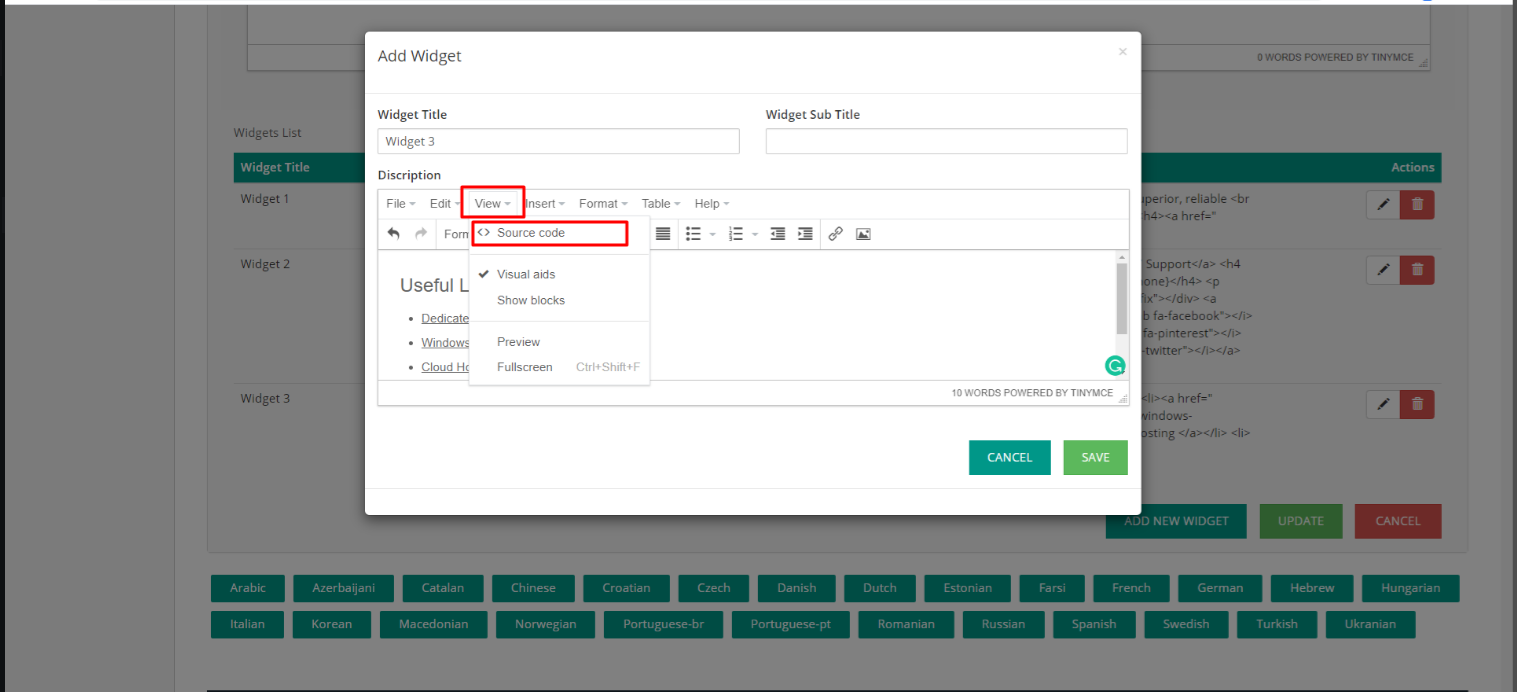
The widgets list will be displayed here. Now, if you want to add a new widget, then you need to resize your existing widgets by hitting the Edit button.
Now, click on View >> Source Code
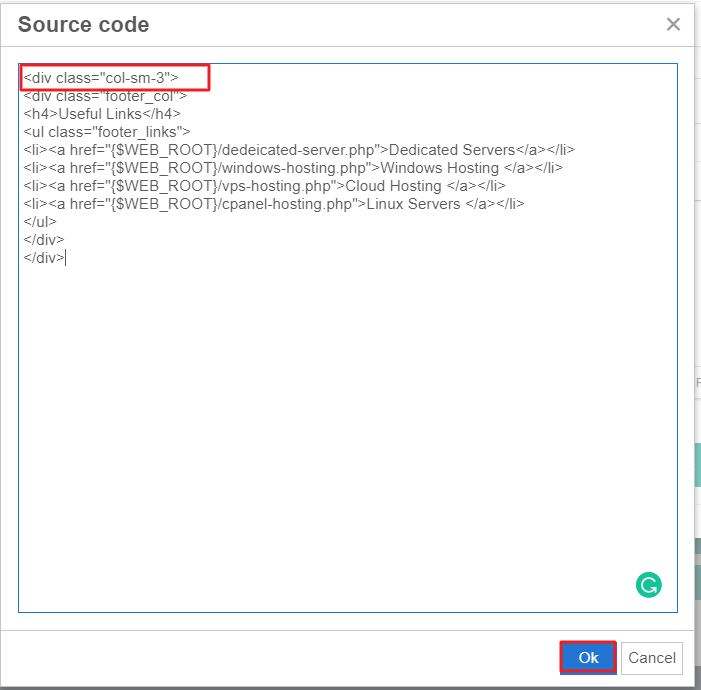
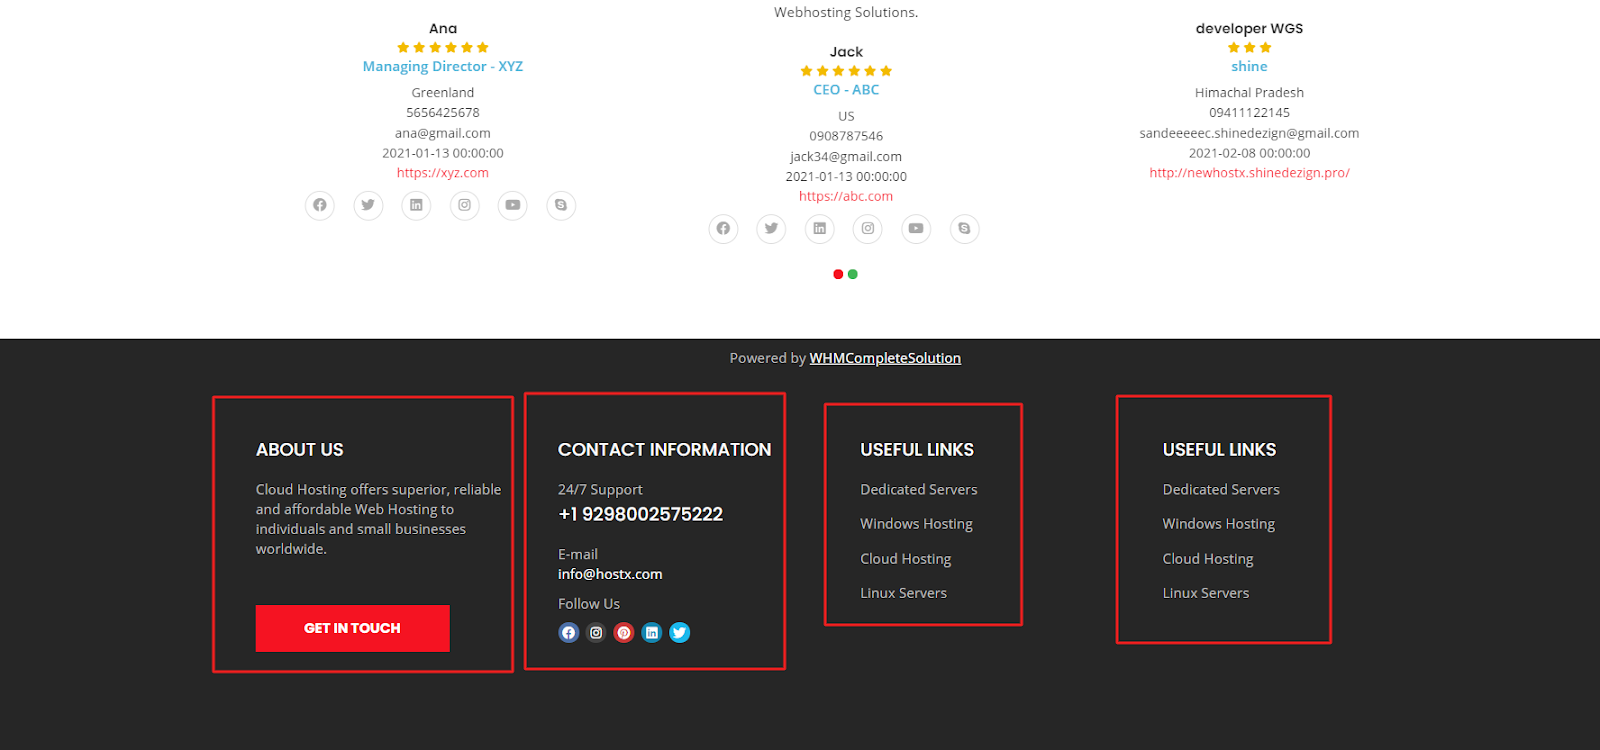
Since the entire footer column size is 12, so you will need to change the column size as per the widgets you want to create. Here we are showing you an example of how to create 4 widgets
In the first row (<div class="col-sm-3">), change the column size from 4 to 3 and do the same with other existing widgets.
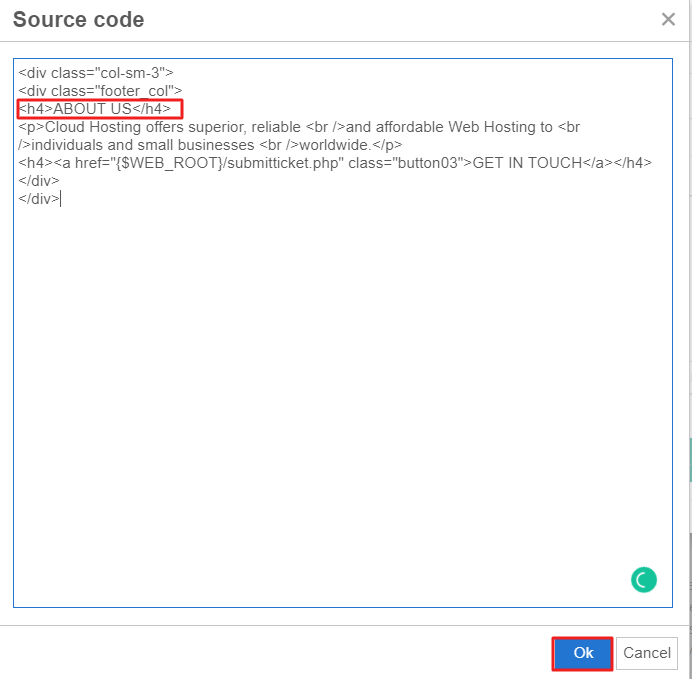
In the fourth row (<h4>ABOUT US</h4>), change the footer color from h2 to h4
The final result of both color and Widget will display at the end.
For footer Widget
For Footer title color
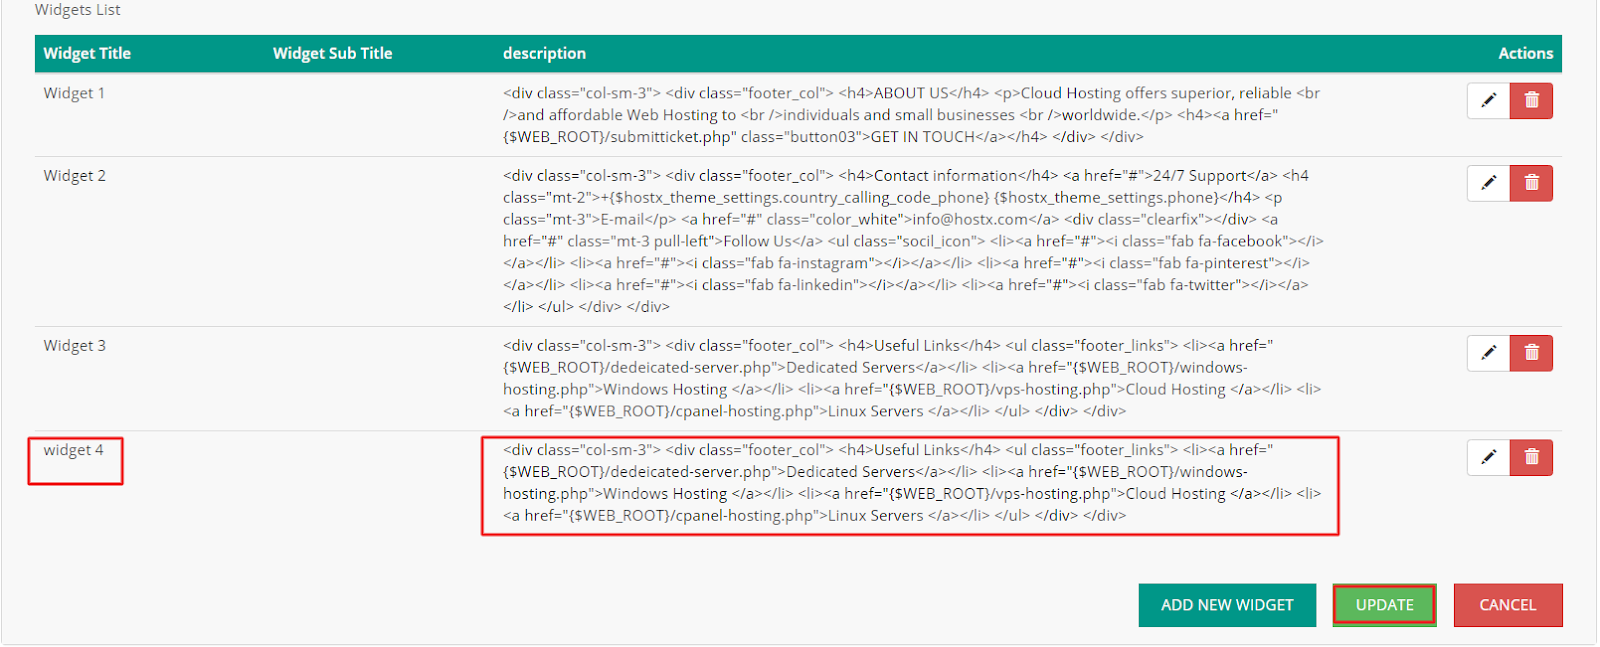
Now, to create a new widget, copy the same source code as any existing widget
Once done, click on Add New Widget button and paste the code in the source code of the new widget and define the footer content as per your requirements. Click OK >> Save
After refreshing your client area, the result will be displayed for the widget
The results will be displayed for the footer title.